20 Beautiful Headwrap Styles for Natural Hair You Need
We all have those mornings when our curls just will not cooperate. That is exactly when you need these 20 beautiful headwrap styles for natural hair. They are the perfect way to save time and look amazing fast.
In my seven years as a hair blogger, I have noticed that wrapping your hair does more than just hide a messy wash-and-go. It safely tucks away your delicate ends to protect them from dry air, which stops breakage dead in its tracks.
Whether you are running quick errands or grabbing coffee with friends, these easy wraps will instantly upgrade your outfit. Let’s check out these gorgeous looks!
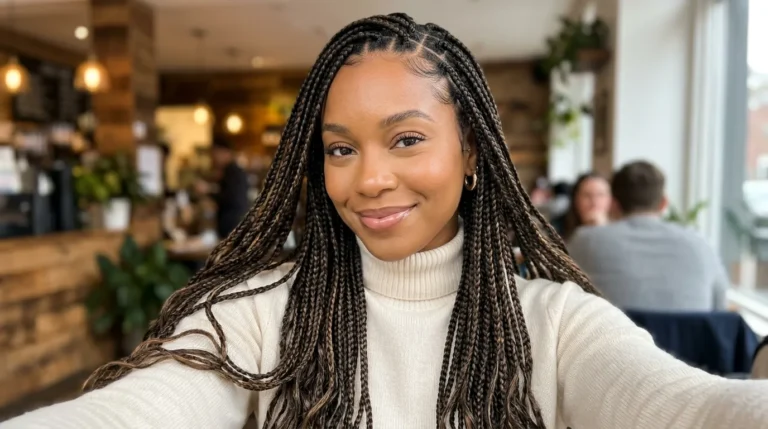
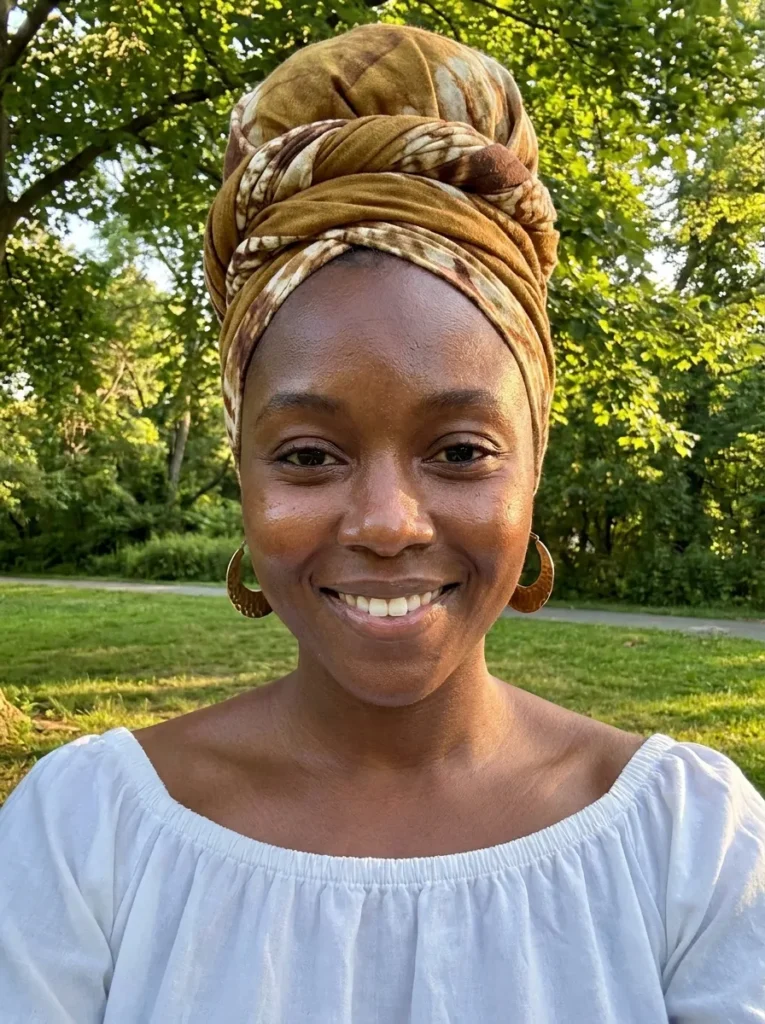
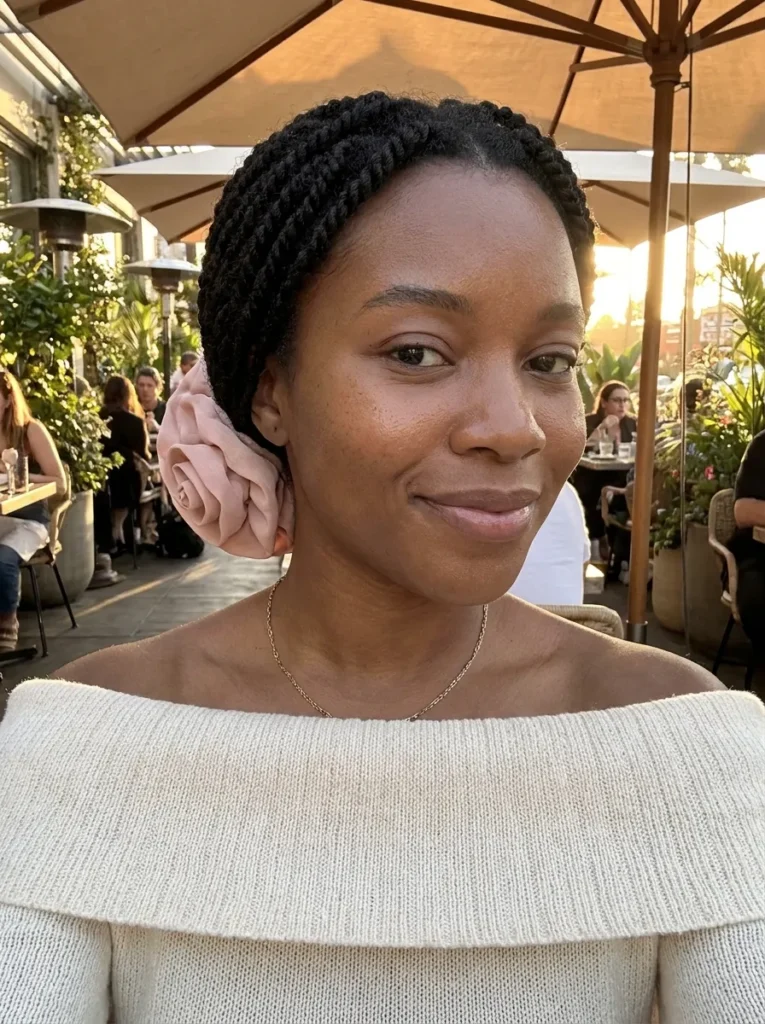
1. The Classic Front Knot
You can never go wrong with a classic front knot. It is the perfect quick fix for a bad hair day or when you just want to look put-together fast. This look keeps your curls protected while showing off your favorite earrings. I love how simple it is!
- Best For: All hair types, medium to long lengths, oval faces.
- Maintenance Level: Low – just tie it securely and you are good to go all day.
- Time Needed: 5 minutes.
- Pro Tip: Use a silk scarf underneath a cotton wrap to lock in your hair’s moisture.
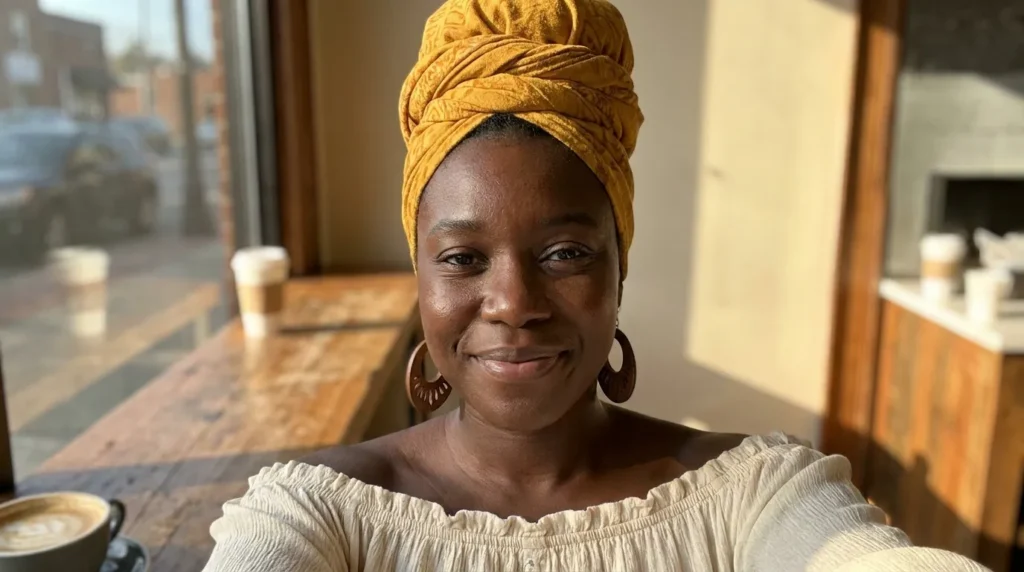
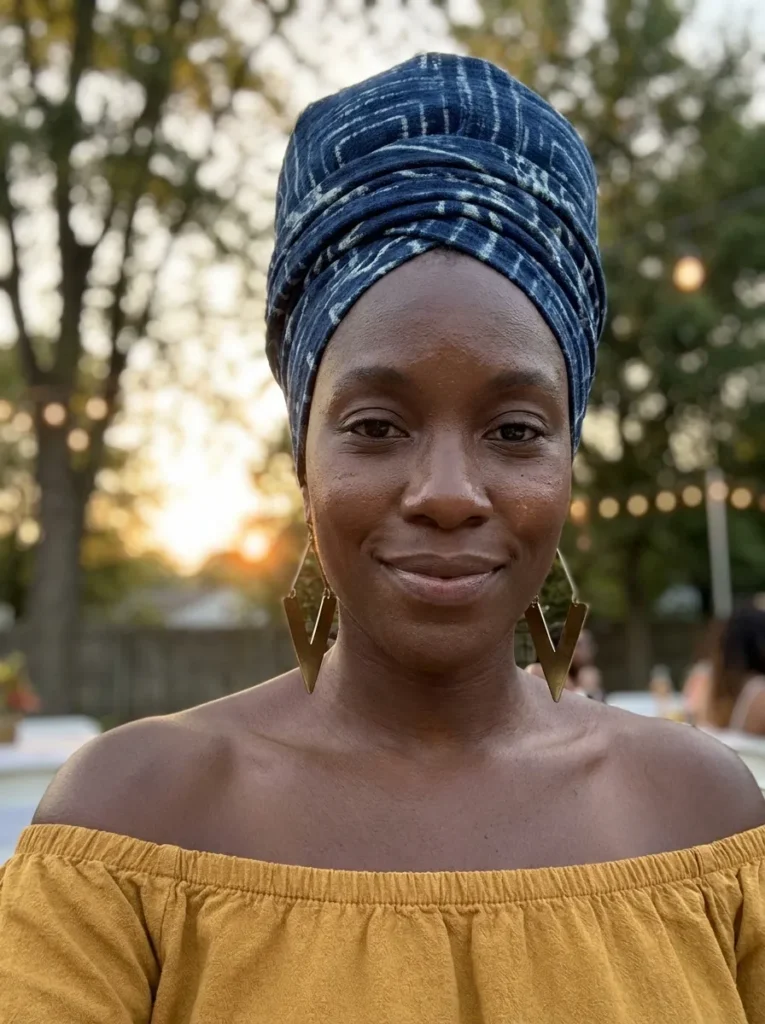
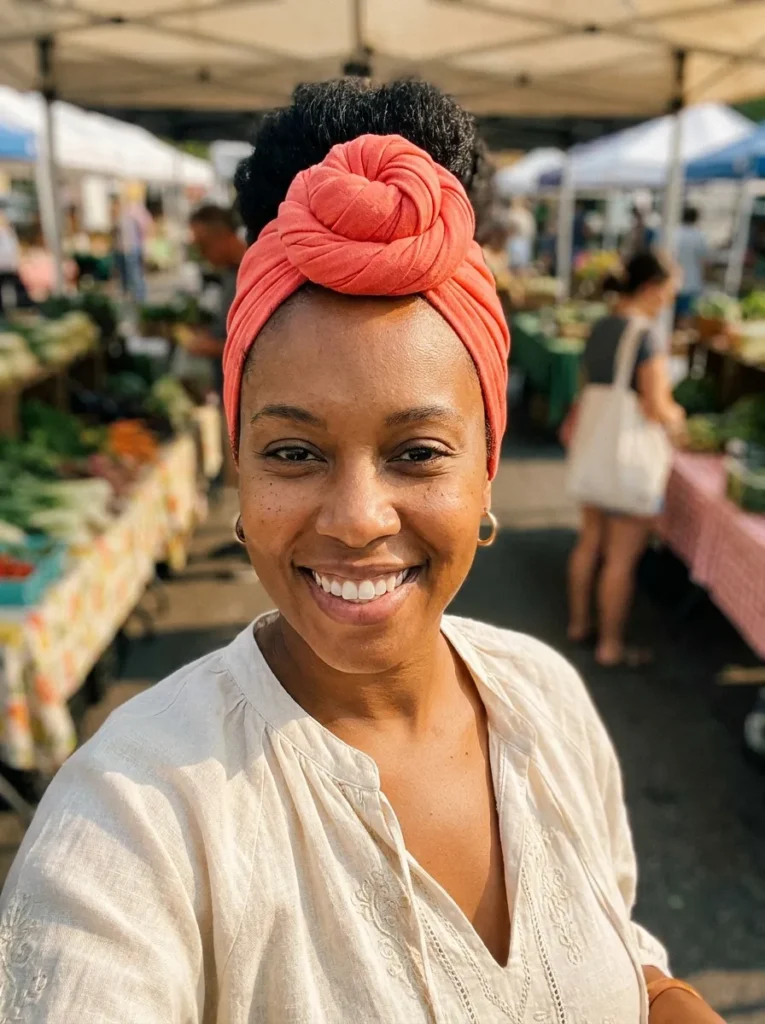
2. High Twisted Turban
If you want to feel like a queen, the high twisted turban is the way to go. It adds height and draws attention right to your beautiful face. This protective style hides your ends completely, making it a great choice for keeping your hair healthy during cold weather.
- Best For: Thick hair, long braids, or locs, round faces.
- Maintenance Level: Medium – might need a few bobby pins to keep the height secure.
- Time Needed: 10 minutes.
- Pro Tip: Pile your natural hair into a high puff first to create the perfect base shape.
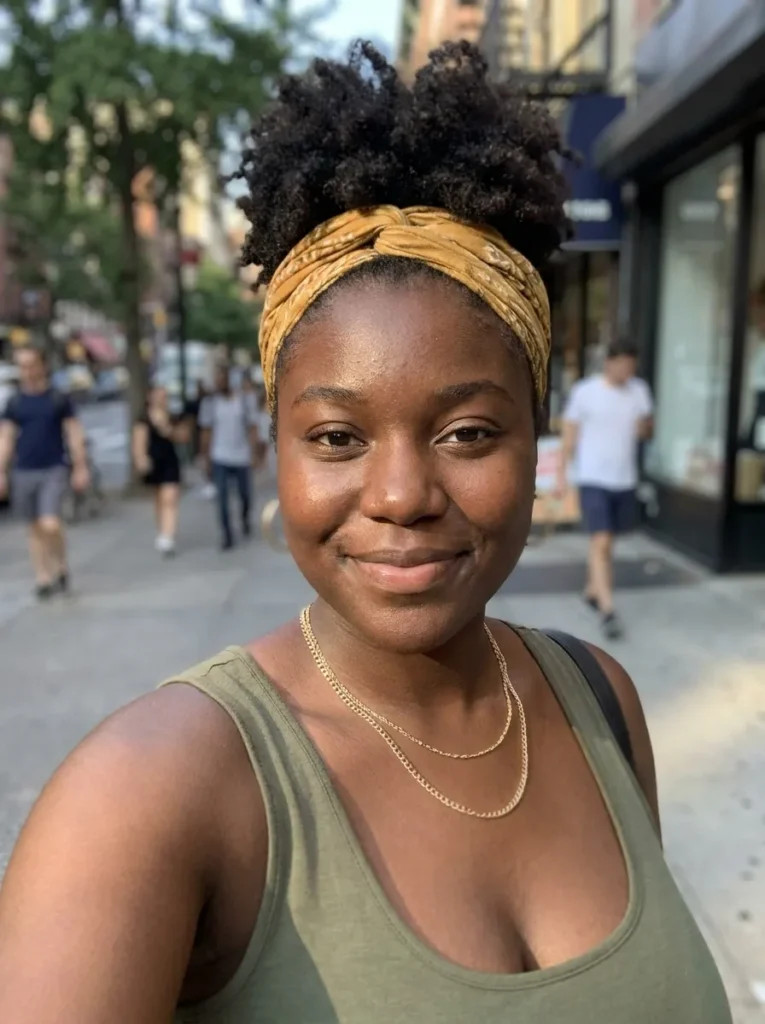
3. The Open Crown Wrap

Want to show off those gorgeous curls while still wearing a wrap? The open crown style is exactly what you need. It covers the back and sides but leaves your curls popping at the top. I wear this all the time on wash day when my curls are fresh.
- Best For: Short to medium curly hair, wash-and-go styles, heart-shaped faces.
- Maintenance Level: Low – the focus is on letting your natural curls do their thing.
- Time Needed: 3 minutes.
- Pro Tip: Fluff your top curls with a hair pick after tying the wrap for extra volume.
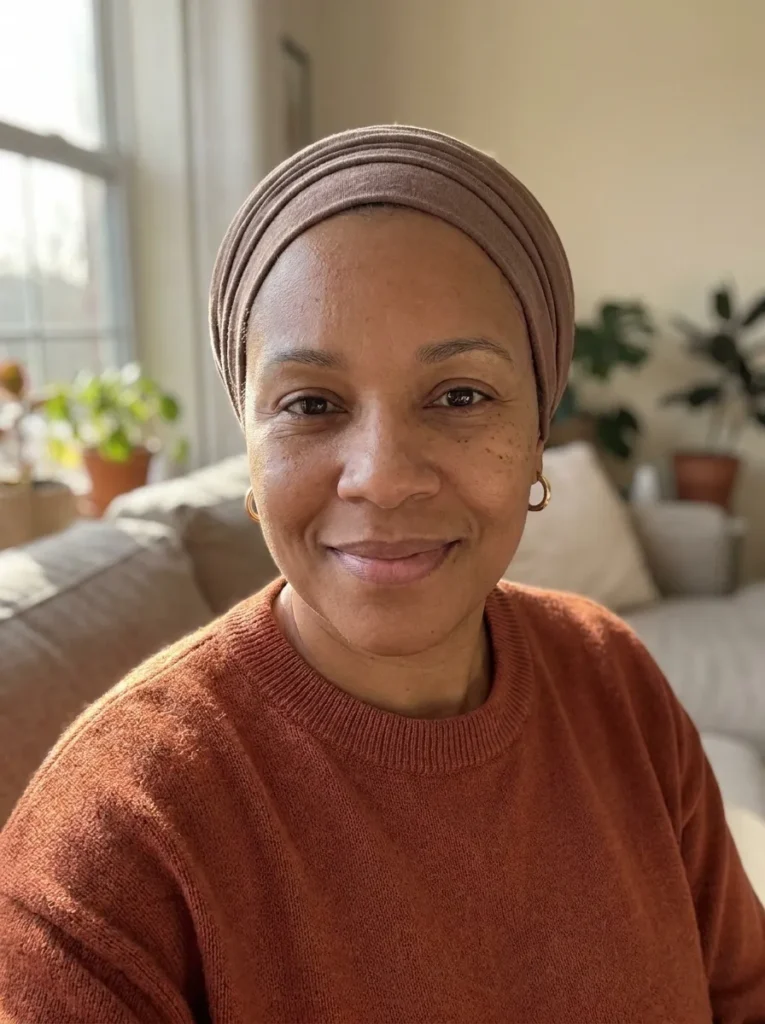
4. Low Bun Wrap

The low bun wrap gives you a neat and relaxed look. It sits right at the back of your neck, making it super comfortable to wear all day. This wrap works perfectly for work or running errands when you want your hair totally out of the way.
- Best For: Short hair, thin hair, square face shapes.
- Maintenance Level: Low – sits firmly at the base of your neck without shifting around.
- Time Needed: 5 minutes.
- Pro Tip: Tie your hair into a small, tight ponytail first to keep the back looking smooth.
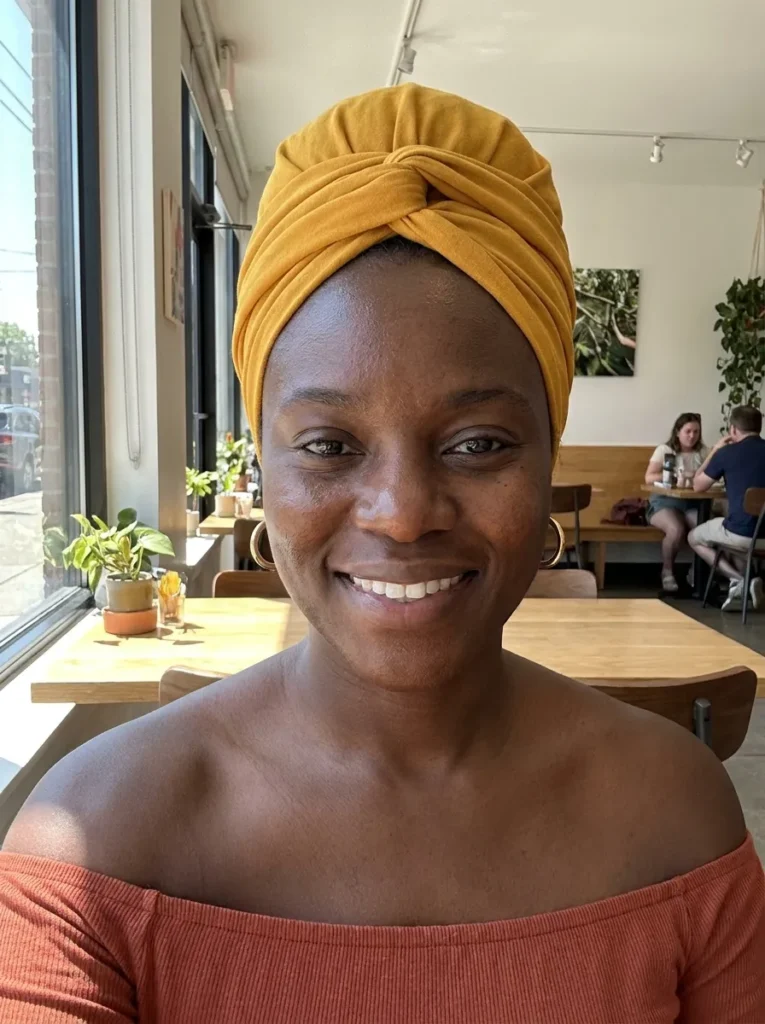
5. Beautiful Headwrap Styles For Natural Hair
When people think of headwraps, a tall crown shape always comes to mind. This proud style demands attention and feels highly elegant. It is the ultimate go-to look when you want to make a big statement while keeping your hair fully protected and tucked safely away.
- Best For: Thick natural hair, box braids, diamond face shapes.
- Maintenance Level: High – requires wrapping the fabric tightly to hold the tall structure.
- Time Needed: 15 minutes.
- Pro Tip: Fold your fabric into a thick band before you start wrapping to build a sturdy base.
Also Visit : 20 Stunning Braid Out Natural Hairstyles on Black Women
6. Side Bow Wrap

This cute side bow adds a fun, feminine touch to any outfit. It is an amazing way to switch up your daily look. By placing the knot on the side, it frames your face beautifully. I love wearing this playful style for weekend brunches or park dates.
- Best For: Medium length hair, protective twists, round or oval faces.
- Maintenance Level: Medium – you might need to adjust the bow loops if they lose shape.
- Time Needed: 8 minutes.
- Pro Tip: Tuck the loose ends tightly under the main band so the bow stays crisp all day.
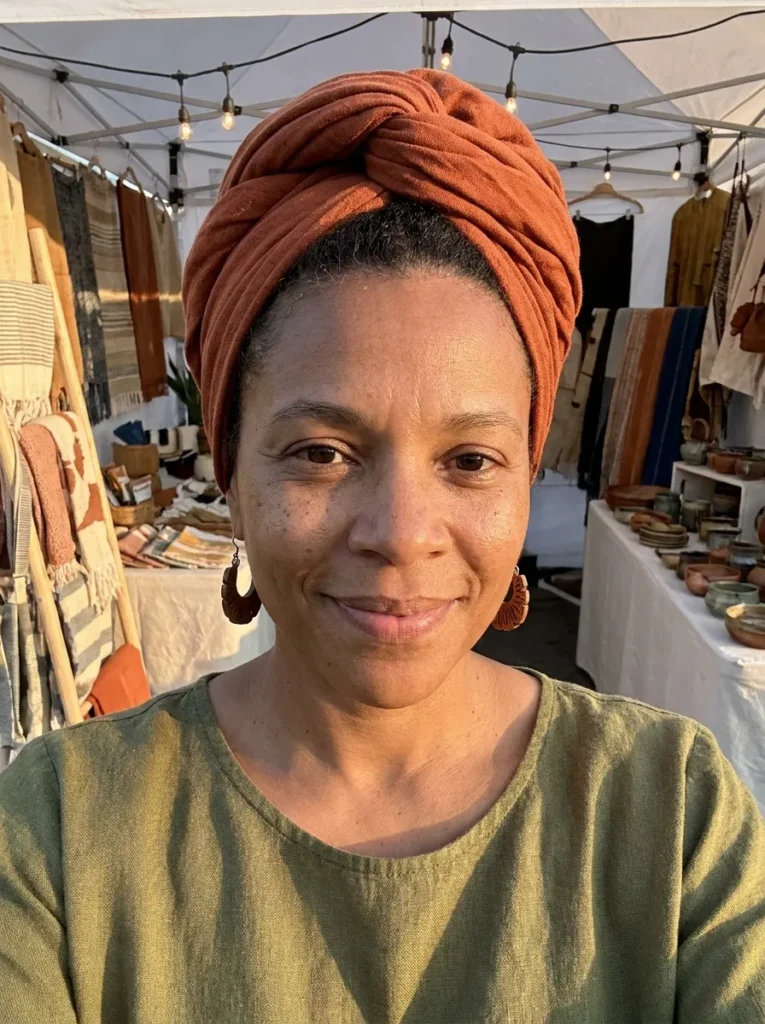
7. The Nefertiti Crown
Step out looking completely regal with this tall, cylindrical wrap. It gathers all your thick natural coils upward, creating an eye-catching shape. It is a fantastic option for protecting your ends from dry air. This royal look always gets compliments whenever I wear it to special events.
- Best For: Very thick hair, locs, long box braids, diamond faces.
- Maintenance Level: High – requires a very long, stiff fabric to build the tall cylinder shape.
- Time Needed: 15 minutes.
- Pro Tip: Use a lightweight foam shaper underneath if your hair is not long enough to build height.
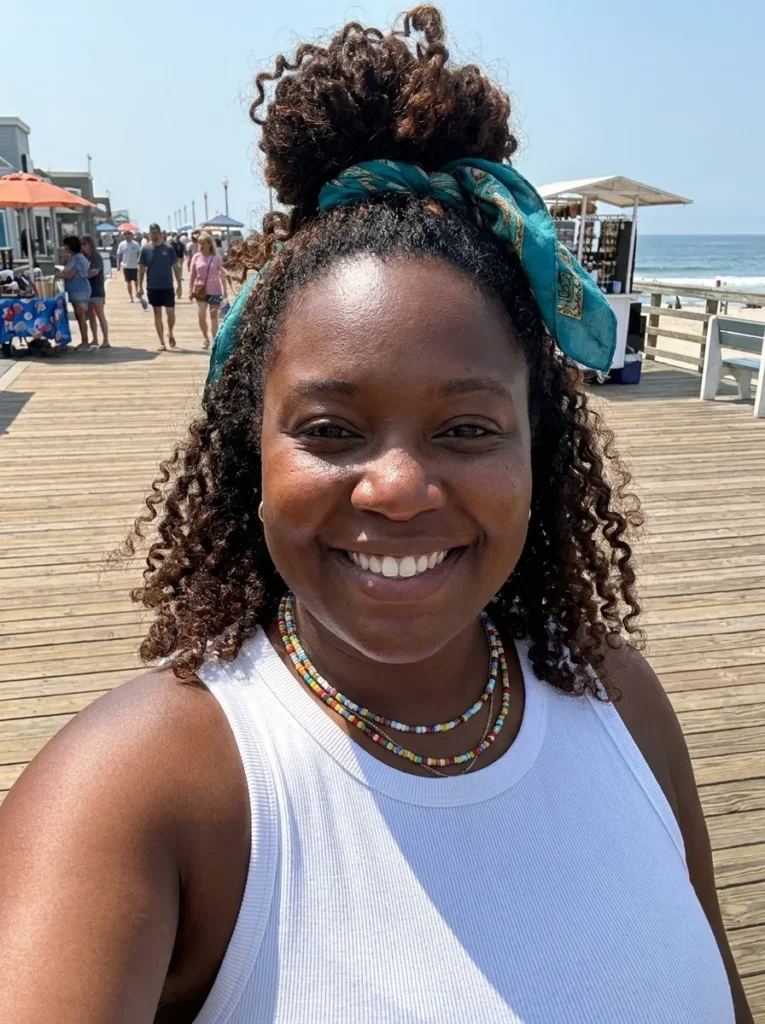
8. Twisted Halo Headband

Sometimes you just want to keep your hair out of your face without covering it completely. The twisted halo headband is perfect for that. It leaves your natural puff in the back while adding a gorgeous pop of color around your edges. It feels super lightweight, too.
- Best For: Short afros, high puffs, square or heart-shaped faces.
- Maintenance Level: Low – just tie it like a regular headband and push your hair back.
- Time Needed: 3 minutes.
- Pro Tip: Lay your edges down with a good holding gel before wrapping for a super neat finish.
9. Double Knot Wrap

Why settle for one knot when you can have two? This unique style adds great texture and detail to your protective routine. It works wonders for tucking away chunky twists or braids. The double stacked look is very creative and gives your daily outfit an instant upgrade.
- Best For: Thick natural hair, long protective styles, oval faces.
- Maintenance Level: Medium – balancing the two knots exactly right takes a little bit of practice.
- Time Needed: 10 minutes.
- Pro Tip: Use a stretchy jersey material so you can easily pull the second knot tight without slipping.
10. Full Coverage Tucked Wrap
Give your curls a full rest day with this secure, tucked-away style. It covers your entire head, keeping your strands safe from harsh weather and rubbing on cotton clothes. It looks very clean, smooth, and classy. I highly recommend this for deep conditioning days or long flights.
- Best For: All hair types, short natural hair, long flights, square faces.
- Maintenance Level: Low – everything is tucked securely in, so there are no loose pieces to manage.
- Time Needed: 5 minutes.
- Pro Tip: Wrap your hair in a plastic shower cap underneath to lock in your deep conditioner heat.
11. The Pineapple Wrap
This look is a lifesaver for preserving your curls. It leaves your natural hair piled high at the very top while wrapping the back and sides snugly. I use this every night before bed, but it looks so cute you can easily wear it out to run quick errands.
- Best For: Wash-and-gos, twist outs, round face shapes.
- Maintenance Level: Low – just wrap the base and let the top breathe.
- Time Needed: 2 minutes.
- Pro Tip: Gently stretch your curls forward so they fall right over the edge of the wrap.
12. Back Tucked Rosette
Instead of a knot in the front, try gathering the extra fabric into a flower shape at the back of your neck. It gives off a very soft, romantic feel. This is my absolute favorite look for date night because it keeps things neat but still feels very fancy.
- Best For: Short hair, thin twists, oval face shapes.
- Maintenance Level: Medium – shaping the rosette perfectly takes a little practice to get right.
- Time Needed: 7 minutes.
- Pro Tip: Twist the fabric tightly like a rope before rolling it into the flower shape.
13. The Braided Crown Wrap

Mixing hair and fabric together makes such a cool, detailed look. You simply braid the headwrap right into your natural hair or extensions and pin it around your head. It holds your hair completely flat and secure. It is a fantastic choice if you want something totally different today.
- Best For: Long natural hair, protective twists, heart face shapes.
- Maintenance Level: Medium – needs plenty of bobby pins to keep the braid wrapped tightly in place.
- Time Needed: 12 minutes.
- Pro Tip: Use a long, skinny piece of fabric rather than a wide scarf for easier braiding.
14. Criss-Cross Front Band

This style crosses the fabric flat across your forehead instead of making a bulky knot. It creates a beautiful overlapping pattern that lays completely smooth against your head. I really like this when I wear big, chunky earrings because it keeps the focus completely on my face and jewelry.
- Best For: TWA (teeny weeny afro), flat twists, square faces.
- Maintenance Level: Low – the overlapping layers hold themselves down firmly all day without slipping.
- Time Needed: 4 minutes.
- Pro Tip: Iron your wrap flat before tying it so the crossed layers look extra sharp and neat.
15. Half-Up Top Knot
Get the best of both worlds with this super fun style. You wrap the top half of your hair into a cute knot while leaving the back flowing freely. I find it gives great volume at the top, making your whole outfit look fresh, stylish, and full of energy.
- Best For: Braid outs, long curly hair, round face shapes.
- Maintenance Level: Low – the bottom half stays loose, so you only worry about the top knot.
- Time Needed: 5 minutes.
- Pro Tip: Part your hair from ear to ear first to get clean sections before tying the wrap.
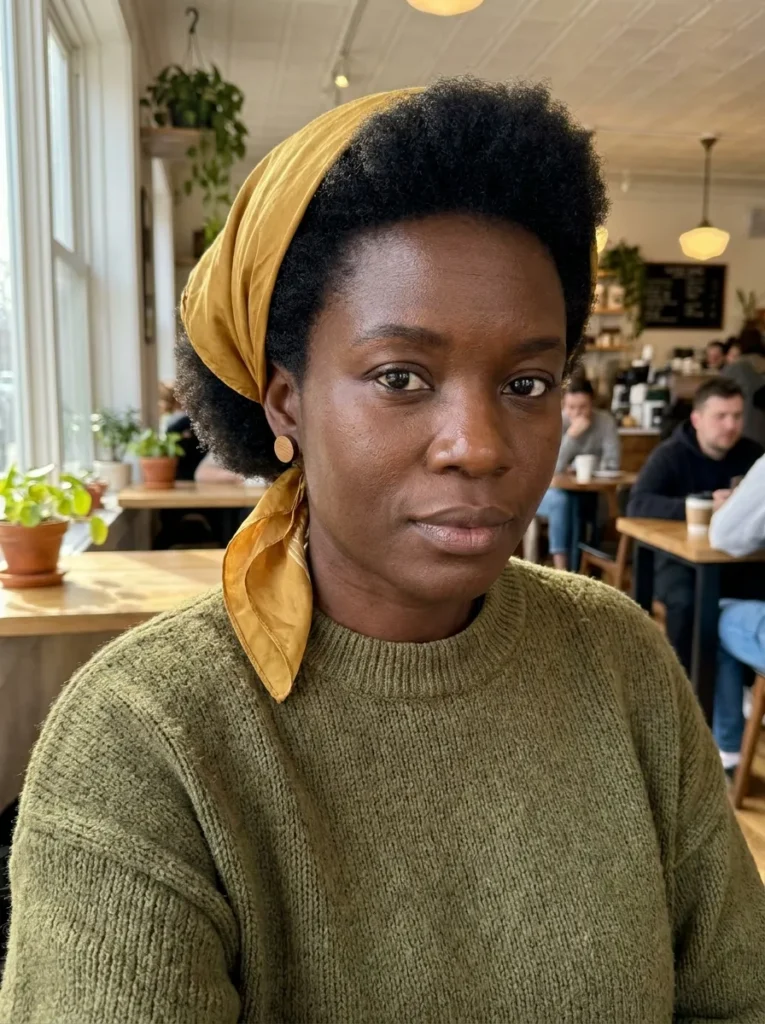
16. The Turban Bun
Want a soft and easy style? The turban bun wraps right around your natural puff, turning it into a gorgeous shape. It protects your ends safely while keeping your neck cool. I use this style constantly on hot summer days when I want zero fuss.
- Best For: High puffs, medium afro hair, oval faces.
- Maintenance Level: Low – just wrap it around your existing bun and tuck the ends.
- Time Needed: 4 minutes.
- Pro Tip: Use a square scarf folded into a triangle for the best coverage around your bun.
17. Front Swept Bangs Wrap

Keep your face beautifully framed by leaving your natural bangs out in the front. You wrap the back tight, but let those curly pieces pop right in front of the fabric. This gives such a lovely, sweet look that feels totally effortless for any casual outing.
- Best For: Curly cuts with bangs, short layers, heart face shapes.
- Maintenance Level: Medium – you might need to refresh your bangs with a little water and gel.
- Time Needed: 6 minutes.
- Pro Tip: Pin the wrap slightly further back on your head so your bangs fall naturally.
18. The Bandana Fold
You do not always need a giant piece of fabric. A simple square bandana folded over the top of your head looks incredibly cute. It gives off a fun, relaxed vibe perfect for doing chores or catching up with friends over coffee on the weekend.
- Best For: Short afros, thin hair, square faces.
- Maintenance Level: Low – a simple knot under your hair at the back holds it perfectly tight.
- Time Needed: 2 minutes.
- Pro Tip: Slide bobby pins by your ears if the silk material feels like it might slip.
19. The Crown Braid Wrap

This style gives you that sweet halo effect. You roll the fabric around the edges of your head to frame your face, leaving the middle open. It helps your scalp breathe nicely. I really enjoy wearing this when I have a fresh, chunky twist out.
- Best For: Thick twist outs, medium length hair, round faces.
- Maintenance Level: Medium – keeping the rolled shape thick and even all the way around takes patience.
- Time Needed: 8 minutes.
- Pro Tip: Roll the scarf inwards toward your hair to keep it from unrolling during the day.
20. Layered Color Wrap
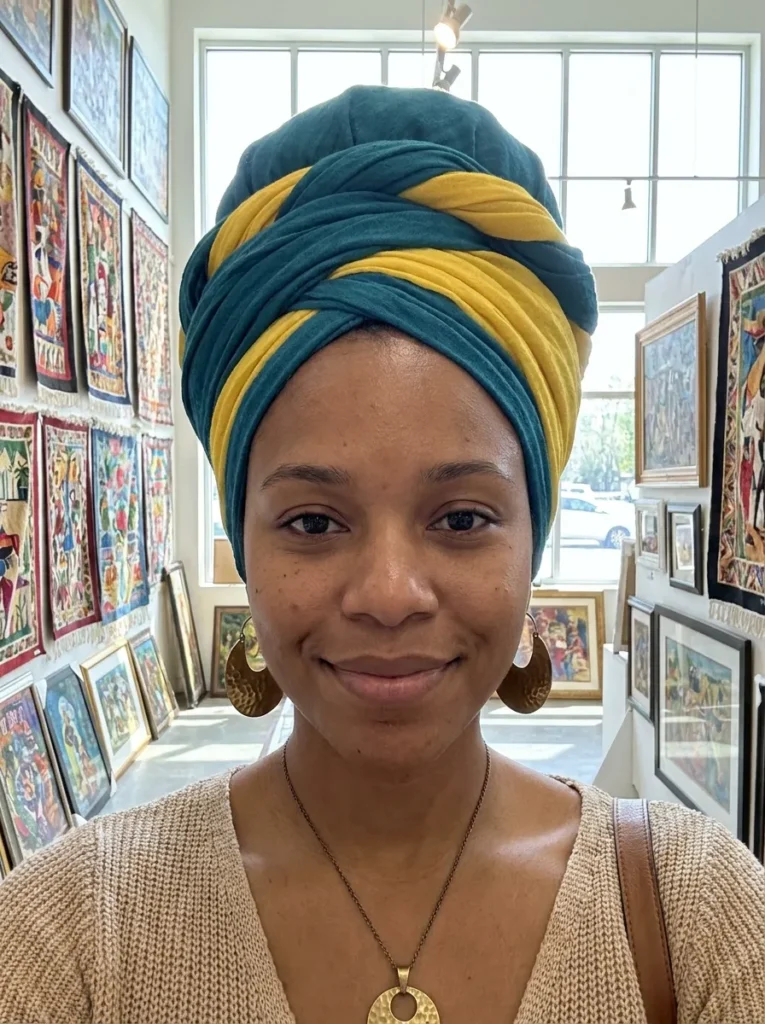
Why choose one color when you can wear two? Using two smaller scarves together creates a rich, textured look that pops. It is a fantastic way to match different colors in your outfit. Every time I wear this, people ask me how I did it.
- Best For: All hair types, protective styles, diamond face shapes.
- Maintenance Level: Medium – wrapping two separate pieces tightly means finding the right balance of tension.
- Time Needed: 10 minutes.
- Pro Tip: Twist the two different colored ends together before you make the final knot in front.
Conclusion
Finding the right wrap can completely change how you feel about protective styling. With so many beautiful headwrap styles for natural hair to choose from, you never have to settle for a boring bad hair day again. You can keep your curls healthy while looking totally put-together.
Be sure to save your favorite looks to your Pinterest boards so you can try them out later! I have seen how the right style can boost your confidence in seconds, so grab your favorite scarf and start practicing today.