21 Stunning Blowout Hairstyles for Bouncy, Silky Hair

Good hair days often start with the right blowout, and a little extra bounce can make all the difference.
From silky, rounded ends to soft, glamorous waves, the right hairstyle can give your hair that fresh salon finish without making your routine feel complicated.
These 21 blowout hairstyles offer inspiration for different hair lengths, layers, and personal styles. Whether you love the fullness of a 90s supermodel blowout, the softness of face-framing layers, or the polished look of a sleek bob, there is something here to try. You will also find practical styling tips to help you create smoother lengths, lift your roots, and keep your ends looking healthy.
One detail worth remembering is that beautiful volume does not always require more heat or extra products. Working in smaller sections, using heat protectant, and allowing your hair to cool before brushing can help your style hold its shape. Explore your favorites, find a look that suits your hair, and keep these ideas handy for your next styling day.
1. Classic Voluminous Blowout

For a salon-fresh finish, build shape at the roots before smoothing the lengths. Classic blowout hairstyles rely on a round brush and steady airflow for soft volume, not stiff height. Apply heat protectant, then rough-dry towel-dried hair until it is about 80 percent dry before styling each section.
Work in manageable sections, pulling each one up and away from your scalp as you dry. Let the brush-wrapped section cool for a moment before releasing it, as that pause helps the curve hold. Finish with a light, flexible hairspray, keeping the ends touchable and the crown lifted.
2. Soft Face-Framing Layers

- Want movement that brightens your face without losing length? Ask for long layers that begin around the cheekbones.
- Blow-dry the front pieces away from the face with a medium round brush, guiding the nozzle from roots to ends.
- Roll each section around the brush for a few seconds, then let it cool before unwrapping to encourage a soft bend.
- Keep the ends rounded, not tightly curled, so the finish looks smooth and modern.
Face-framing layers work especially well when you want shape around the cheeks but prefer to keep most of your length. For a balanced finish, alternate the direction of the layers slightly rather than curling every piece identically. A pea-sized amount of serum on the ends can add shine without flattening the roots.
3. Bouncy Curtain Bangs
Quick Tip:
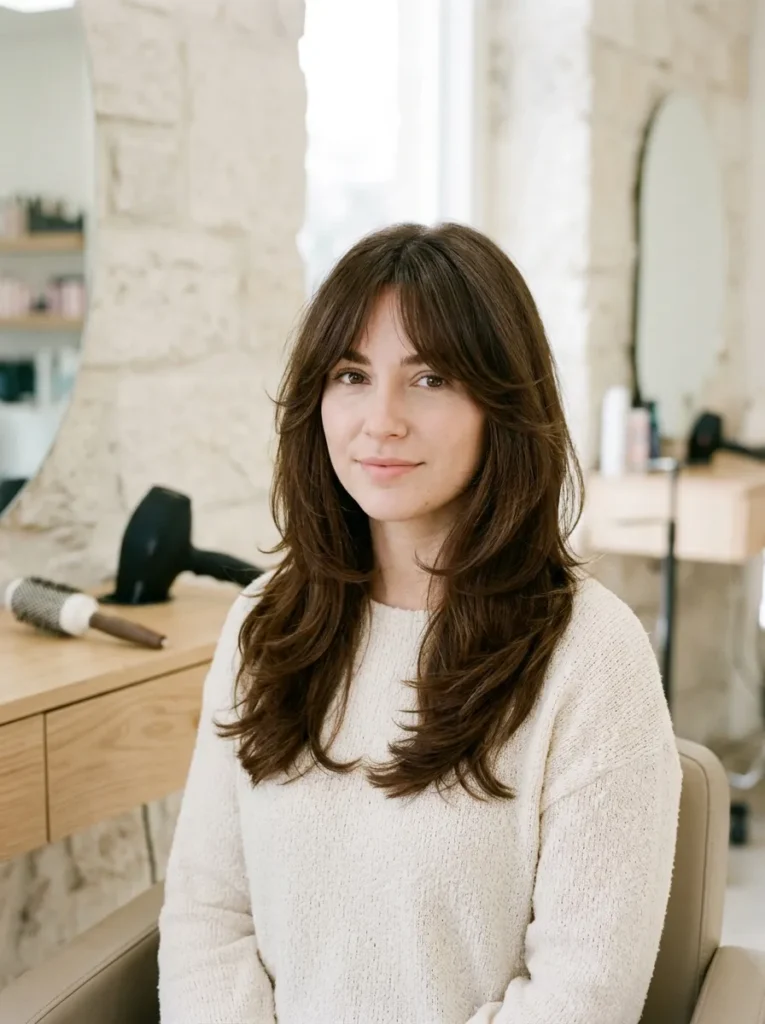
Want curtain bangs that swoop instead of splitting flat? Blow-dry them while damp, directing the roots forward first, then sweep each side away from the center with a small round brush. Let the fringe cool in place before touching it.
These airy bangs give a full blowout a softer outline and help frame the face without a blunt edge. Use a smaller brush for short fringe and a medium brush for longer pieces. Keep the dryer nozzle pointed downward to smooth flyaways and preserve a glossy finish.
4. Feathered Ends
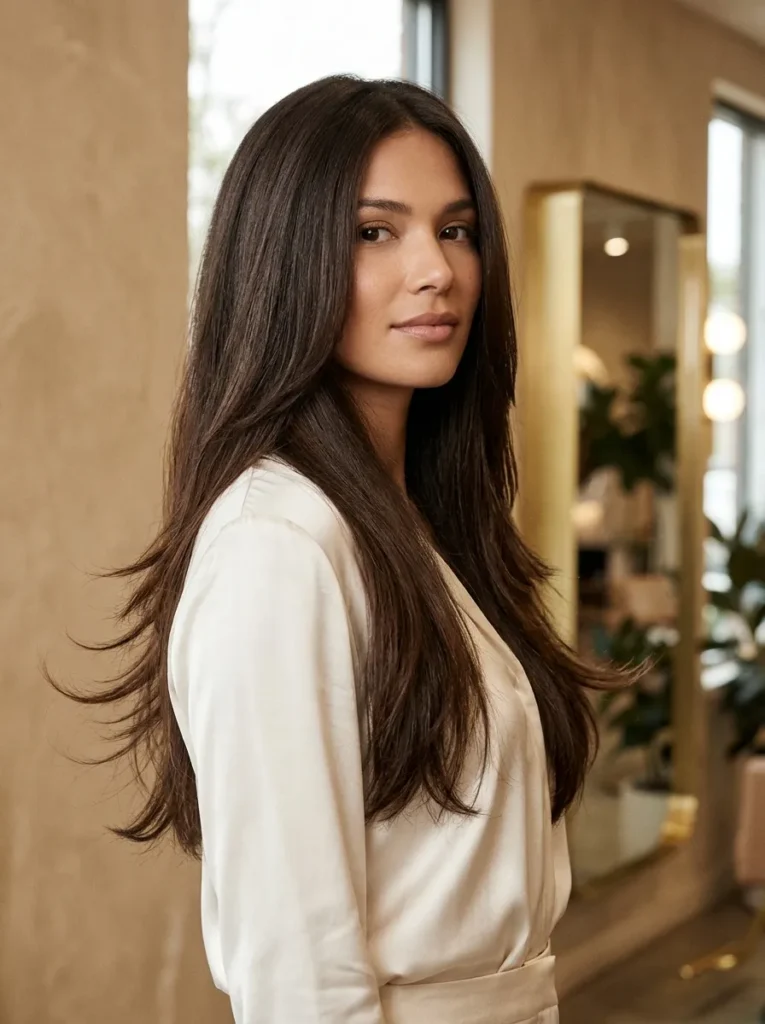
BEFORE: Heavy ends can make long hair look flat, even when the roots have plenty of volume. Straight, blunt lengths may also lack the movement that gives a salon blowout its signature finish.
AFTER: Feathered ends create a lighter silhouette with soft, sweeping movement. The hair curves around the shoulders instead of hanging in one solid line.
The trick is keeping the movement subtle rather than curling every section tightly. Ask your stylist for layers that suit your hair density, then direct the brush outward during drying. A medium round brush works well for longer lengths, while a smaller brush creates a more noticeable flick on shorter layers.
5. Hollywood Blowout Waves

- Prep the hair: Apply heat protectant and a lightweight volumizing mousse to damp roots. Rough-dry until the hair is almost completely dry.
- Create sections: Divide the hair into manageable layers, starting at the nape and working toward the crown.
- Shape the waves: Wrap each section around a large round brush, keeping the tension even as you direct the airflow down the hair shaft.
- Let it cool: Pin each finished section in a loose curl or allow it to cool around the brush before releasing it.
- Finish gently: Brush through the cooled sections with a soft-bristle brush to blend them into flowing waves.
The secret to this glamorous finish is consistency, not excessive heat. Keep your sections similar in size so the waves blend smoothly from roots to ends. A flexible finishing spray helps maintain movement, while a tiny amount of shine serum on the lengths adds polish without leaving the hair greasy.
Also Visit : 24 Flattering Short Bob Hairstyles You’ll Absolutely Love
6. Sleek Rounded Lob
| Styling Detail | Option A: Round Brush | Option B: Flat Iron |
| Root volume | Builds natural lift | Usually creates a flatter finish |
| Curved ends | Creates a soft, rounded shape | Requires careful wrist movement |
| Hair movement | Airy and flexible | Sleek and more defined |
| Best for | Bouncy, salon-style volume | A straighter, sharper silhouette |
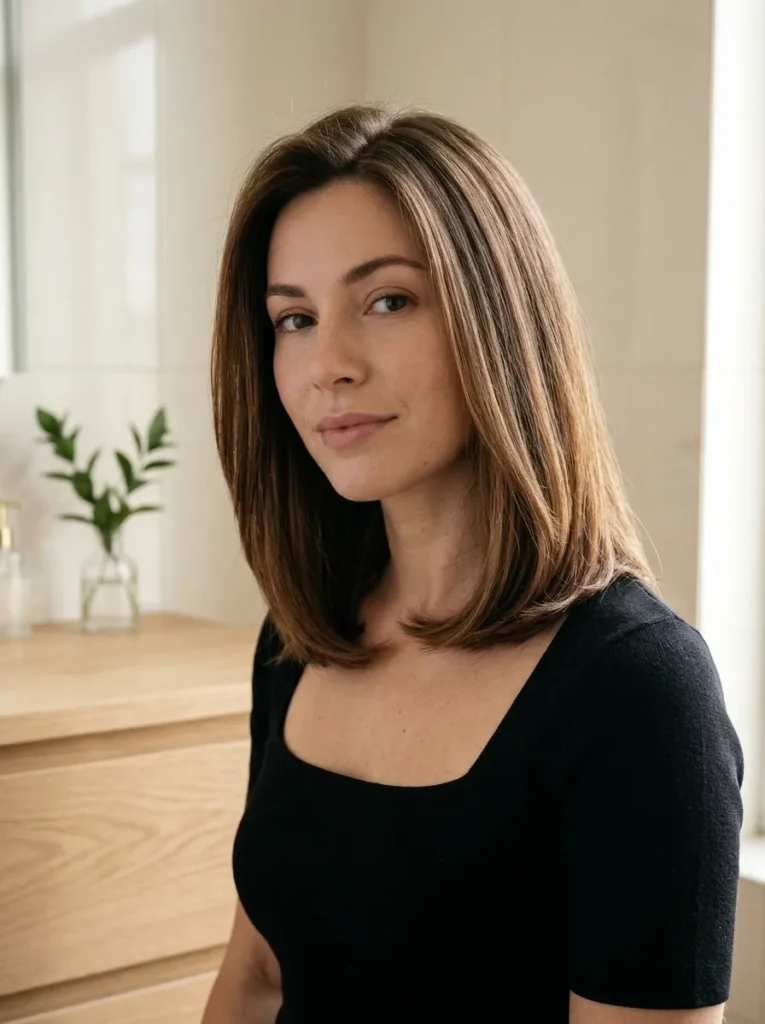
A rounded lob looks especially polished when the ends curve inward without forming a tight curl. For the bounciest result, use a medium round brush and lift the hair slightly at the roots as you dry. Keep the ends moving around the brush, and finish with a light mist of hairspray to maintain the shape.
7. Root-Lifted Layers

DO
- DO: Lift the roots with a round brush to create airy volume at the crown.
- DO: Direct the dryer nozzle downward to smooth the outer hair layer.
- DO: Use the cool setting briefly to help the finished shape settle.
- DO: Apply lightweight volumizing mousse to damp roots before drying.
DON’T
- DON’T: Apply heavy oils near the scalp before styling.
- DON’T: Pull the brush downward if you want extra height at the roots.
- DON’T: Hold concentrated heat on one section for too long.
- DON’T: Overload the finished hair with stiff hairspray.
Root lift starts with how you direct the dryer, not how much product you use. Keep the nozzle pointed down the hair shaft and use a medium round brush to raise the roots gently. A brief cool shot helps the shape settle, while a light mist of flexible spray keeps the finish soft.
8. Long Swoopy Layers

Result: A flowing, layered finish with soft movement around the face.
Best For: Medium to long hair with layers that can swing freely.
Styling Time: Approximately 20 to 35 minutes, depending on hair length and thickness.
Skill Level: Beginner to intermediate with a round brush and dryer.
Long, swoopy layers look especially fluid when each section follows the direction of the haircut. Start near the cheekbones and draw the brush backward, away from the face, while drying. Let the hair cool before separating the layers with your fingers. This keeps the shape airy rather than turning it into stiff, uniform curls.
9. Flipped-Out Ends

Flipped-out ends give shoulder-length and long hair a lively, retro-inspired finish without requiring full curls. After rough-drying, take small sections and roll the last few inches outward over a round brush. Aim the dryer at the brush, then release once the hair feels dry and warm.
To keep the flip crisp without making the ends look spiky, use a medium brush and move it outward just once or twice. Avoid heavy oils before styling because they can weigh the shape down. A dab of lightweight serum on the finished ends adds gloss.
10. Deep Side-Part Volume
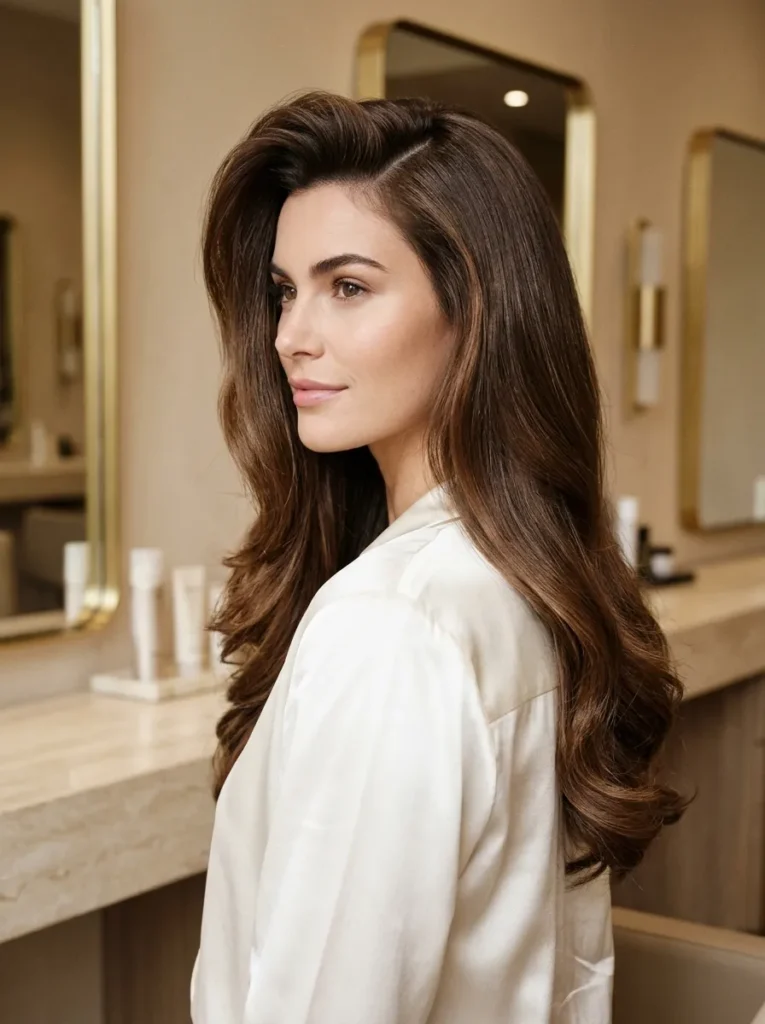
- Choose your part: Create a deep side part while your hair is damp, directing more hair toward the fuller side.
- Lift the roots: Apply lightweight volumizing mousse near the crown, then blow-dry the roots upward with a round brush.
- Shape the lengths: Roll medium-sized sections away from the face to create flowing curves rather than tight curls.
- Set the volume: Allow the hair to cool before gently arranging the fuller side over your shoulder.
A deep side part instantly changes the balance of your hairstyle and makes the crown appear fuller. It works especially well for fine or medium-density hair that needs extra lift. Keep the part slightly imperfect rather than sharply defined for a softer finish, and use flexible hairspray to hold the sweep without stiffness.
Also Visit : 22 Edgy Short Haircuts for a Bold, Confident New Look
11. Brushed-Out Barrel Curls
Quick Tip:
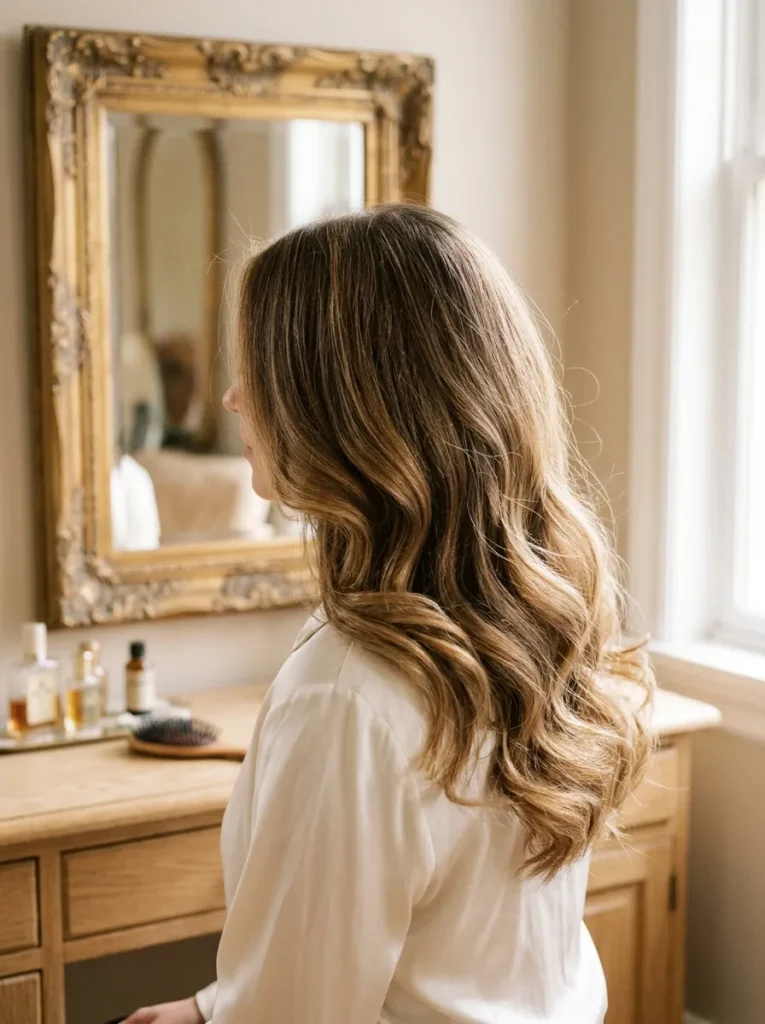
For soft, flowing curls instead of tight ringlets, use a large round brush and work with sections that are neither too thick nor too thin. Let every section cool completely before brushing through it gently with a paddle brush or your fingers.
The result should be a continuous cascade of loose curves rather than separate curls sitting on top of each other. Start at the back of your head and move toward the front so you can control each section. Finish with a flexible hairspray, concentrating on the outer layer if humidity tends to flatten your style.
12. Wispy Bottleneck Bangs
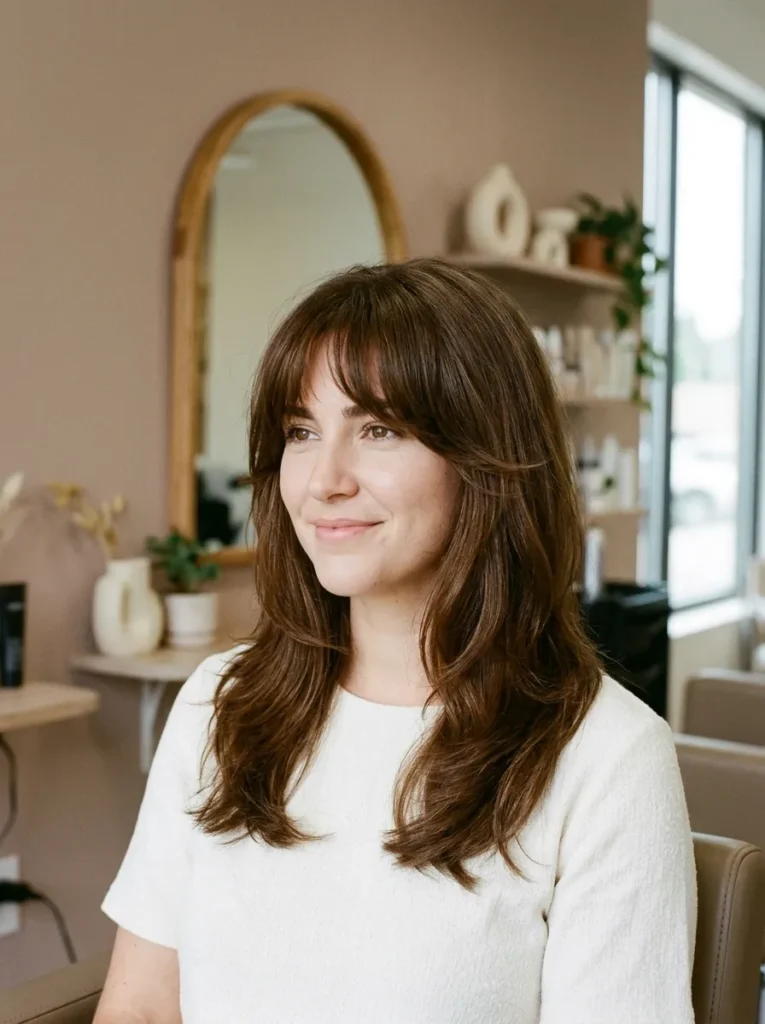
BEFORE: Heavy fringe can sit flat against the forehead, while longer front sections may lack the lift needed to blend into a bouncy blowout. The result can look disconnected from the rest of the hairstyle.
AFTER: Wispy bottleneck bangs create a softer outline, with shorter pieces near the center and longer sections sweeping toward the cheekbones. The gradual shape blends naturally into surrounding layers.
Start with damp fringe and use a small round brush to direct the roots forward before sweeping the sides outward. Keep the dryer on a moderate heat setting, and avoid pulling the fringe too tightly. A light touch gives the bangs movement while keeping the overall style smooth and airy.
13. Butterfly Blowout Layers

- Prep for volume: Apply heat protectant and lightweight mousse to damp hair, concentrating the mousse around the roots and upper layers.
- Section strategically: Separate the shorter face-framing layers from the longer lengths so each section receives enough attention.
- Lift and curve: Wrap each section around a large round brush, lifting the roots and directing the front pieces away from the face.
- Cool the shape: Let each section cool around the brush before releasing it, especially around the crown and front layers.
- Blend the finish: Brush through gently with your fingers to connect the shorter layers with the longer lengths.
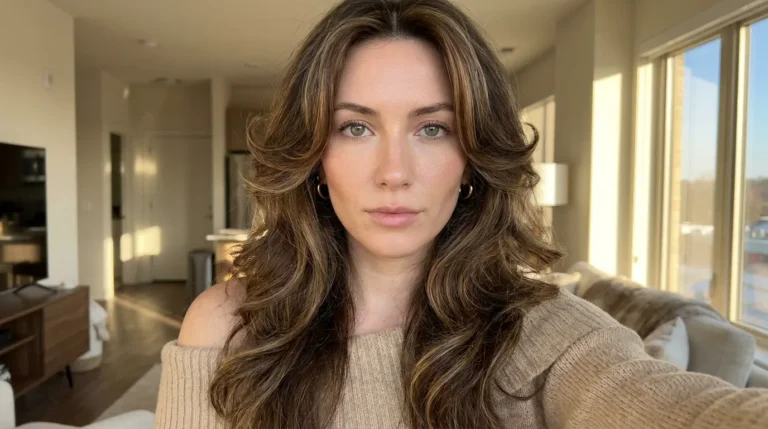
Butterfly layers create their signature shape through the contrast between shorter face-framing pieces and flowing lower lengths. For a bouncy finish, focus on lifting the shorter layers without overcurling them. This style works particularly well on medium to long hair, although the amount of volume depends on your haircut and natural density.
14. Silky Straight Blowout
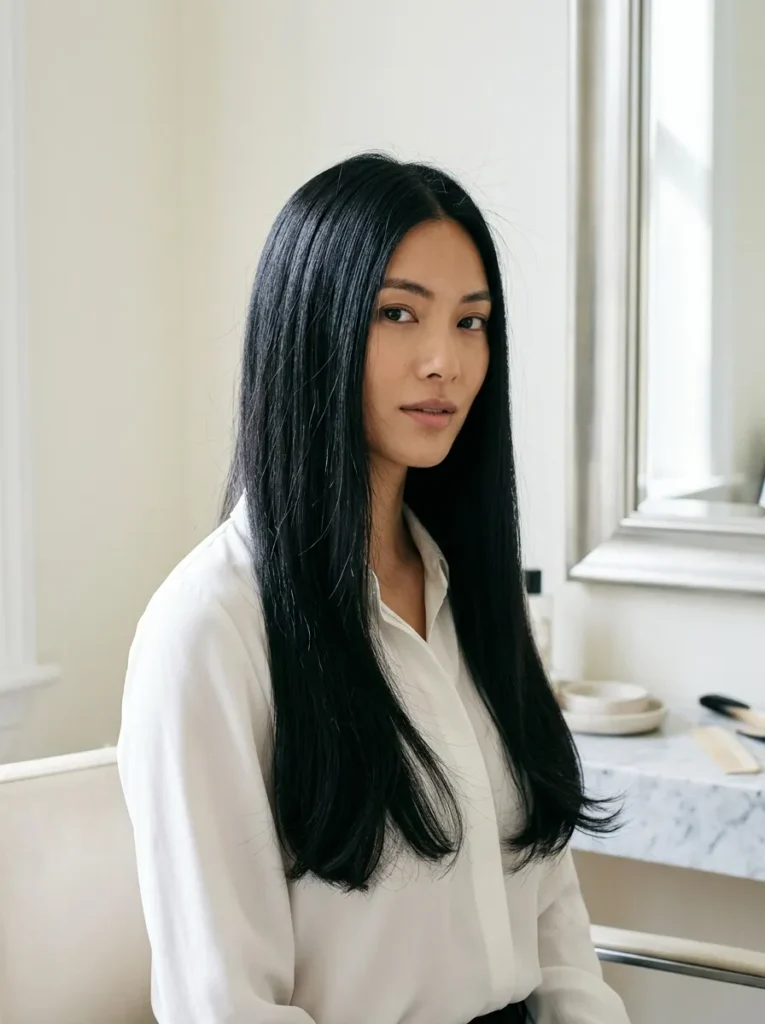
| Styling Detail | Option A: Voluminous Finish | Option B: Sleek Finish |
| Root shape | Lifted and airy | Smooth with subtle height |
| Brush choice | Large round brush | Paddle brush or large round brush |
| Hair movement | Bouncy and full | Fluid and polished |
| Best result | Soft body through the lengths | Smooth strands with rounded ends |
A silky finish depends on controlled airflow and even tension, not simply applying more heat. Work with small sections and direct the dryer nozzle downward to smooth the cuticle. Keep the ends gently curved instead of pin-straight for a softer result, and use a small amount of finishing serum only after styling.
15. Short Bouncy Bob

DO
- Choose a small or medium round brush that fits the length of your bob.
- Lift the roots slightly while directing the airflow downward.
- Roll the ends inward to create a rounded silhouette.
- Finish with lightweight hairspray to preserve movement without stiffness.
DON’T
- Avoid wrapping the entire section tightly around the brush.
- Do not use heavy creams that flatten short layers.
- Avoid brushing the hair repeatedly while it is still warm.
- Do not hold the dryer too close to the ends.
Short hair can have plenty of bounce when the roots have lift and the ends follow the shape of the cut. Work in narrow sections around the crown and sides, keeping the brush moving to prevent unwanted bends. A chin-length bob with softly rounded ends creates a fuller appearance without needing elaborate styling.
Also Visit : 21 Half Up Half Down Hairstyles for a Dazzling Look
16. Long-Lasting Blowout
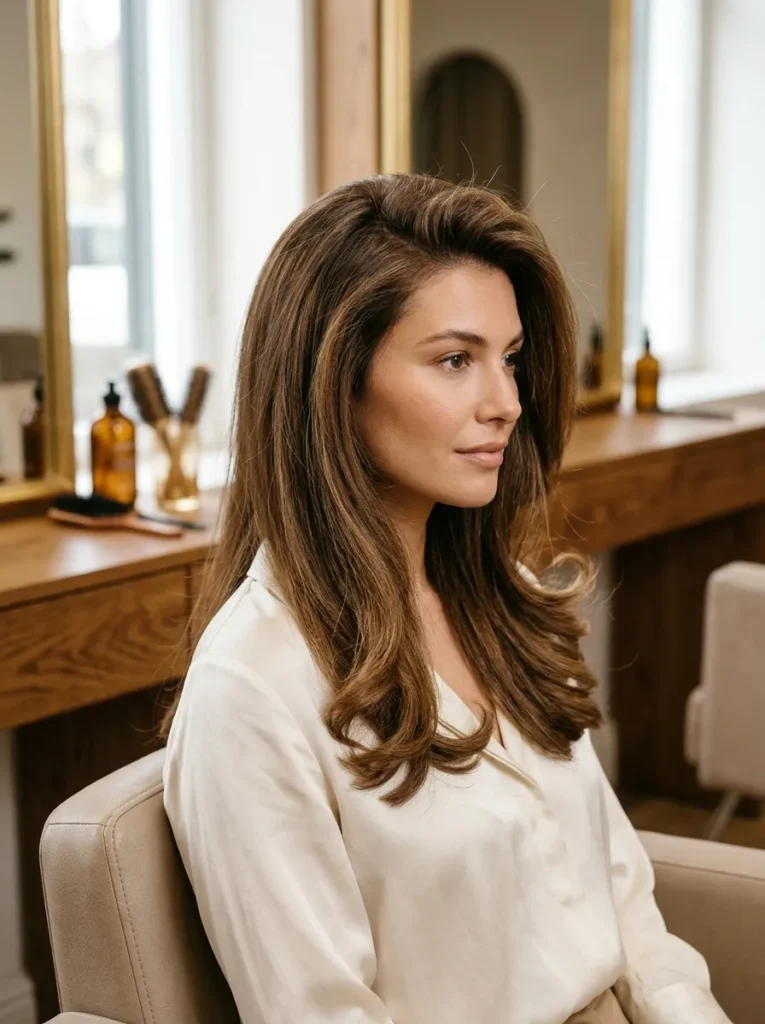
Result: Smooth lengths, airy roots, and flexible movement.
Best For: Medium to long hair that loses volume quickly.
Styling Time: Approximately 25 to 40 minutes, depending on hair thickness.
Skill Level: Beginner to intermediate.
The secret to a longer-lasting finish is letting each section cool before moving on. Start with heat protectant and a small amount of lightweight mousse, then dry your hair completely in manageable sections. Avoid touching the roots repeatedly afterward, and carry a travel-size dry shampoo for refreshing oily roots between washes.
17. 90s Supermodel Volume

Big, bouncy hair gets its signature shape from lifted roots and broad, flowing curves rather than tight curls. Start by applying volumizing mousse to damp roots, then blow-dry in sections with a large round brush. Lift each section away from the scalp to build fullness through the crown.
Once the hair is dry, wrap the larger sections around the brush and allow them to cool before releasing. Gently brush everything together to create that soft, connected finish associated with classic 1990s salon styling. Keep heavy oils away from the roots so your volume stays light and airy.
18. Smooth Blowout for Curly Hair

- Start with moisture: Use a moisturizing shampoo and conditioner suited to your hair texture to help reduce dryness before heat styling.
- Protect the strands: Apply a heat protectant evenly, following the product instructions for damp hair.
- Work in sections: Divide thick or tightly curled hair into small sections so you can control the airflow and brush tension.
- Choose the right brush: Use a round brush for volume and curved ends, or a paddle brush for a smoother, straighter finish.
- Control the heat: Use moderate heat and keep the dryer moving rather than concentrating it on one spot.
A smooth finish does not require rushing or using the highest temperature. Allow excess moisture to evaporate before working closely with the brush, and keep the hair gently taut rather than pulling painfully. If your curls are fragile or chemically treated, use less heat and stop if you notice excessive dryness or breakage.
19. Soft C-Curve Ends
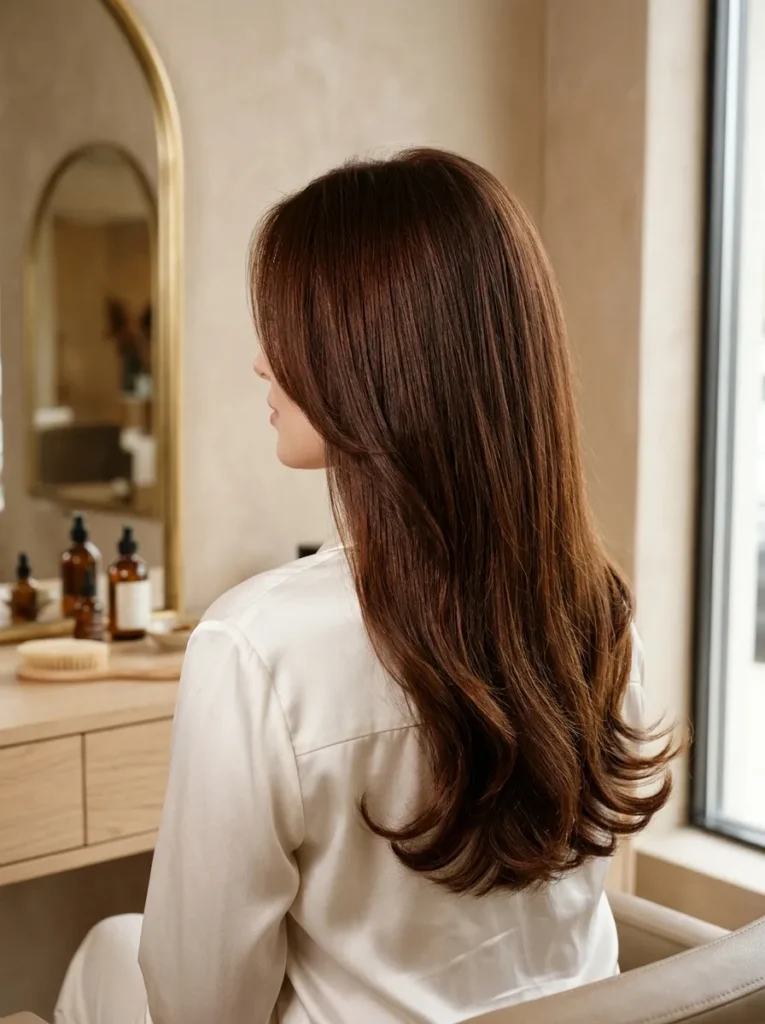
Result: A soft, rounded finish that keeps the ends looking polished and full.
Best For: Medium to long hair that needs a little extra shape.
Styling Time: Approximately 15 to 25 minutes, depending on hair length.
Skill Level: Beginner-friendly with a medium round brush.
A gentle C-curve gives your lengths a finished look without creating obvious curls. After rough-drying, guide the last few inches of each section around a round brush and turn it slightly inward. Let the hair cool before releasing it, and keep your finishing product light so the ends stay bouncy rather than stiff.
20. Airy Shoulder-Length Blowout

Shoulder-length hair can look surprisingly full when the roots have lift and the ends turn softly inward. Start with heat protectant, then rough-dry until the hair is nearly dry. Use a medium round brush to lift the crown and guide each section around the brush, keeping the curve loose.
Let the sections cool before separating them with your fingers; this helps the shape hold without looking overly styled. A small amount of smoothing cream on the ends can control frizz, but skip heavy products at the roots. The result is a relaxed, polished finish that works for everyday wear.
Also Visit : 24 Layered Haircuts That Give Flat Hair Bold Volume
21. Glossy Hollywood Finish
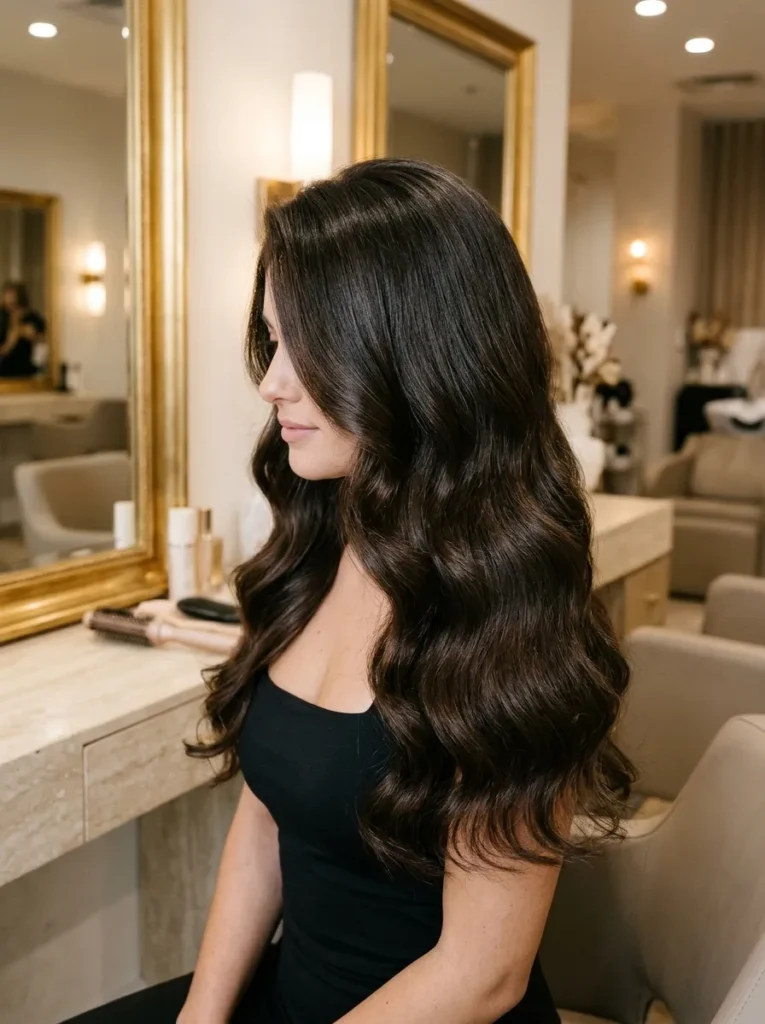
- Want flowing, red-carpet waves without tight curls? Start with dry hair and use a heat protectant suited to your chosen styling tool.
- Divide your hair into horizontal sections, beginning at the nape and leaving the crown for last.
- Wrap each section around a large round brush, lifting the roots and turning the ends into broad curves as you dry.
- Let each section cool completely before brushing through with a paddle brush or your fingers.
- Mist flexible hairspray from arm’s length and keep smoothing products focused on the last few inches.
The polished look comes from blending the sections into one flowing shape, not from making every curl identical. If your hair is fine, keep products light and avoid overloading the crown. For thick hair, smaller sections can improve control and help the finished style last longer.
Conclusion
A beautiful blowout is all about finding the right balance of volume, smoothness, and natural movement. From bouncy butterfly layers to a sleek rounded bob, these 21 blowout hairstyles give you plenty of inspiration for your next salon appointment or at-home styling session.
Start with the look that feels most like you, then adjust the brush size, root lift, and curl direction to suit your hair. Remember, small styling details can make a noticeable difference in the final result.
Save this article on Pinterest so your favorite ideas are easy to find later, and share it with a friend who loves a fresh hairstyle. Your next great hair day could start with one simple idea.