18 Trendy Hairstyles That Make Every Look Stunning
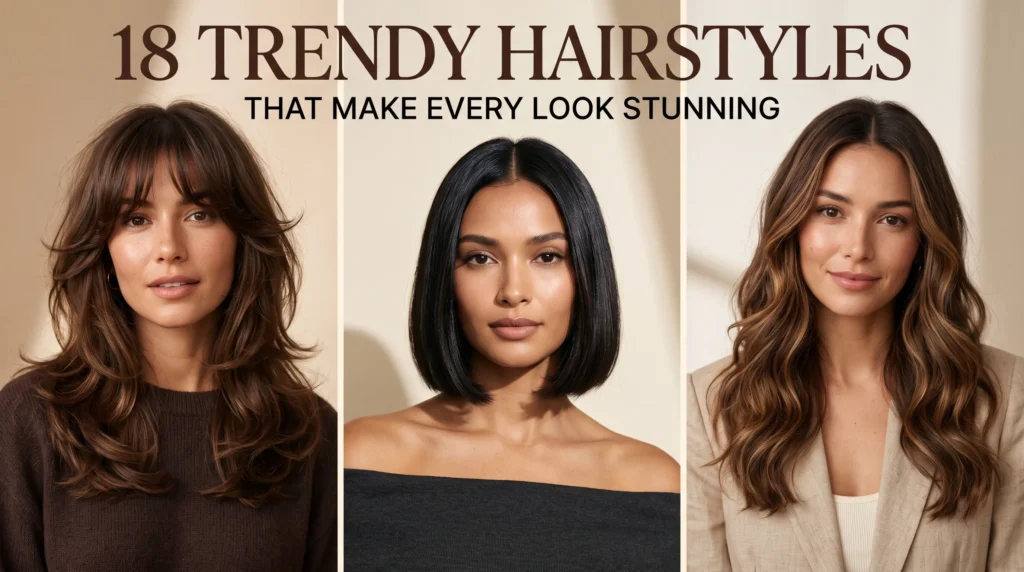
Some days, a small change to your hair is all it takes to make your whole look feel new. These 18 trendy hairstyles offer fresh inspiration, from soft layers and bouncy blowouts to easy updos and polished buns.
Whether you are getting ready for work, planning a special occasion, or simply tired of styling your hair the same way, there is an idea here to try. Each look includes practical styling guidance to help you understand the finish, choose details that suit your hair, and recreate the style with tools you may already own. Consider your hair texture, length, and daily routine before choosing a cut or style. Save the looks you love and use them as inspiration at your next salon visit.
1. Soft Layered Bob

A soft layered bob gives short hair movement while keeping its shape polished. Ask your stylist for light face-framing layers and a textured finish. Fine hair usually benefits from a fuller perimeter, which helps the ends look denser rather than wispy throughout the cut and easy to style.
For a casual finish, rough-dry your hair with your fingers, then bend a few pieces with a flat iron. A pea-sized amount of lightweight cream separates the ends without making them stiff. Among trendy hairstyles, this bob is especially practical for busy mornings and quick refreshes.
2. Sleek High Ponytail
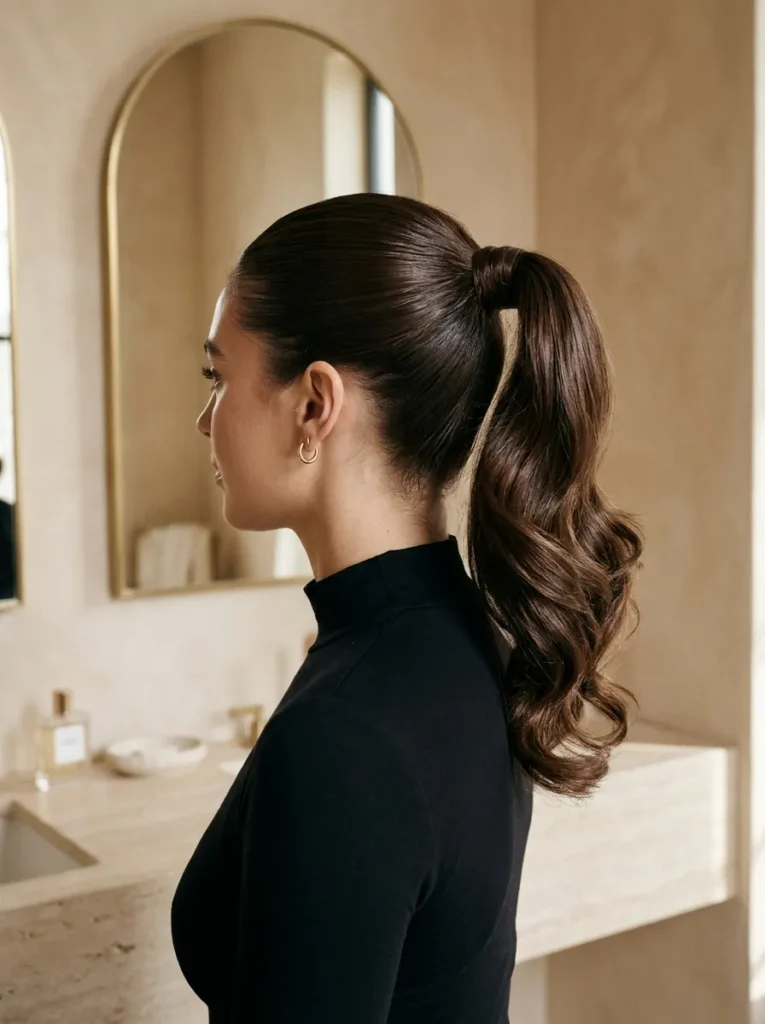
A polished ponytail can make even a simple outfit look thoughtfully styled. Here is how to get the finish right:
- Brush thoroughly: Remove tangles before gathering your hair to prevent bumps.
- Choose your height: Position the ponytail near the crown for a lifted appearance.
- Smooth the roots: Apply a small amount of styling gel or smoothing cream.
- Secure firmly: Use a strong hair elastic that matches your hair color.
- Hide the elastic: Wrap a thin section of hair around the base and secure it underneath with a bobby pin.
The secret is keeping the crown smooth while allowing the ponytail to have some movement. Add loose curls for a softer appearance or keep the length straight for a sleek finish. A few face-framing strands can also make this style feel less formal.
3. Loose French Braid

Quick Tip:
Avoid pulling the braid too tightly while crossing each section. Once secured, gently loosen the outer loops with your fingertips to create a fuller appearance without disturbing the structure.
A loose French braid gives your hair a relaxed, romantic finish while keeping longer strands neatly in place. Start near the crown and gradually incorporate small sections as you move downward. A tiny clear elastic keeps the end secure, while a light hairspray helps control flyaways without making the braid stiff.
4. Butterfly Face Frame

BEFORE:
Long hair without layers can look heavy around the face, especially when styled straight. The overall shape may lack movement and definition.
AFTER:
A butterfly cut creates shorter layers around the cheeks and jaw while keeping the longer lengths intact. The result is a fuller, bouncy shape with beautiful movement.
The trick is styling the shorter layers away from your face using a round brush or large curling brush. I’ve noticed that directing the front sections outward helps create that signature airy finish. Ask your stylist to keep enough length in the back so the haircut remains versatile.
5. Textured Pixie Cut
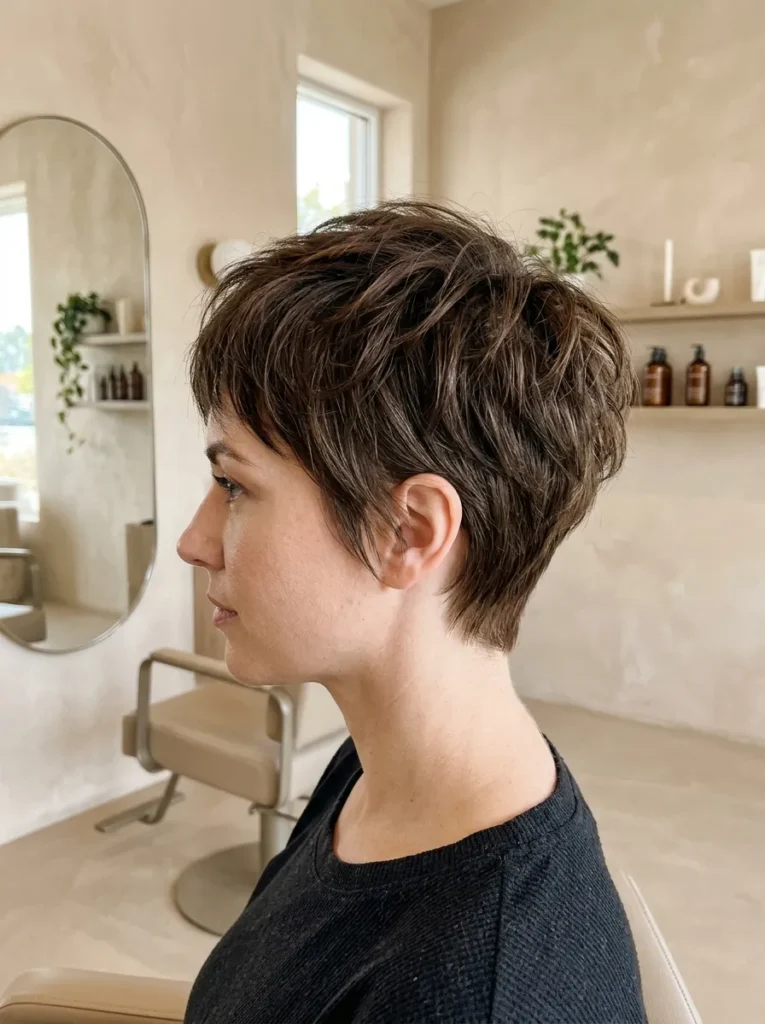
Short hair can have plenty of personality, especially with a deliberately textured pixie. Follow these steps to style it:
- Start with damp hair: Gently towel-dry your hair after washing.
- Create volume: Apply a small amount of lightweight mousse to the roots.
- Blow-dry upward: Use your fingers to lift the top layers while drying.
- Define the texture: Rub a little matte styling paste between your fingertips and separate individual pieces.
- Finish naturally: Adjust the fringe and crown with your fingers rather than flattening everything with a brush.
The beauty of this cropped cut is how little styling time it requires. Ask for slightly longer pieces on top if you enjoy changing your part or creating different textures. A small amount of styling paste is usually enough to keep the shape defined throughout the day.
Also Visit : 17 Easy Hair Updos for Effortless, Elegant Looks to Try
6. Half-Up Claw Clip

A simple claw clip can give a half-up hairstyle a completely different finish. Compare these two styling options:
| Styling Detail | Option A: Classic Clip | Option B: Twisted Clip |
| Hair preparation | Lightly brushed hair | Softly textured hair |
| Sectioning | Upper half gathered | Upper half twisted first |
| Appearance | Simple and relaxed | Fuller and more detailed |
| Best for | Everyday outfits | Casual outings and occasions |
For a secure finish, gather the hair from above your ears and check that the clip holds without pulling at your scalp. Choose a medium clip for fine hair and a larger one for thick hair. Leave two small front sections loose to soften the overall shape.
7. Curtain Bangs

DO:
- Choose bangs that frame your cheekbones and blend naturally into the rest of your hair.
- Blow-dry each side away from your face using a medium round brush.
- Use a lightweight styling cream to control flyaways.
- Trim the fringe regularly to maintain its shape.
DON’T:
- Cut the bangs too short without considering your face shape.
- Apply heavy oils directly to the roots.
- Blow-dry the entire fringe in only one direction.
- Ignore regular trims as the bangs grow out.
Curtain bangs add softness without requiring a dramatic haircut. They work beautifully with long layers, medium-length cuts, and even shoulder-length hair. For a natural finish, create a gentle middle part and sweep both sides outward. Keep the ends light so they move rather than sit heavily against your forehead.
8. Bouncy Blowout
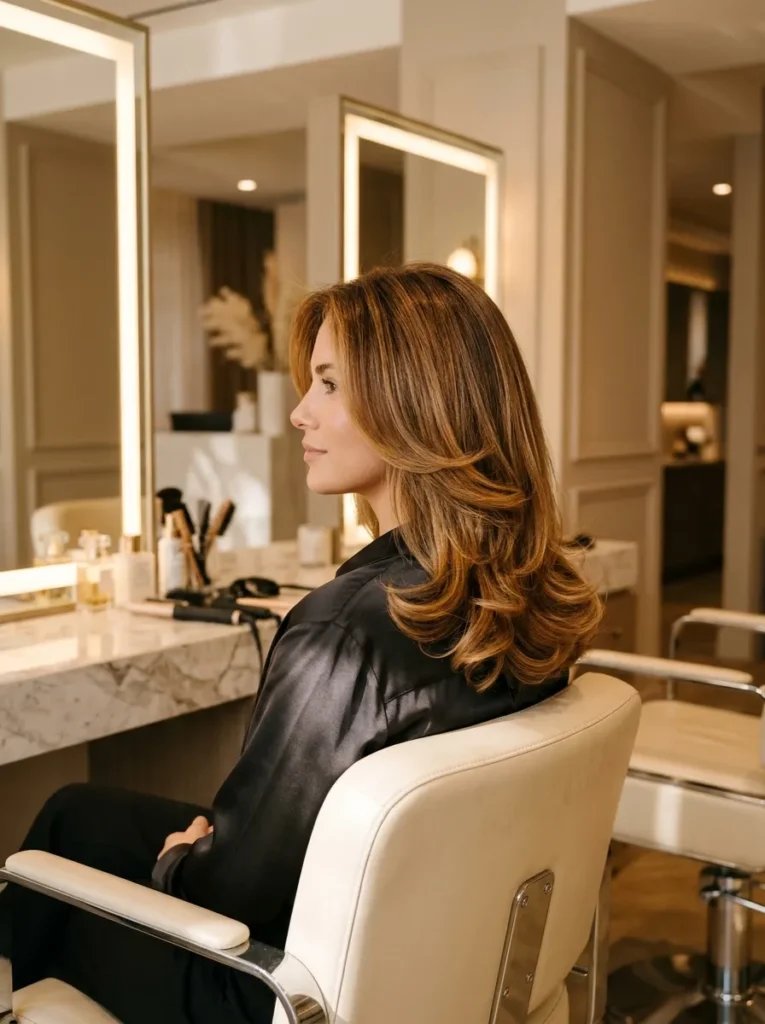
Styling Time: 25 to 40 minutes, depending on hair length and thickness.
Skill Level: Beginner to intermediate.
Best Tools: Large round brush, blow dryer, heat protectant, and lightweight volumizing mousse.
Best For: Fine to medium hair that needs extra body and movement.
A bouncy blowout gives ordinary layers a fuller, more polished appearance. Start with heat protectant and dry your roots while lifting them with your fingers. Work through small sections using a round brush, rolling the ends inward or outward depending on your preferred shape. Allow each section to cool before brushing through the finished style.
9. Twisted Low Chignon

A beautifully twisted low chignon brings an elegant touch to both everyday outfits and special occasions. The hairstyle sits close to the nape, creating a clean silhouette while keeping the hair securely gathered.
Start by making a low ponytail, then divide the length into two sections and twist them around each other. Wrap the twisted hair into a loose bun and secure it with bobby pins. Gently loosen a few strands around your face for softness.
For weddings, formal dinners, or evening events, add pearl pins or a delicate gold accessory. A little hairspray helps maintain the shape without making the finished bun look stiff.
10. Polished Glass Hair
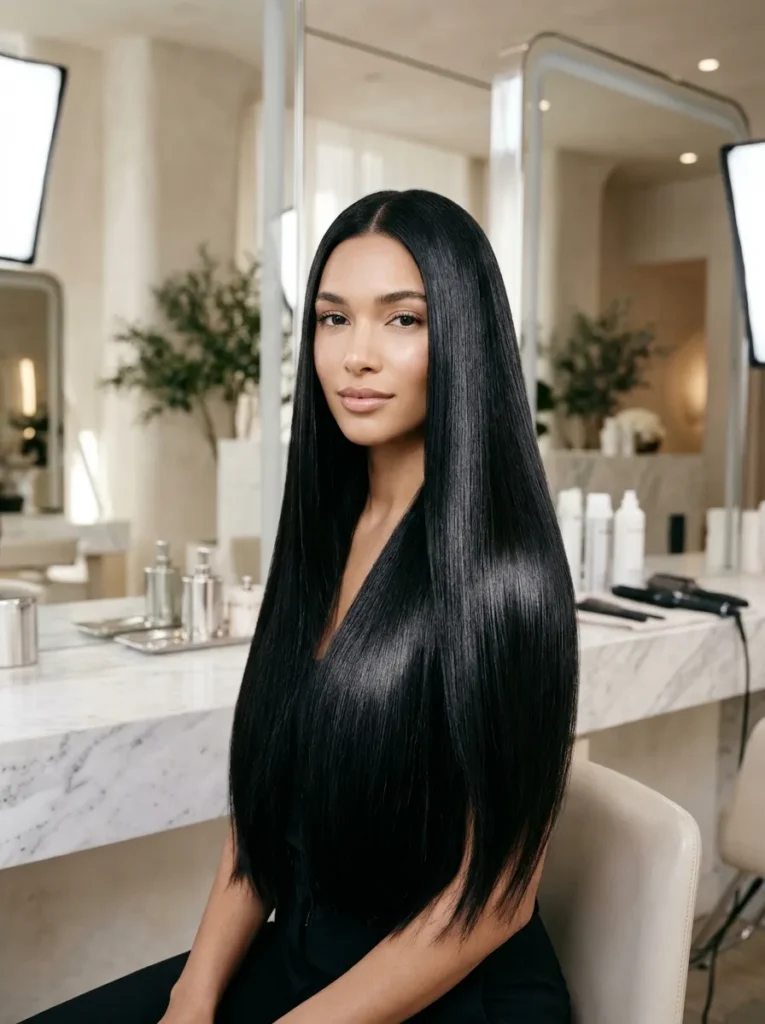
- Wash thoroughly: Use a smoothing shampoo and conditioner to reduce frizz and prepare the hair.
- Apply protection: Distribute heat protectant evenly through damp hair before blow-drying.
- Dry in sections: Use a paddle brush to keep the roots smooth and the lengths controlled.
- Straighten carefully: Work with small sections using a quality flat iron at a suitable temperature.
- Add shine: Finish with a few drops of lightweight serum, concentrating on the mid-lengths and ends.
The secret to this glossy finish is preparation rather than excessive styling products. Keep your flat iron moving instead of repeatedly passing over the same section. A center part creates a symmetrical appearance, while a side part gives the style a softer, more dramatic feel.
Also Visit : 21 Radiant Blonde Hair Ideas for a Fresh New Season
11. Messy Topknot
Quick Tip:
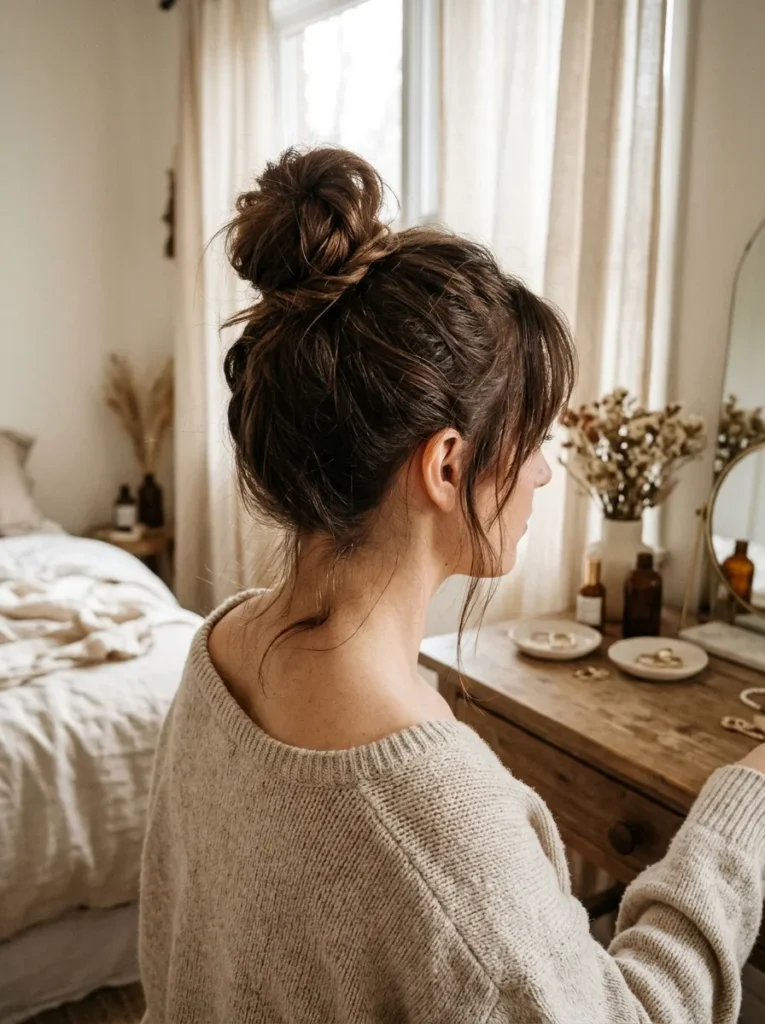
For a fuller topknot, lightly tease the ponytail before twisting it into a bun. Secure the shape with bobby pins rather than pulling everything tightly into place.
A messy topknot is a practical choice for second-day hair, busy mornings, or relaxed weekend outfits. Gather your hair high on the crown, twist it loosely, and secure the bun while leaving a few ends visible. Pull out delicate strands around your temples for a softer finish that feels intentional rather than untidy.
12. Soft Boho Waves

BEFORE:
Straight hair can sometimes look flat, especially when the lengths fall in one uniform shape. Without texture, the style may lack movement and dimension.
AFTER:
Soft boho waves create gentle bends throughout the hair, giving it a relaxed, fuller appearance. The natural-looking texture adds dimension without making the finish appear overly structured.
To create this look, wrap medium-sized hair sections loosely around a curling wand, leaving the last inch of each section out. Alternate the curling direction to avoid uniform ringlets. Once cool, separate the waves with your fingers and finish with a flexible-hold texturizing spray for natural movement.
13. Braided Crown

- Create a middle part: Divide your hair into two equal sections, starting from the front.
- Begin braiding: French braid each side, gradually adding small sections as you move toward the back.
- Wrap the braids: Bring both braids around the head to form a crown shape.
- Secure the ends: Use discreet bobby pins to tuck the ends underneath the opposite braid.
- Add softness: Gently loosen a few braid loops for a fuller, more natural appearance.
A braided crown keeps your hair away from your face while creating a detailed, feminine finish. It works particularly well for garden parties, weddings, and outdoor celebrations. For extra hold, prepare your hair with a little texturizing spray before braiding, especially if your strands are naturally silky.
14. Side-Swept Curls

| Styling Detail | Option A: Defined Curls | Option B: Brushed Waves |
| Hair preparation | Apply curl-enhancing mousse | Apply lightweight smoothing cream |
| Curling technique | Use a medium curling wand | Use a larger barrel |
| Texture | Structured and bouncy | Soft and flowing |
| Overall finish | Glamorous and polished | Relaxed and romantic |
The right side part can make these curls look even more striking. Curl your hair in manageable sections, allow each curl to cool, and gently brush through for a softer finish. Sweep everything over one shoulder and secure the opposite side discreetly with pins. Finish with flexible-hold hairspray.
15. Rope Twist Ponytail
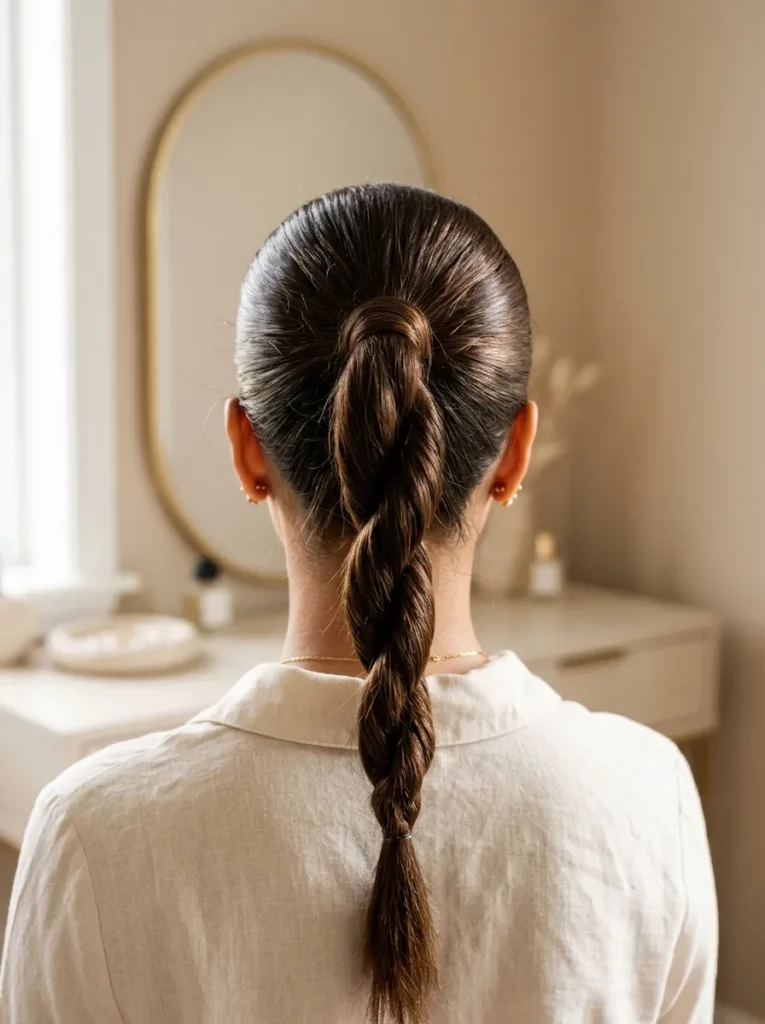
DO:
- Brush your hair thoroughly before gathering it into a ponytail.
- Secure the base with a strong elastic.
- Divide the ponytail into two equal sections.
- Twist both sections in the same direction before wrapping them around each other in the opposite direction.
DON’T:
- Start twisting with tangled or uneven sections.
- Pull the hair so tightly that it causes scalp discomfort.
- Use excessive gel that makes the finish look stiff.
- Leave the ends unsecured, as the twist may unravel.
A rope twist gives a standard ponytail an interesting texture without requiring complicated braiding skills. You can wear it high for a sporty appearance or low for a more understated finish. A little styling wax helps smooth shorter strands, while a small elastic keeps the twisted ends neat.
Also Visit : 24 Effortless Pool Hairstyles That Stay Put All Day
16. Curly High Puff
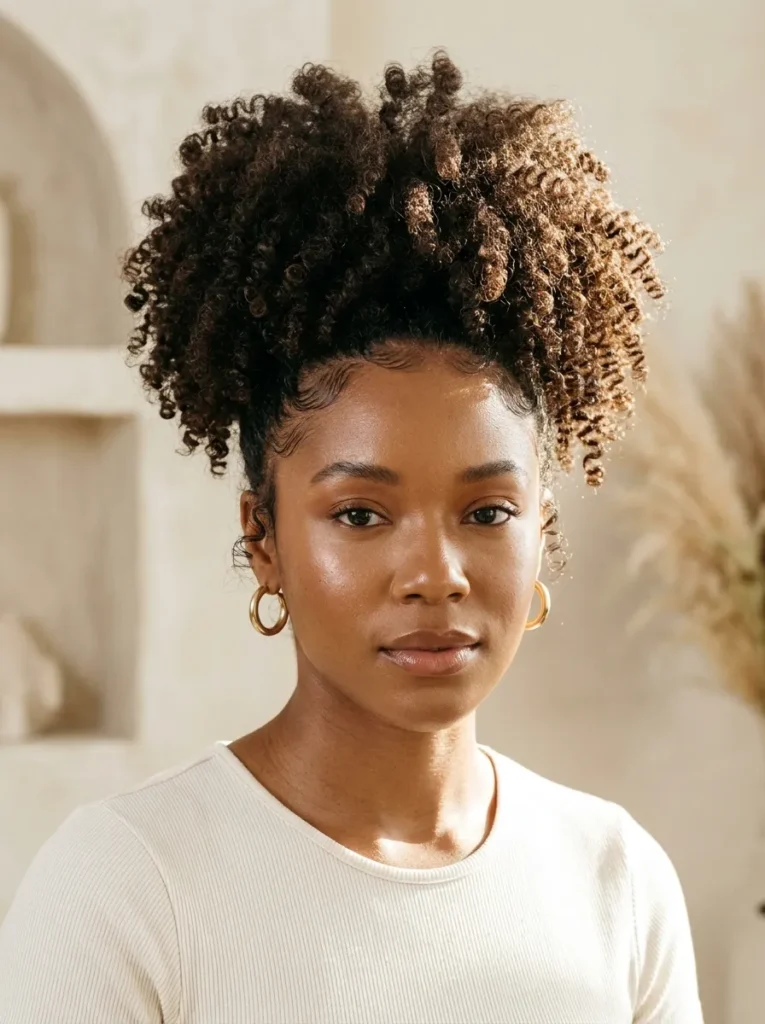
Best For: Naturally curly and coily hair.
Hair Length: Medium to long.
Styling Time: 10 to 15 minutes.
Difficulty: Beginner-friendly.
A curly high puff celebrates natural texture while keeping your hair away from your face. Gather your curls gently toward the crown using a soft brush and a satin-friendly hair tie or puff band. Apply a little curl cream to define individual coils. Avoid pulling too tightly, as comfort and healthy edges matter just as much as the finished shape.
17. Sleek Low Bun
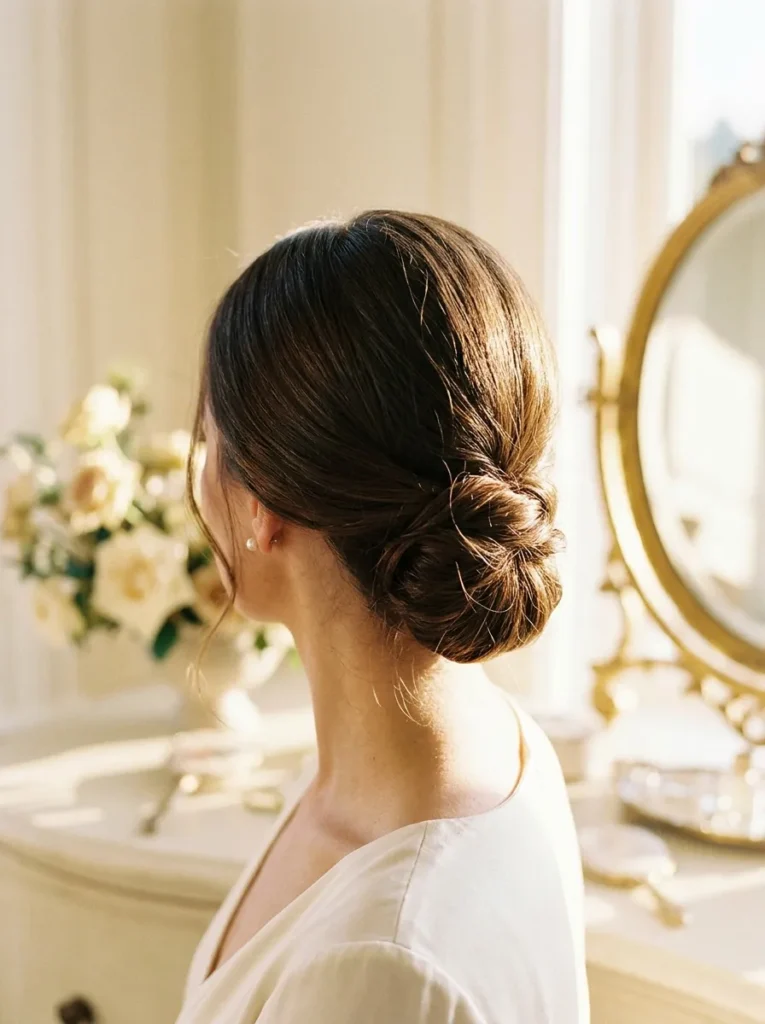
Few hairstyles look as refined as a sleek low bun. Its smooth finish creates a clean silhouette that works beautifully with formal dresses, office outfits, and everyday minimal looks.
Start by creating a precise center or deep side part. Brush your hair backward, gather it at the nape, and secure it into a low ponytail. Twist the length into a compact bun and hold it with bobby pins. A small amount of smoothing gel helps control flyaways without leaving the roots looking overly stiff.
For a softer variation, leave two delicate strands around your face or loosen the bun slightly. I’ve noticed that keeping the bun proportional to your hair thickness makes the overall finish look much more balanced.
18. Wispy Shag Cut
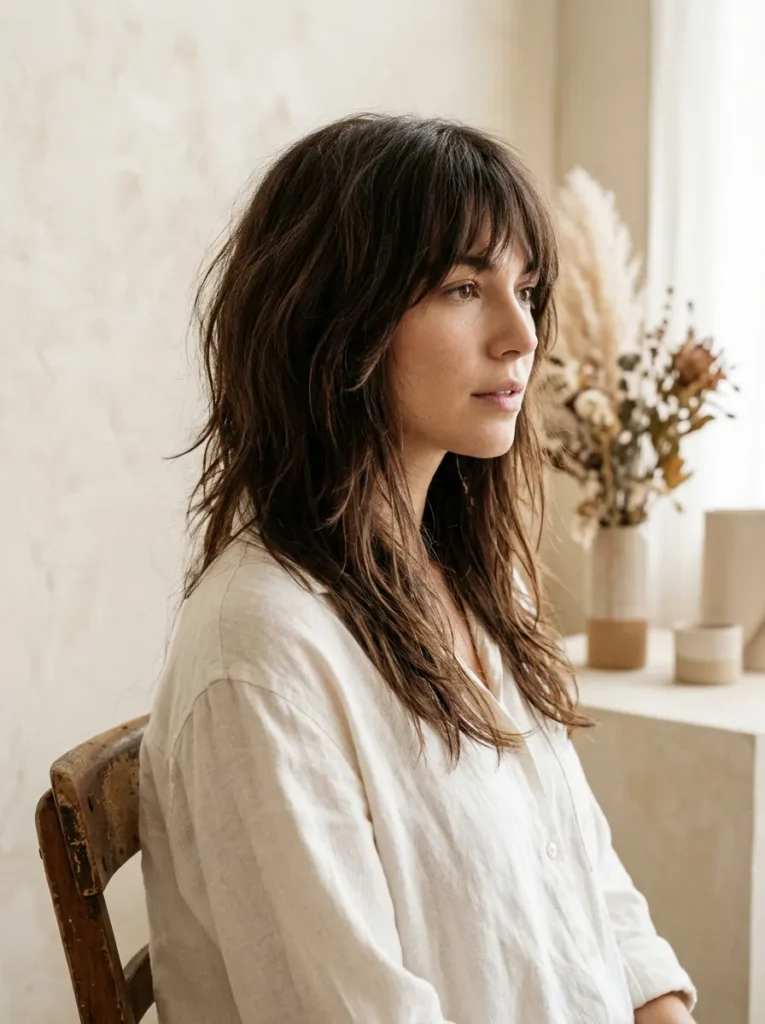
- Ask for choppy layers: Request graduated layers throughout the crown and sides to create natural movement.
- Keep the fringe wispy: Choose light, textured bangs that blend into the shorter face-framing pieces.
- Add texture: Apply a lightweight mousse or texturizing spray to damp hair.
- Style with fingers: Scrunch the lengths while drying to encourage a naturally tousled finish.
- Refresh the ends: Use a small amount of styling cream to separate individual layers.
A wispy shag adds dimension without sacrificing too much length. It works particularly well for people who enjoy slightly undone hair rather than perfectly polished styling. Straight, wavy, and naturally textured hair can all benefit from this shape, although the layering should be adjusted to suit individual hair density and curl pattern.
CONCLUSION
Great hair does not have to mean a complicated routine or a dramatic haircut. The right style can bring movement, shape, and confidence while still fitting your everyday life. These trendy hairstyles offer options for different lengths, textures, and occasions, so start with the look that feels easiest to wear and adapt it to your needs. Save this article to your Pinterest boards for your next salon appointment or styling day, try one idea at a time, and share it with a friend who is ready for a fresh look. A small change can be a lovely new beginning.