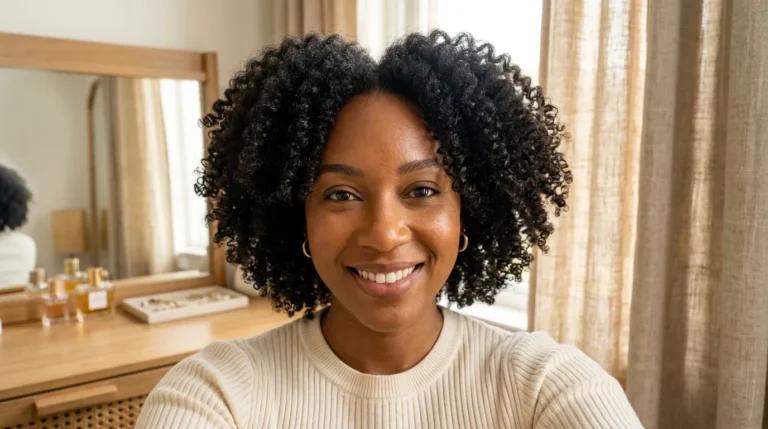
20 Stunning Jayda Wayda Braids You’ll Want Immediately
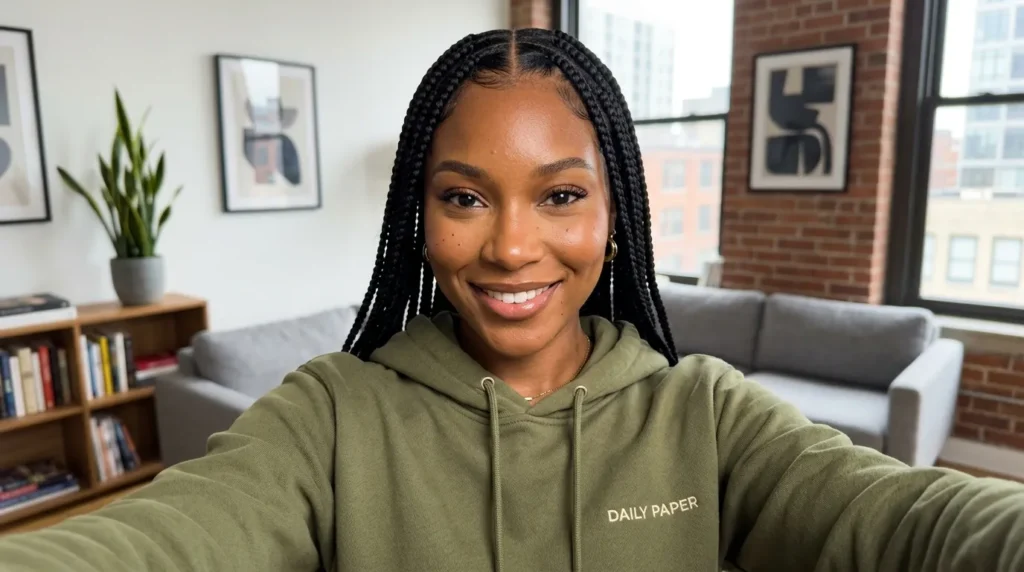
Are you tired of sitting in the salon chair all day for a style that just doesn’t feel like you? You need a look that turns heads the second you step outside.
That is exactly why Jayda Wayda braids are taking over everyone’s social media feeds right now. They give you that perfect mix of a clean, neat protective style with serious street-style energy.
In my experience behind the chair, clients want hair that is easy to manage but still looks highly expensive. I’ve noticed that switching to these sleek, medium parts saves time while giving your natural curls a healthy break. Let’s look at the best ways to wear this viral trend.
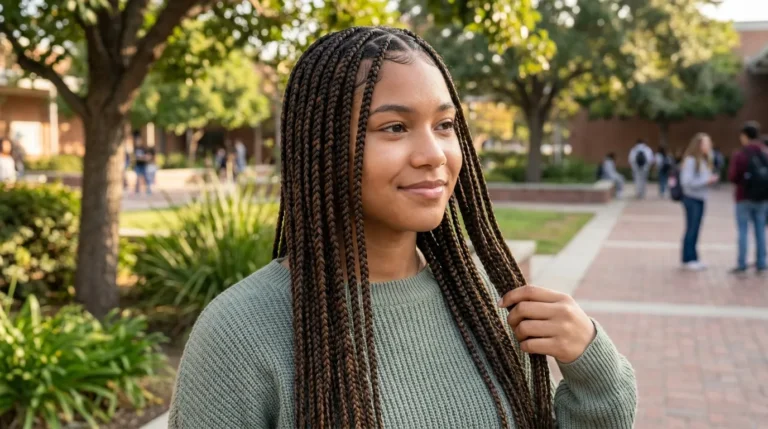
1. Classic Jayda Wayda Braids
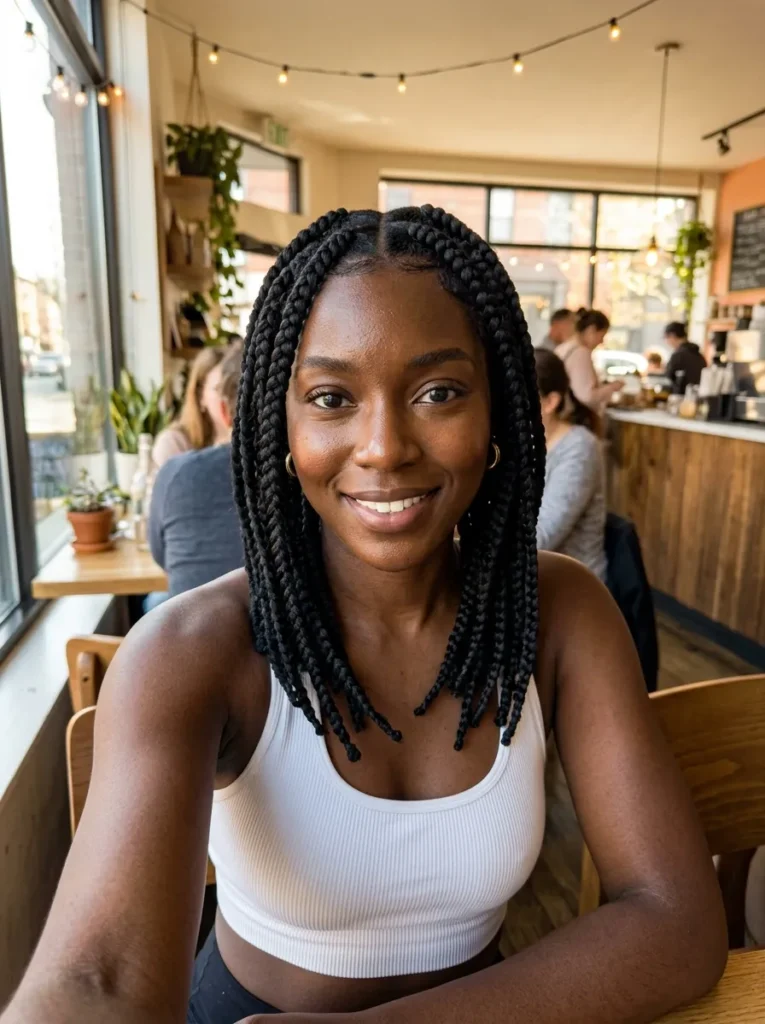
Get that signature flawless look with these clean, chunky knotless box braids. This iconic style frames your face perfectly while giving you that effortlessly put-together vibe. It is the ultimate protective style that looks amazing on camera and in real life.
- Best For: Thick natural hair / Medium to long lengths / Oval or heart face shapes
- Maintenance Level: Low. Just tie them up at night with a silk scarf.
- Time Needed: 4 to 6 hours
- Pro Tip: Use a strong edge control gel to keep the parts looking extra crisp for weeks.
2. Jumbo Knotless Box Braids
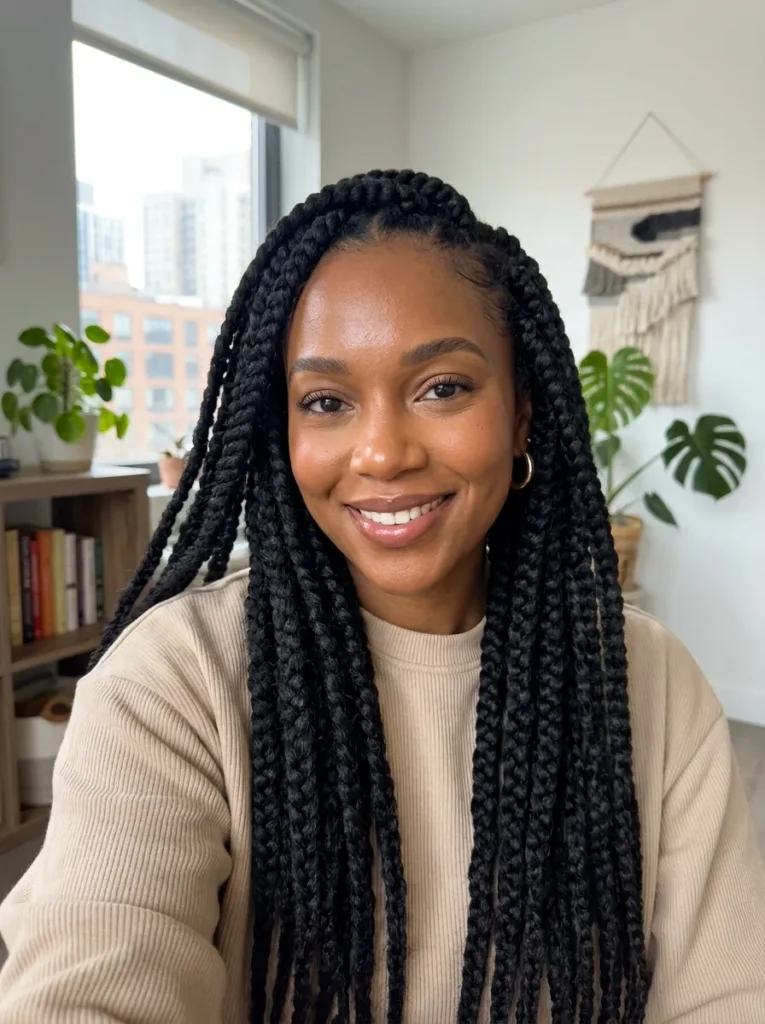
Skip the heavy tension and go straight for these lightweight, oversized sections. These big braids offer maximum impact with minimal styling effort. They flow beautifully over your shoulders, bringing a bold, street-style aesthetic that totally dominates your Pinterest feed right now.
- Best For: All hair types / Mid-length hair / Round and square face shapes
- Maintenance Level: Low. Very easy to access your scalp for oiling.
- Time Needed: 2 to 3 hours
- Pro Tip: Dip the ends in hot water twice to make sure they lay completely flat and flexible.
3. Half-Up Half-Down Topknot
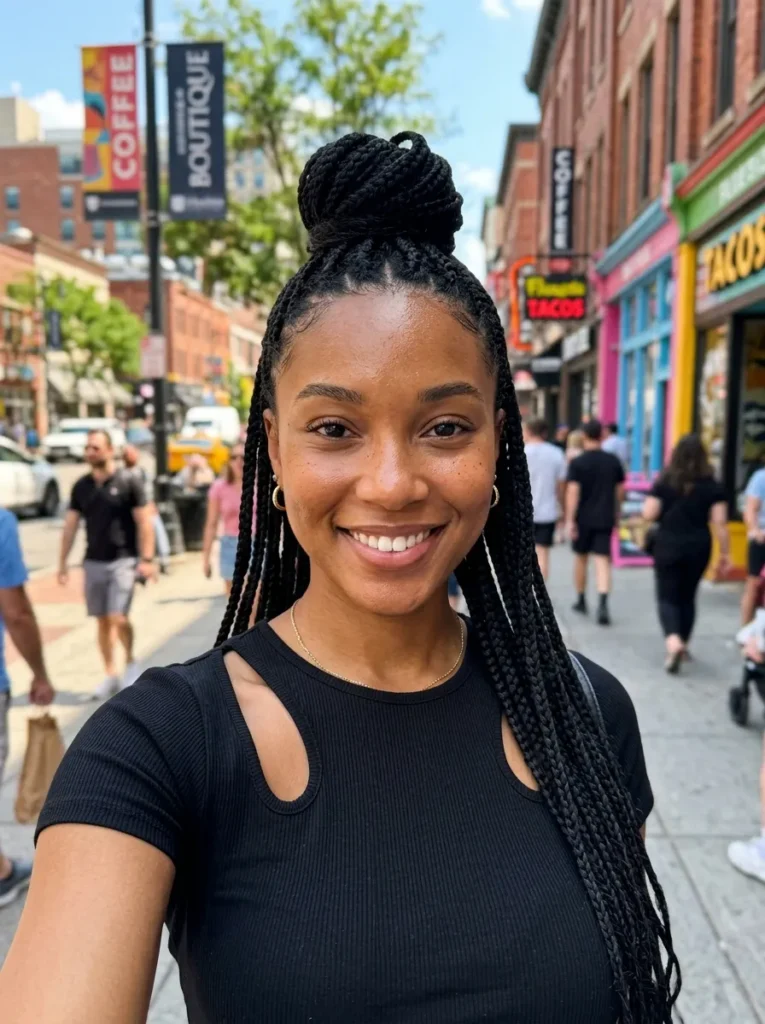
Switch up your daily look by sweeping the top half of your extensions into a neat, high bun. This trendy variation keeps the hair out of your eyes while still letting those gorgeous long strands cascade right down your back.
- Best For: Long extensions / Any hair type / Diamond or oval face shapes
- Maintenance Level: Medium. The bun needs reshaping every few days to stay neat.
- Time Needed: 10 minutes to style
- Pro Tip: Wrap one braid around the base of your topknot to hide the hair tie completely.
4. Waist-Length Side Part
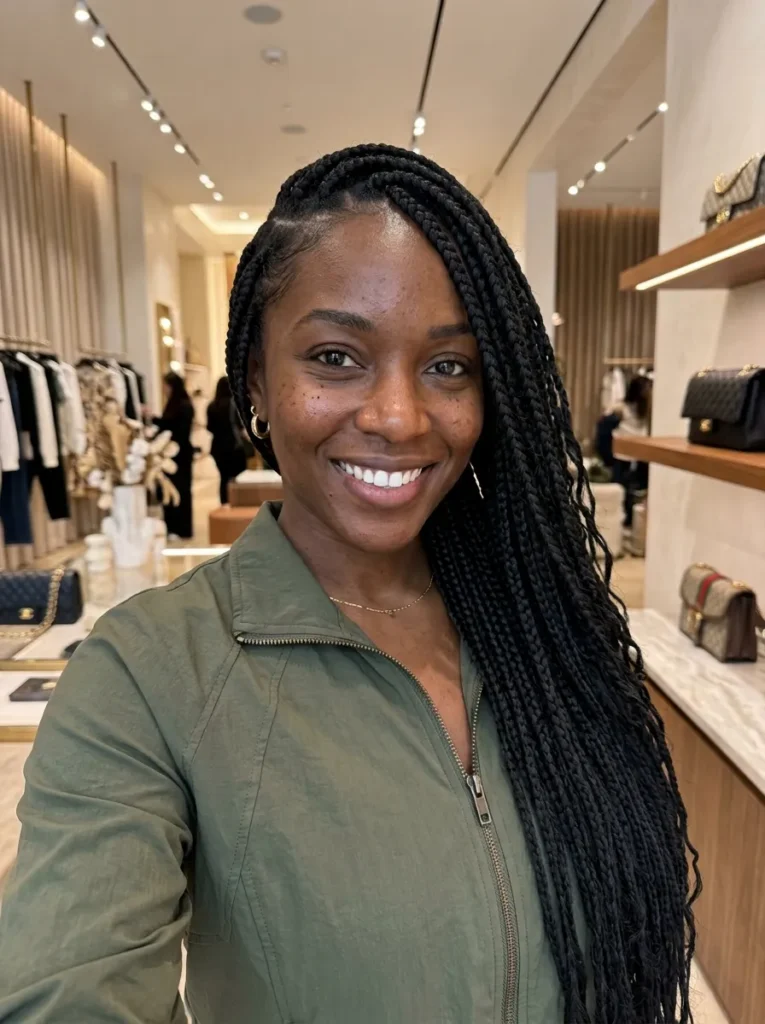
Flip your look with a deep side sweep that adds instant volume and drama to your profile. This extra-long protective style flatters your cheekbones and creates a glamorous, high-fashion energy that looks amazing whether you wear sweatpants or a dress.
- Best For: Type 3 and 4 hair / Long length / Round and long face shapes
- Maintenance Level: Low. Just smooth down your baby hairs in the morning.
- Time Needed: 5 to 7 hours
- Pro Tip: Sleep with a satin bonnet that accommodates extra-long lengths to prevent the ends from frizzing.
5. Curly Ends Goddess Look
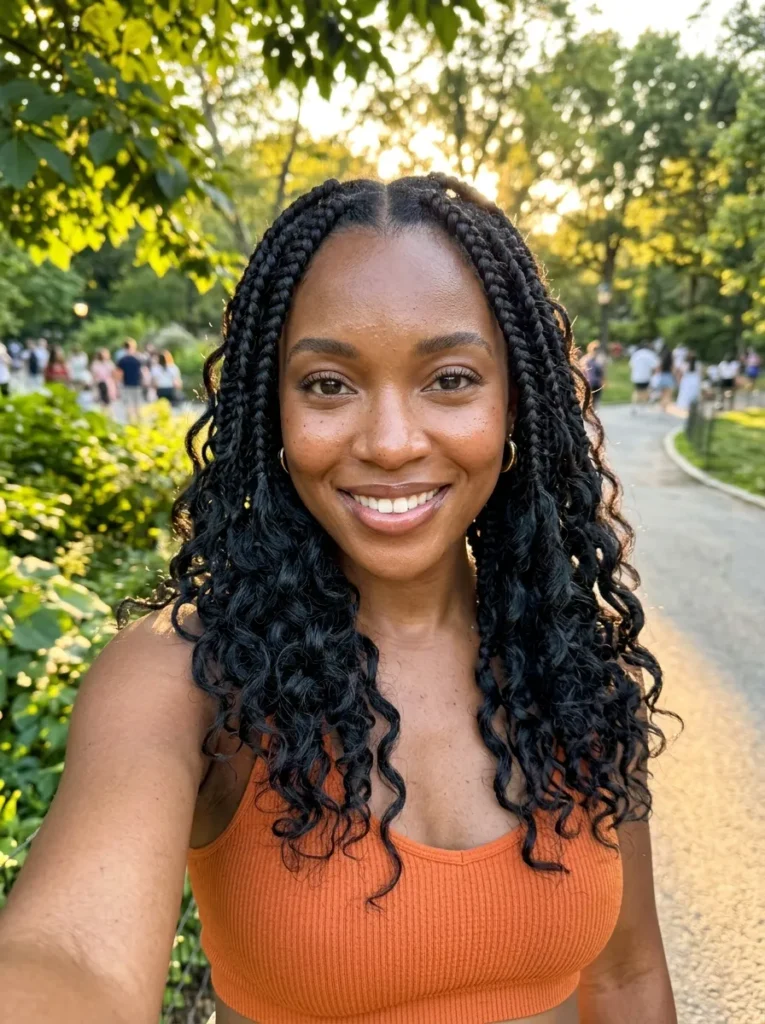
Add a soft, feminine touch to your chunky sections by leaving the bottom few inches loose and wavy. This boho-inspired twist brings gorgeous movement and texture to your protective style, making it a highly requested look at the salon lately.
- Best For: Medium to long extensions / All natural hair types / Heart face shapes
- Maintenance Level: Medium. The loose curls require daily detangling and moisture.
- Time Needed: 5 to 6 hours
- Pro Tip: Apply a lightweight foaming mousse to the curled ends daily to stop them from tangling together.
Also Visit : 20 Cornrow Hairstyles With Curls You’ll Want Instantly
6. Medium Knotless With Beads
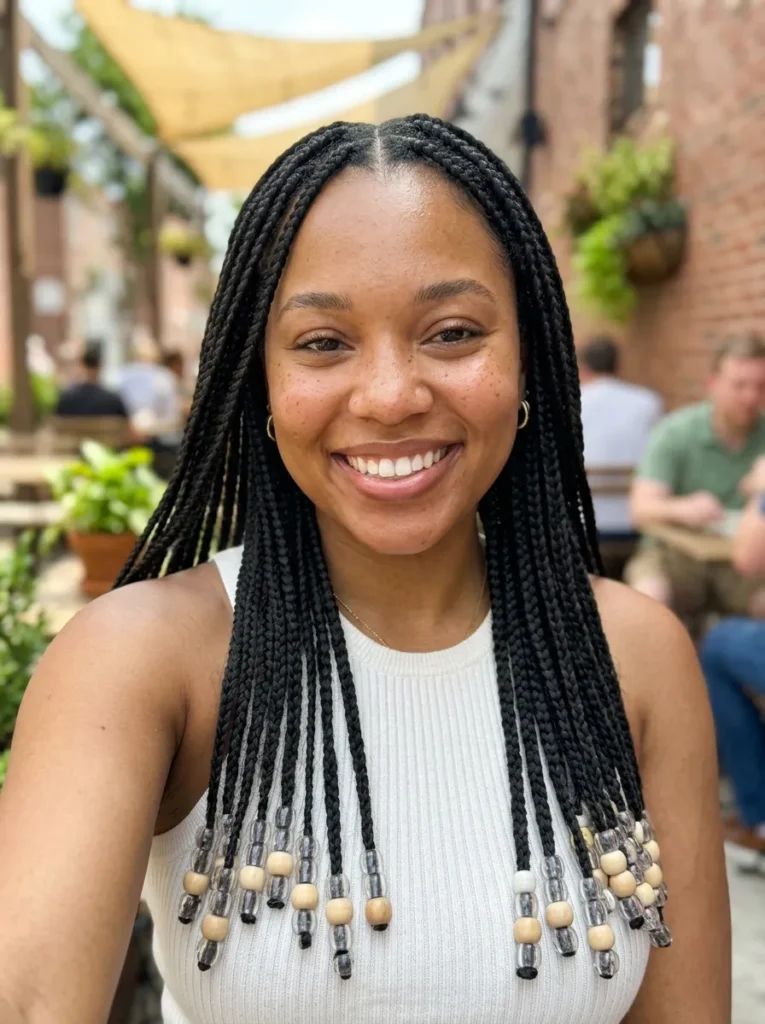
Want to add a fun, cultural touch to your protective style? Try sliding some clear or wooden beads onto the ends. It gives your hair a beautiful weight and a subtle clicking sound when you walk. I always get the most compliments on this specific look.
- Best For: Natural hair transitioning / Medium length / Oval faces
- Maintenance Level: Low. You just need to secure the beads tightly.
- Time Needed: 5 to 6 hours
- Pro Tip: Use tiny rubber bands at the very tip of the braid before sliding the bead on to lock it in place.
7. Short Bob Box Braids
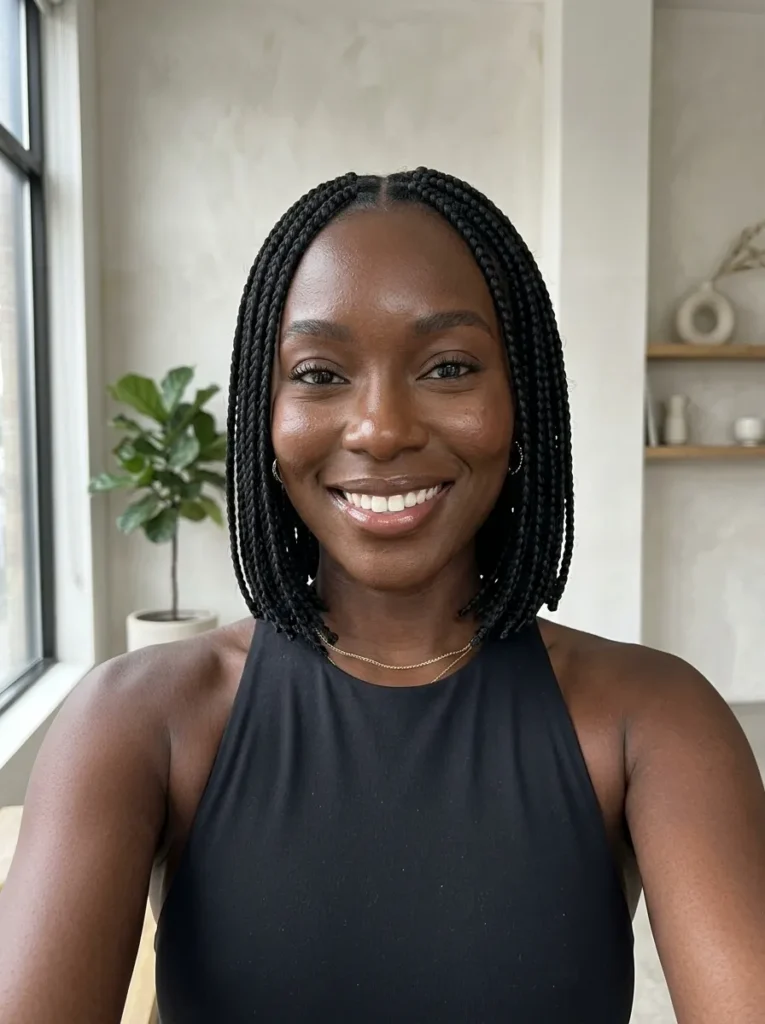
If you hate sitting in the salon chair all day, this chin-length style is your best friend. The blunt cut frames your jawline beautifully while keeping your neck cool. It is a super chic, low-tension option that still brings tons of attitude to your everyday outfits.
- Best For: Thin hair / Short natural lengths / Heart and diamond faces
- Maintenance Level: Low. The shorter length naturally avoids tangles.
- Time Needed: 2 to 3 hours
- Pro Tip: Burn the tips slightly with a lighter to seal the blunt ends so they never unravel.
8. Colorful Peekaboo Braids
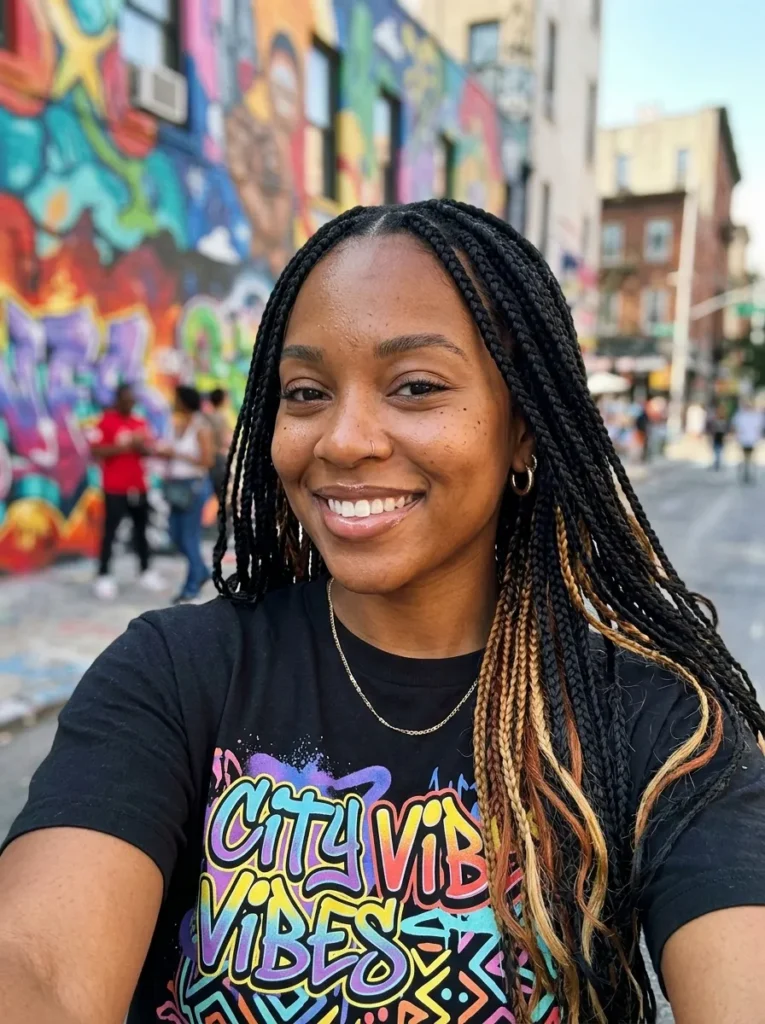
I love hiding a pop of bright blonde or bold red underneath a classic black set. When you tie your hair up, the hidden colors flash through for a total surprise. It is the perfect way to play with hair dye colors without damaging your real curls.
- Best For: All hair densities / Mid to long hair / All face shapes
- Maintenance Level: Low. Treat them exactly like a standard protective style.
- Time Needed: 4 to 6 hours
- Pro Tip: Place the colored extensions only at the nape of your neck so they hide nicely when you wear your hair down.
9. Half-Up Pigtail Buns
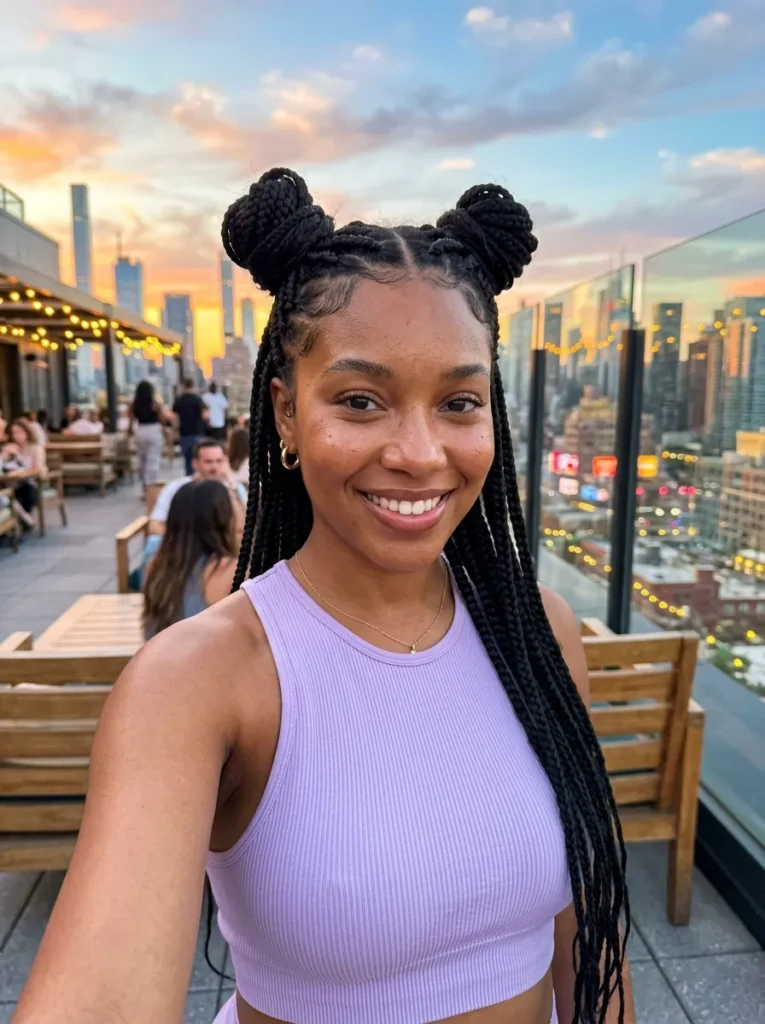
Bring out some playful energy with two cute buns on top of your head. This youthful Y2K trend is going viral on social media for good reason. It pulls your features up naturally, giving you an instant facelift effect while looking incredibly cute for brunch dates.
- Best For: Thick extensions / Medium lengths / Round and oval faces
- Maintenance Level: Medium. You will need to redo the buns every few days to keep them centered.
- Time Needed: 15 minutes to style
- Pro Tip: Use thick scrunchies instead of tight elastics to wrap the buns without putting tension on your roots.
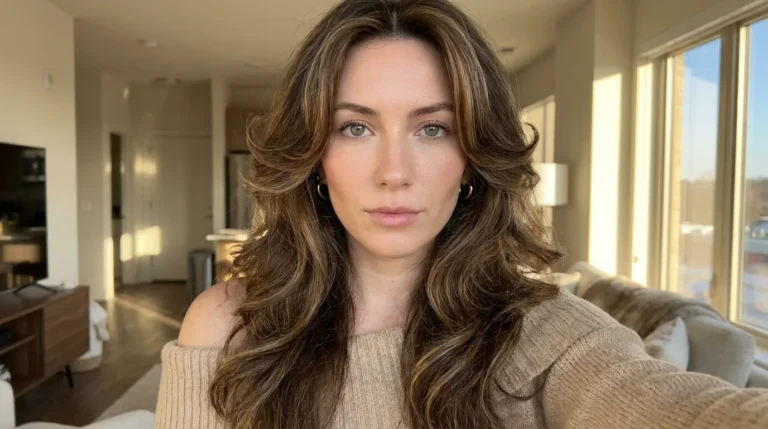
10. Blonde Highlights Mixed In
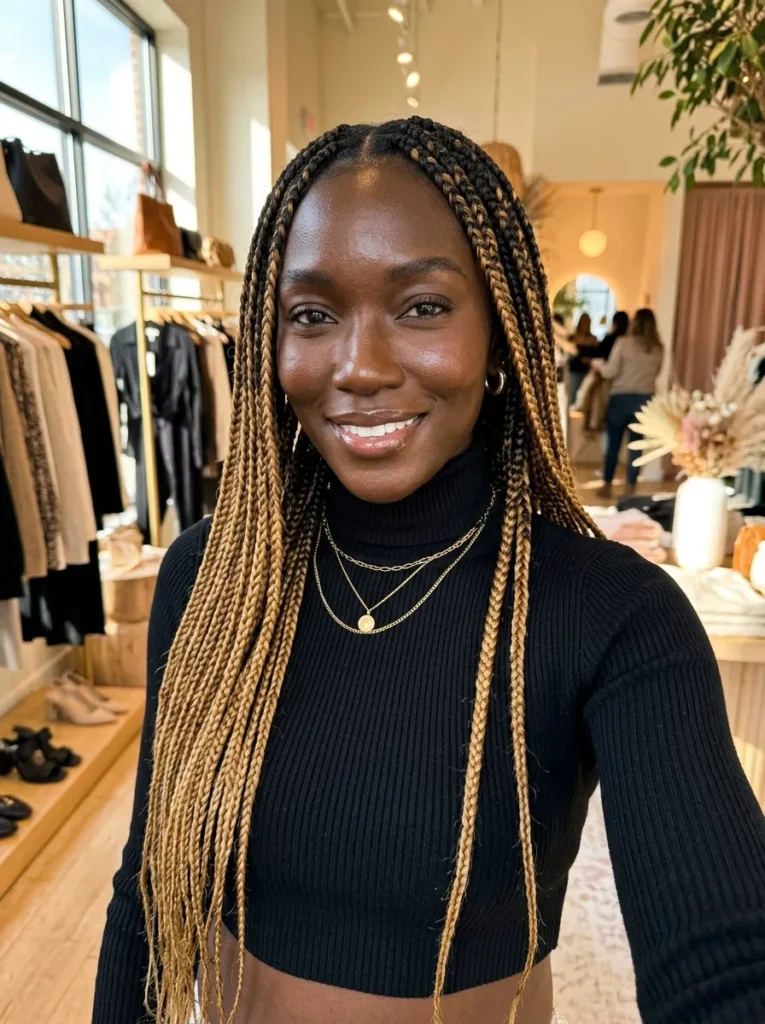
Mixing warm honey blonde pieces into your dark extensions adds incredible depth. I always recommend this trick because it creates a beautiful sun-kissed glow against deep melanin skin. The lighter strands catch the sunlight perfectly, making every single selfie look like a magazine cover.
- Best For: All hair textures / Any extension length / All face shapes
- Maintenance Level: Low. Blended colors hide natural hair growth very well.
- Time Needed: 5 to 7 hours
- Pro Tip: Blend colors 1B, 27, and 30 together in a single plait to get a highly customized, expensive-looking shade.
11. High Ponytail Wrap
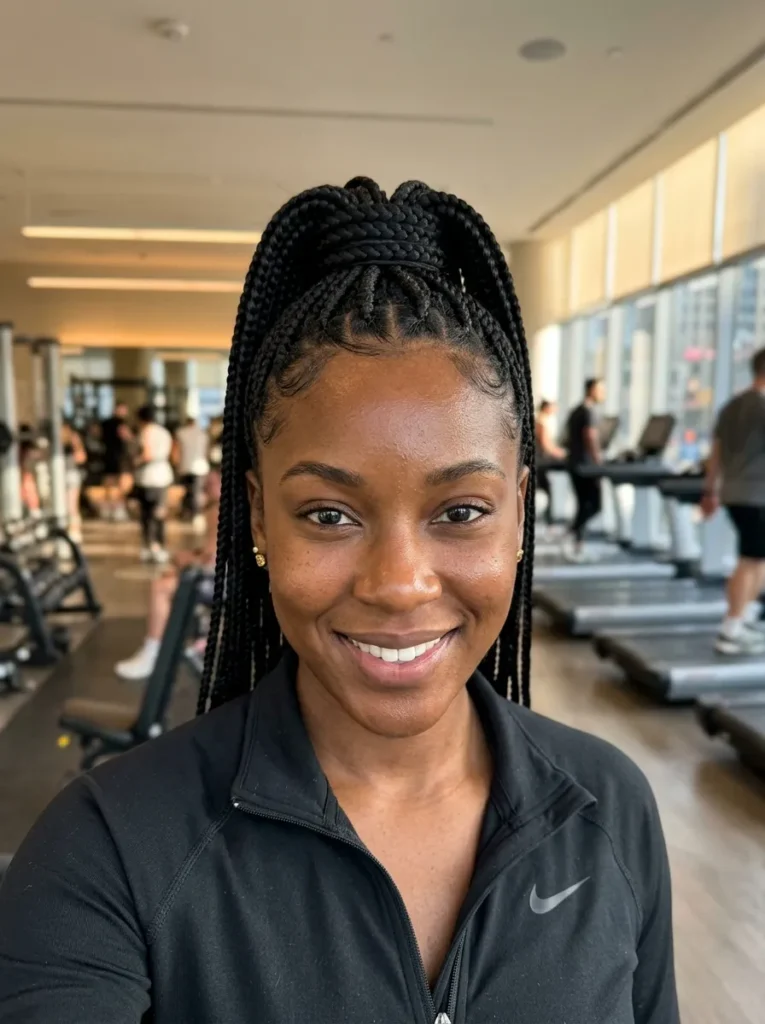
Gathering all your extensions into a tall, tight pony creates a fierce look that demands attention. I love how this style completely opens up your face and shows off your makeup. It is perfect for gym days or busy weekends when you want hair completely out of the way.
- Best For: Long braids / All hair types / Oval and square faces
- Maintenance Level: Medium. The ponytail base needs smoothing with edge gel daily.
- Time Needed: 5 minutes to style
- Pro Tip: Take two braids from the back and wrap them tightly around the hair tie to lock the ponytail high.
12. Burgundy Red Mix
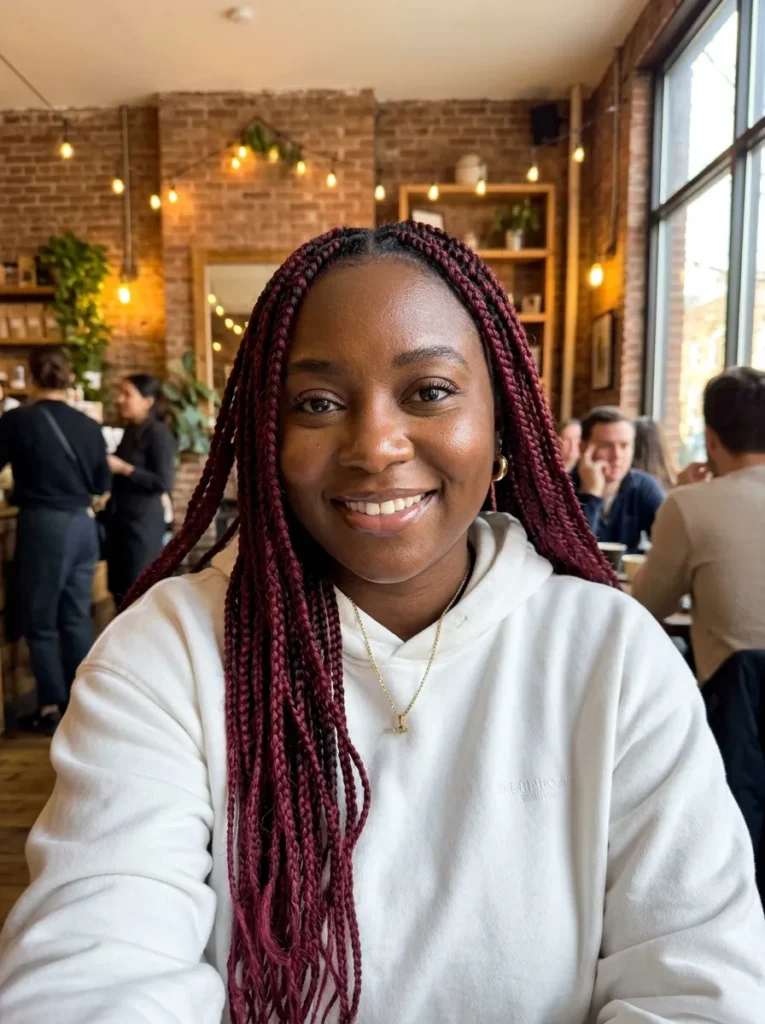
Stepping out with deep red hair brings serious main character energy to your feed. I’ve noticed this rich wine shade looks incredible against dark skin tones. It gives you a bold, fiery change from normal black hair without needing bleach or dealing with chemical damage on your real curls.
- Best For: Protective styling / Mid-length hair / All face shapes
- Maintenance Level: Low. Red synthetic hair behaves exactly like the standard black packs.
- Time Needed: 4 to 6 hours
- Pro Tip: Mix color 99J with a dark brown to make the red look more like a natural tint than a bright dye.
13. Triangle Parting Pattern
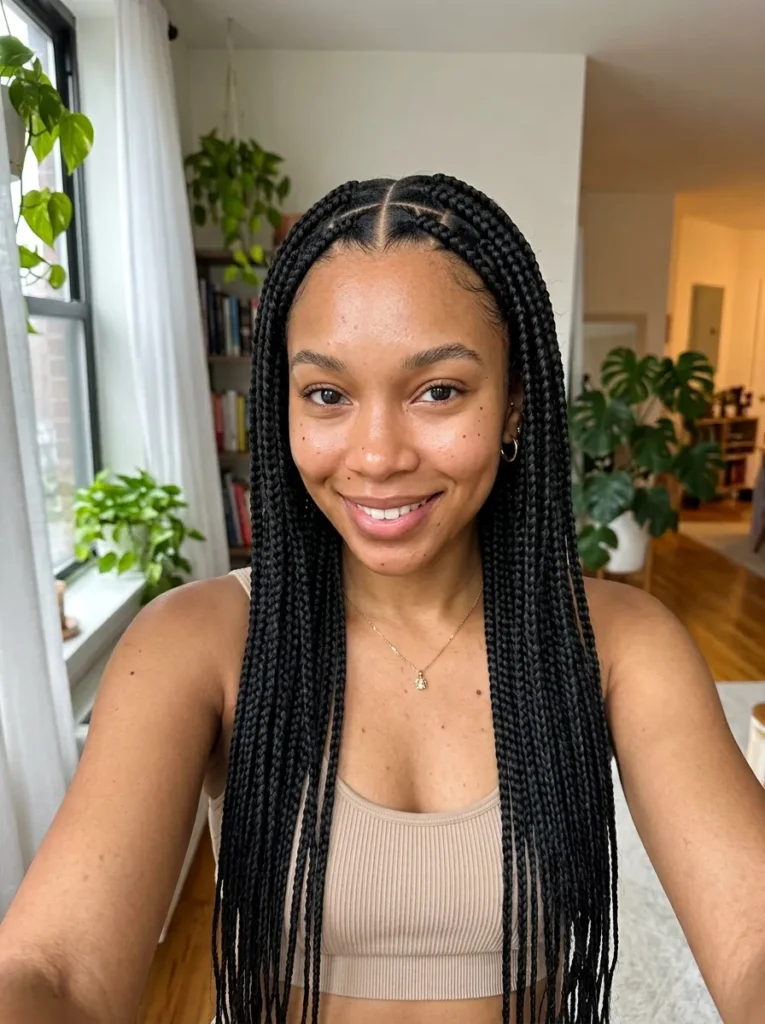
Switch up standard square grids for sharp triangle parts to make your scalp look like a work of art. This geometric trick catches the eye instantly on Pinterest. The precise lines give your roots a super clean, freshly done appearance that lasts for weeks with proper night care.
- Best For: Thick natural hair / Any length / Round faces
- Maintenance Level: Low. Just tie it down securely while sleeping to keep parts flat.
- Time Needed: 5 to 7 hours
- Pro Tip: Use a metal rat-tail comb and a thick styling jam to carve out those sharp, angled lines on the scalp.
14. Zig-Zag Middle Part
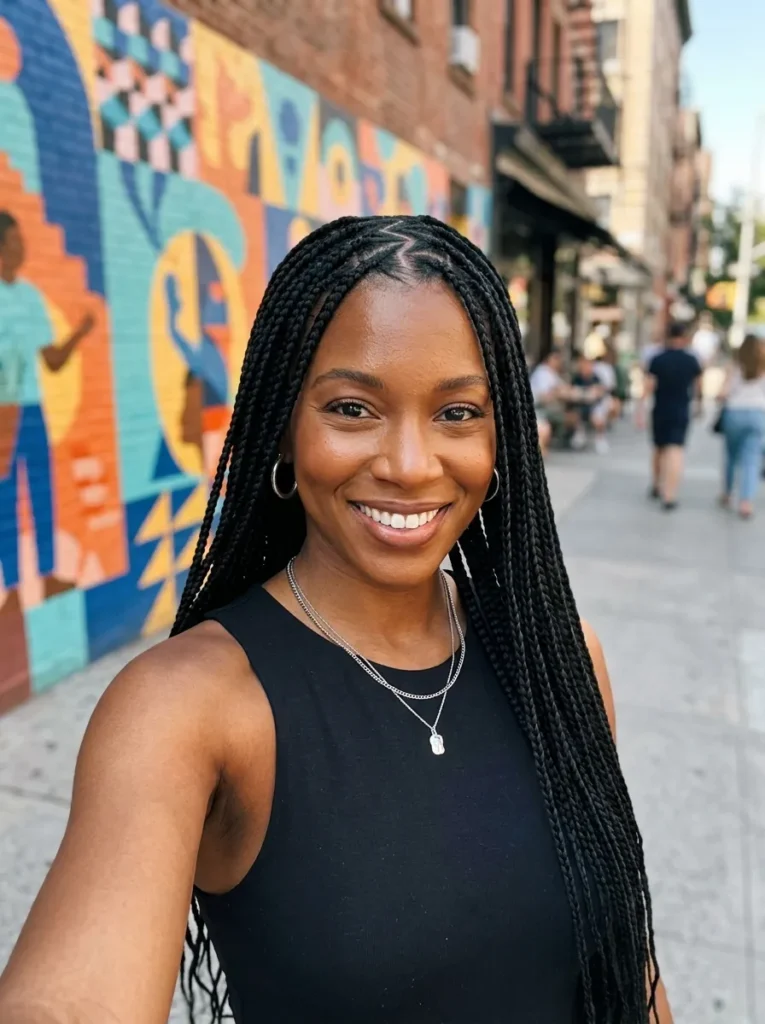
Bring a fun Y2K twist to your middle part by adding a sharp zig-zag line. I love doing this because it hides new growth way better than a straight line. It is a tiny detail that makes a simple long style look totally fresh and highly pinned online.
- Best For: Thinning edges / Long extensions / Oval and heart face shapes
- Maintenance Level: Low. The zig-zag shape holds up well under a silk scarf.
- Time Needed: 4 to 5 hours
- Pro Tip: Make the zig-zag chunky rather than small and tight, so the pattern is easy to see from a distance.
15. Sleek Low Bun
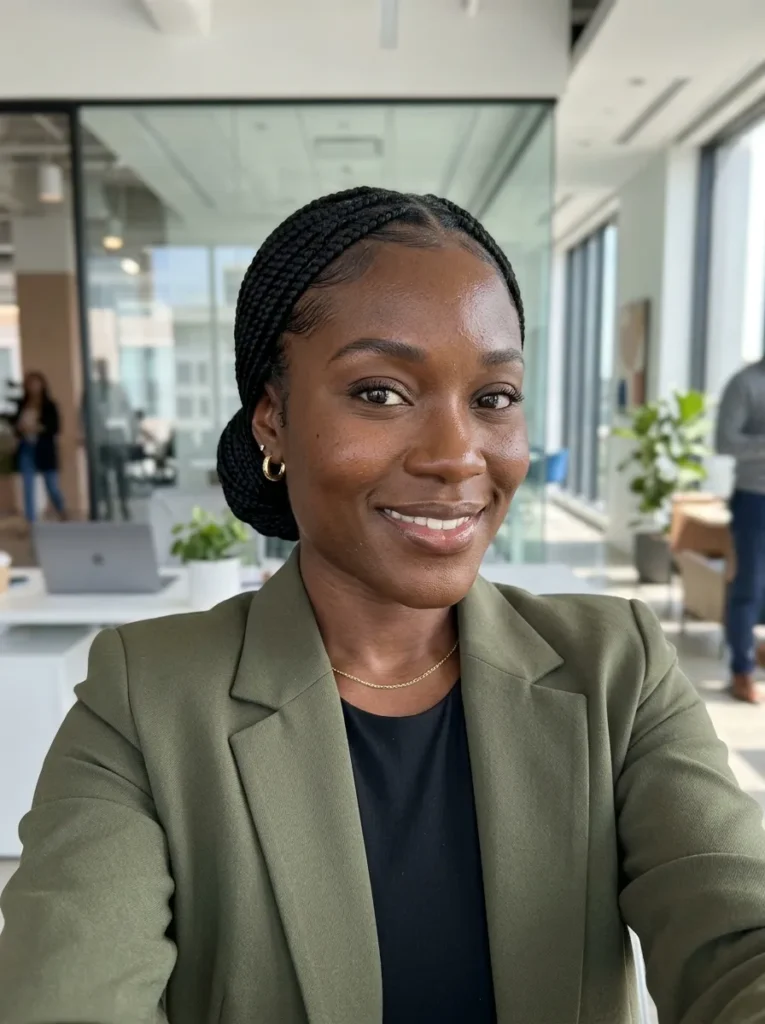
Pulling everything back into a neat bun at your neck is the fastest way to look professional. I wear this look whenever I have an important meeting but still want to keep my protective style. It is elegant, easy to do, and saves you from heavy hair swinging around.
- Best For: Professional settings / Any hair type / Diamond and round face shapes
- Maintenance Level: Low. A quick wrap with a hair tie is all you need.
- Time Needed: 2 minutes to style
- Pro Tip: Tuck the ends of your braids under the bun with bobby pins to keep the shape perfectly round and neat.
16. Side Swoop Bang
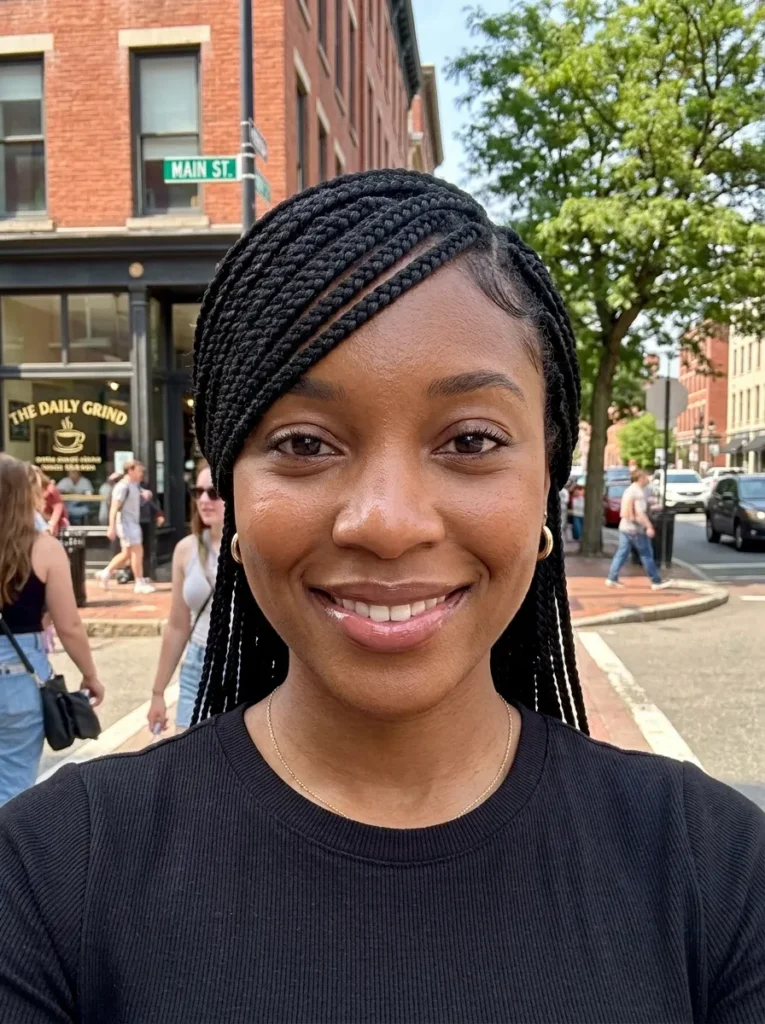
I absolutely love taking the front few braids and pinning them across the forehead. This creates a cute, swooped bang effect that gives total 90s R&B energy. It adds beautiful shape to your face without needing an actual haircut or putting heat on your natural edges.
- Best For: Large foreheads / Any extension length / Oval and heart face shapes
- Maintenance Level: Low. You only need one bobby pin to hold the swoop in place.
- Time Needed: 2 minutes to style
- Pro Tip: Use a clear elastic band to tie the swoop sections together in the back before pinning so they do not slide down.
17. The Half-Up Ponytail
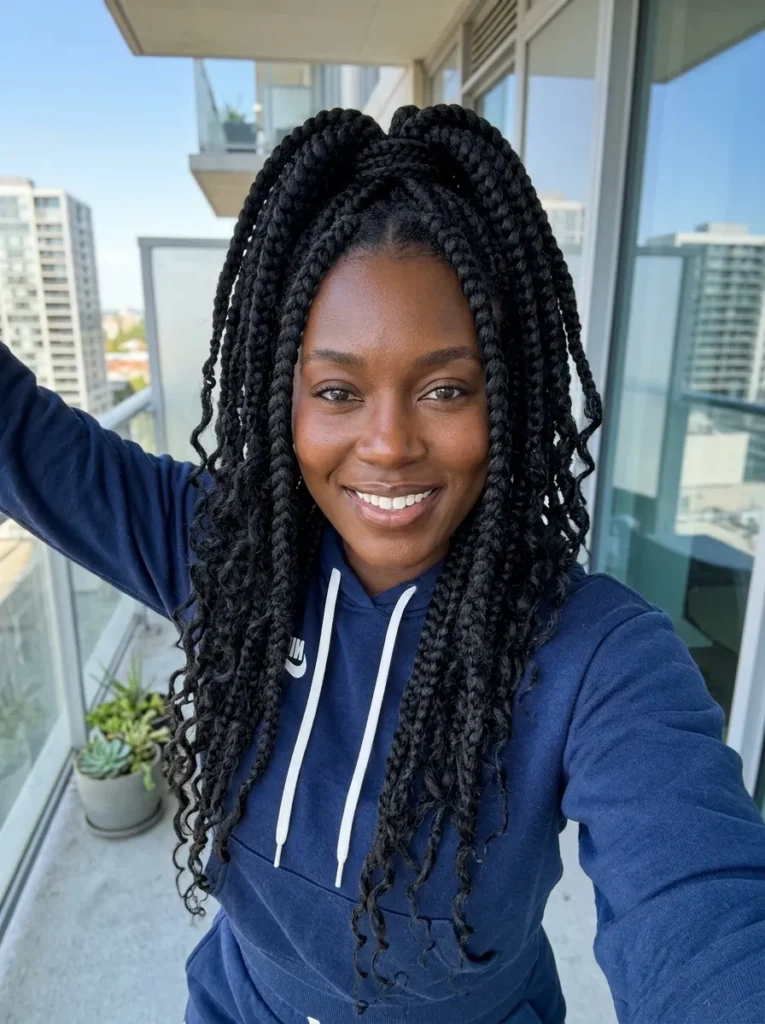
Grab the top half of your extensions and tie them into a high, bouncy pony. I notice this gives you the best of both worlds. You get the fierce height of an updo while keeping that pretty, long hair flowing down your back for amazing photos.
- Best For: Thick box braids / Long lengths / Square and diamond face shapes
- Maintenance Level: Low. Just take the ponytail down at night to relieve tension.
- Time Needed: 5 minutes to style
- Pro Tip: Flip your head upside down when gathering the hair to get the ponytail as high on your head as possible.
18. Ombre Brown Fade
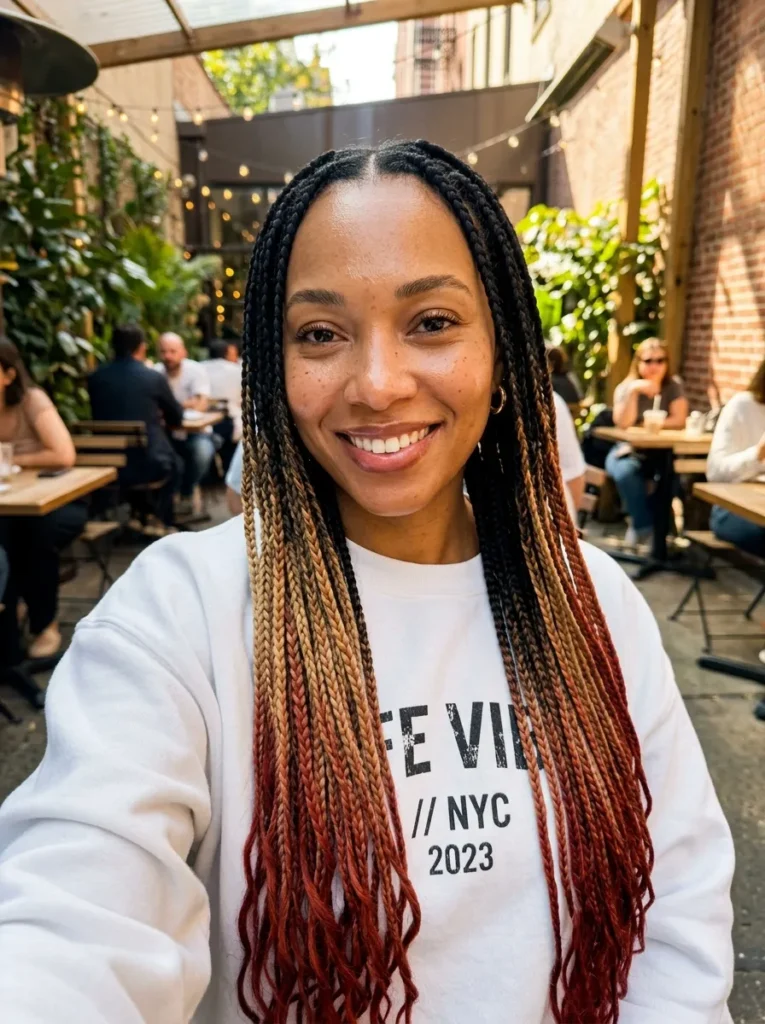
Transitioning from dark roots to light brown tips creates a really soft, modern look. This ombre trick is my favorite way to wear lighter colors because it keeps the dark hair near your face, which balances perfectly with deep melanin skin tones for a flawless glow.
- Best For: Protective styling / Mid to long hair / All face shapes
- Maintenance Level: Low. The dark roots blend right into your natural hair growth.
- Time Needed: 5 to 6 hours
- Pro Tip: Buy pre-stretched ombre braiding hair instead of trying to blend two different solid colors yourself.
19. Curly Face Framers
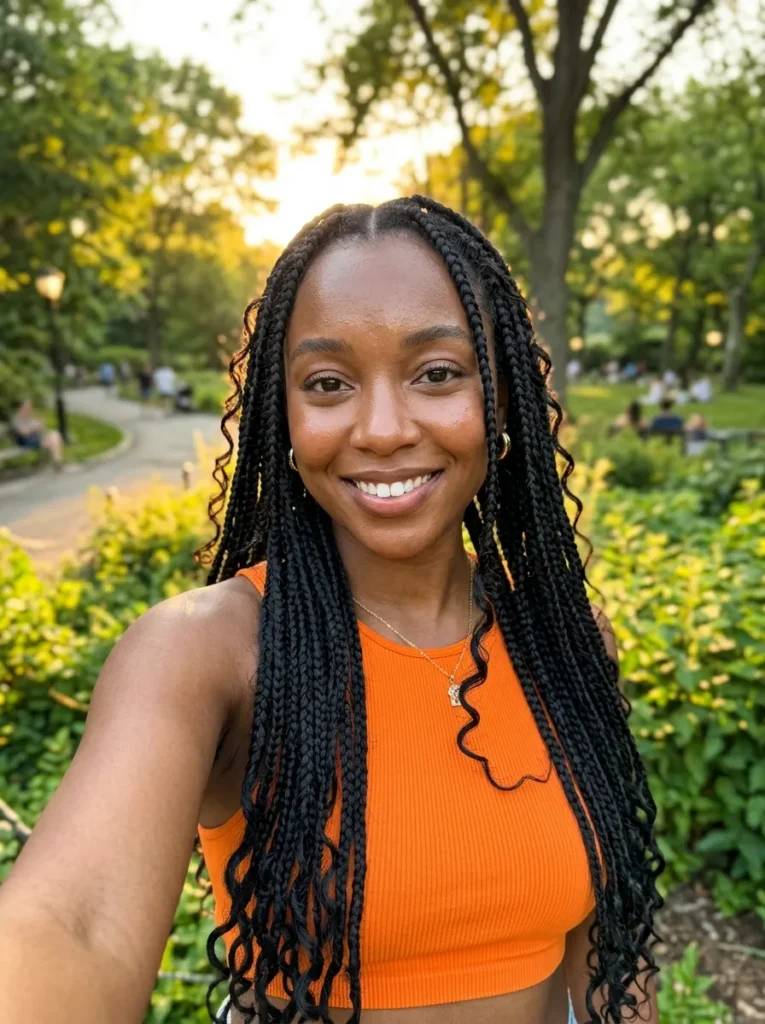
Leave two small pieces of curly hair out right at the front of your hairline. This soft detail frames your eyes and cheekbones beautifully. It breaks up the heavy look of long extensions and gives your overall protective style a very romantic, relaxed Pinterest aesthetic.
- Best For: Goddess braids / Any length / Round and oval face shapes
- Maintenance Level: Medium. You must wet and define the two front curls every morning.
- Time Needed: 5 to 6 hours
- Pro Tip: Roll the front pieces on small flexi-rods and dip them in hot water so the curl lasts for weeks.
20. French Curl Ends
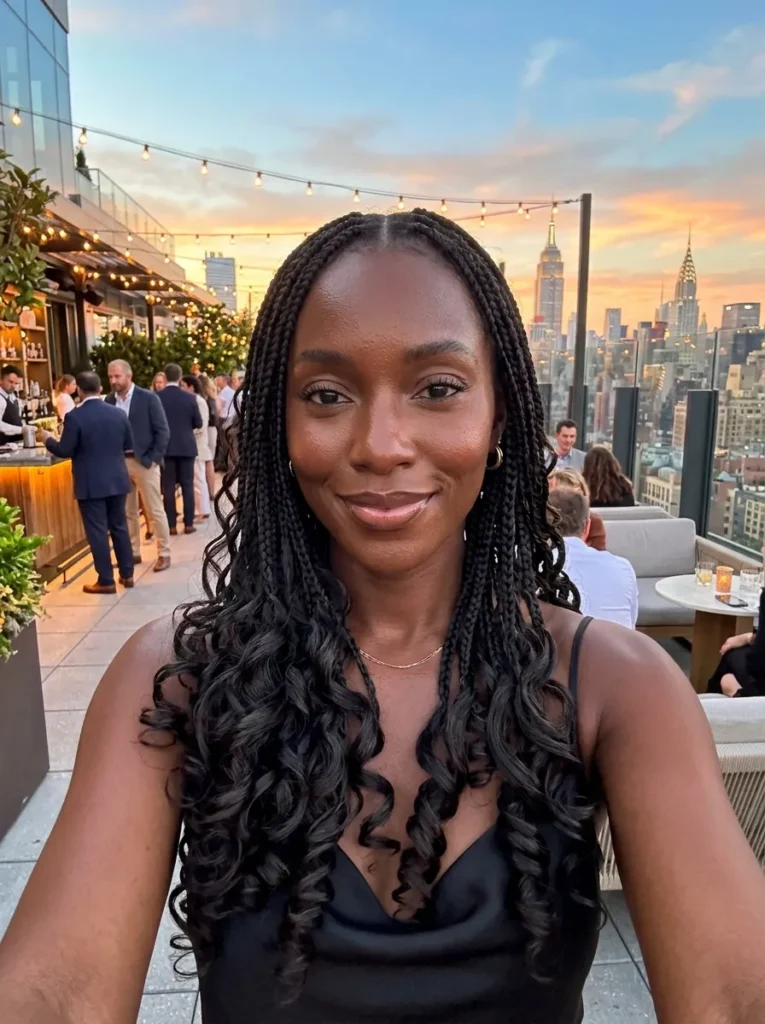
Swap out straight ends for these big, bouncy, silky French curls. This gives your protective style an instantly glamorous, blowout feel. The bouncy texture moves so nicely when you walk, making it my top choice for vacations, birthdays, or anytime you want to feel extra fancy.
- Best For: Special events / Long lengths / Heart and square face shapes
- Maintenance Level: Medium. The silky ends can tangle if you skip wearing a bonnet.
- Time Needed: 6 to 8 hours
- Pro Tip: Lightly coat your hands in hair serum before detangling the curly ends to keep them shiny and completely frizz-free.
Conclusion
Finding the right protective style does not have to be stressful. Whether you want to try a sleek low bun or add some fun blonde highlights, these Jayda Wayda braids give you endless ways to look amazing all month long.
Make sure to Pin your favorite pictures to your hair inspiration board so you can easily show them to your braider! I’ve seen firsthand how stepping out with a fresh, neat style can totally shift your energy and boost your confidence for weeks.