How to DIY Hair Highlights at Home Without Foil (7 Methods That Actually Work)
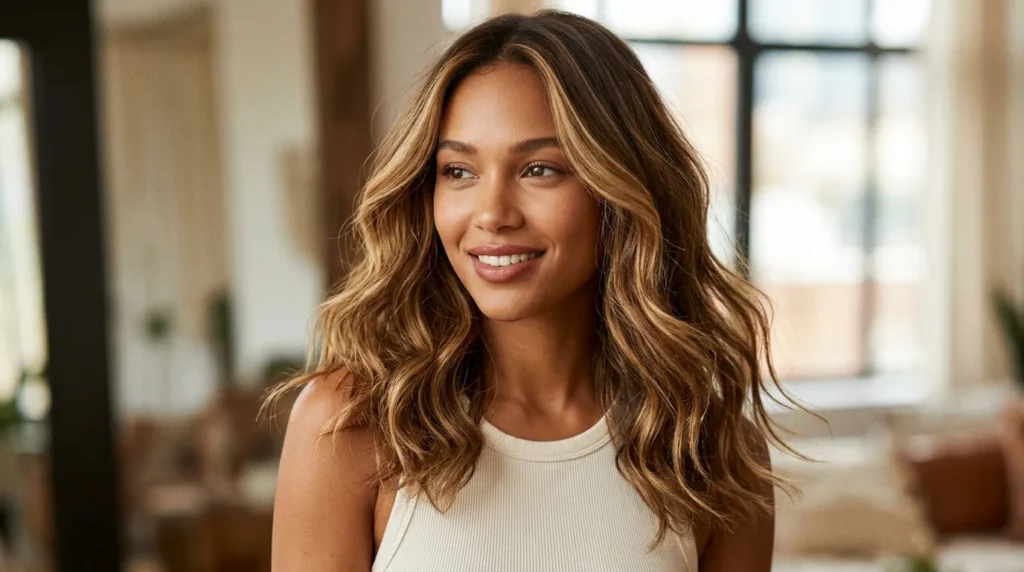
Want salon-worthy highlights without the hefty price tag — or the fuss of foils? You’re not alone. More and more women are ditching the foil and discovering that the most beautiful, natural-looking highlights can actually be done right at home.
Whether you’re after soft, sun-kissed balayage, bold face-framing pieces, or a completely chemical-free glow-up with lemon juice — this guide covers 7 proven methods to highlight your hair without foil, along with everything you need to know about shade selection, aftercare, toning, and avoiding the most common DIY mistakes.
Let’s get into it.
Can You Really Highlight Hair at Home Without Foil?
Absolutely — and in many cases, the results look more natural than traditional foil highlights.
Foil highlights create very precise, uniform streaks, which can sometimes look harsh or “stripey.” Foil-free methods like balayage and comb-through techniques mimic how the sun naturally lightens hair — from the mid-lengths to the ends — giving you that effortless, lived-in look.
The key is choosing the right method for your hair type and color, following the steps carefully, and giving your hair proper aftercare.
Realistic Expectation: DIY foil-free highlights work best for 1–3 shades lighter than your natural hair. For dramatic color changes (e.g., going from dark brown to platinum), a professional salon is still recommended.
What You’ll Need
Before you start, gather your supplies. What you need depends on which method you choose:
For Bleach-Based Methods:
- Hair bleach powder (powder lightener)
- Developer (20 or 30 volume — 20 vol for fine hair, 30 vol for thicker/darker hair)
- Tinting brush or balayage brush
- Highlighting cap (for cap method)
- Fine-tooth comb
- Hair clips / sectioning clips
- Mixing bowl
- Gloves
- Old towel or cape
- Petroleum jelly (to protect hairline)
- Timer
For Natural / No-Bleach Methods:
- Fresh lemons or bottled lemon juice
- Chamomile tea bags
- Raw honey
- Spray bottle
- Sunshine ☀️ (free!)
Choosing the Right Highlight Shade for Your Hair Color
One of the biggest mistakes DIY highlight beginners make is picking the wrong shade. Here’s a simple guide:
| Your Natural Hair Color | Best Highlight Shade |
|---|---|
| Jet Black | Dark caramel or chocolate brown |
| Dark Brown | Warm caramel, honey blonde |
| Medium Brown | Golden blonde, ash blonde |
| Light Brown | Sandy blonde, strawberry blonde |
| Dark Blonde | Champagne, cool platinum |
| Light Blonde | Icy blonde, silver-white |
| Red / Auburn | Copper, strawberry blonde, gold |
Tip: Always go 2–3 shades lighter than your base for natural-looking results. Going too light too fast can cause brassiness or damage.
7 Methods to Highlight Hair Without Foil
Method 1: Balayage at Home (Most Natural Look)
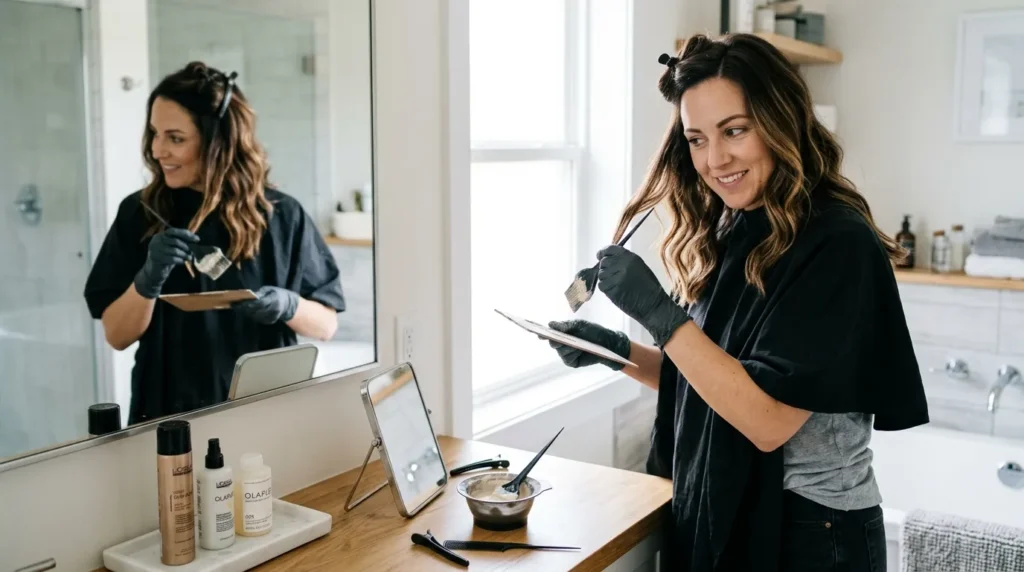
Balayage (French for “sweeping”) is the most popular foil-free highlight technique — and for good reason. It creates soft, graduated color that starts lighter at the ends and blends naturally into your base.
Best for: Medium to long hair, dark and light bases, natural sun-kissed results
- Section your hair into 4 quadrants using clips — two at the front, two at the back.
- Mix your bleach according to package instructions (typically 1:2 ratio of bleach to developer).
- Take a thin section of hair (about 1-inch wide) and hold it taut.
- Apply bleach using a sweeping motion — start about 2–3 inches from the root and sweep down to the ends. Use more product at the ends and less at the top for a gradient effect.
- Leave pieces loose — do NOT wrap in foil. Let them hang freely. This creates softer, more blended results.
- Check every 10–15 minutes for desired lightness. Total processing time: 20–45 minutes depending on hair.
- Rinse thoroughly and follow with a deep conditioner.
Pro Tip: Apply slightly more bleach on the very tips and outer layers where the sun would naturally hit your hair.
Method 2: Cap Highlighting
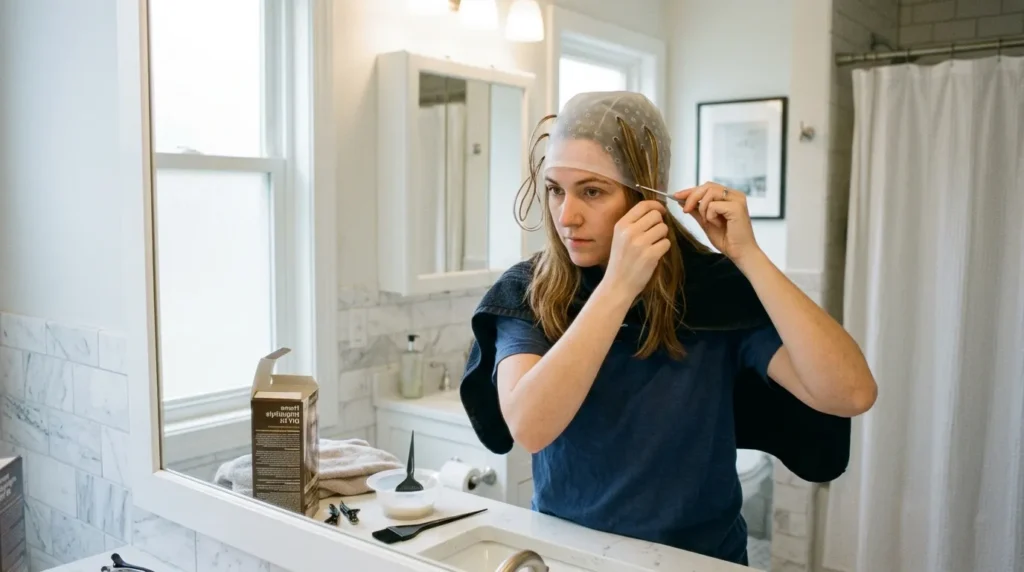
The classic highlighting cap method is perfect if you want controlled, evenly distributed highlights without the precision needed for balayage. It’s especially great for shorter hair.
Best for: Short to medium hair, beginners, uniform highlights
- Put on the highlighting cap snugly over your head, securing the elastic band.
- Use a highlighting needle or rat-tail comb to pull strands of hair through the holes. Pull more strands for chunkier highlights, fewer for subtle.
- Mix your bleach and apply it to all the pulled-through strands with a tinting brush.
- Let it develop for 20–40 minutes, checking regularly.
- Rinse with the cap still on, then remove the cap and shampoo and condition your hair.
Pro Tip: Pull strands from random holes across the cap — not all clustered in one area — for the most natural look.
Method 3: Comb-Through Technique (Best for Subtle Highlights)
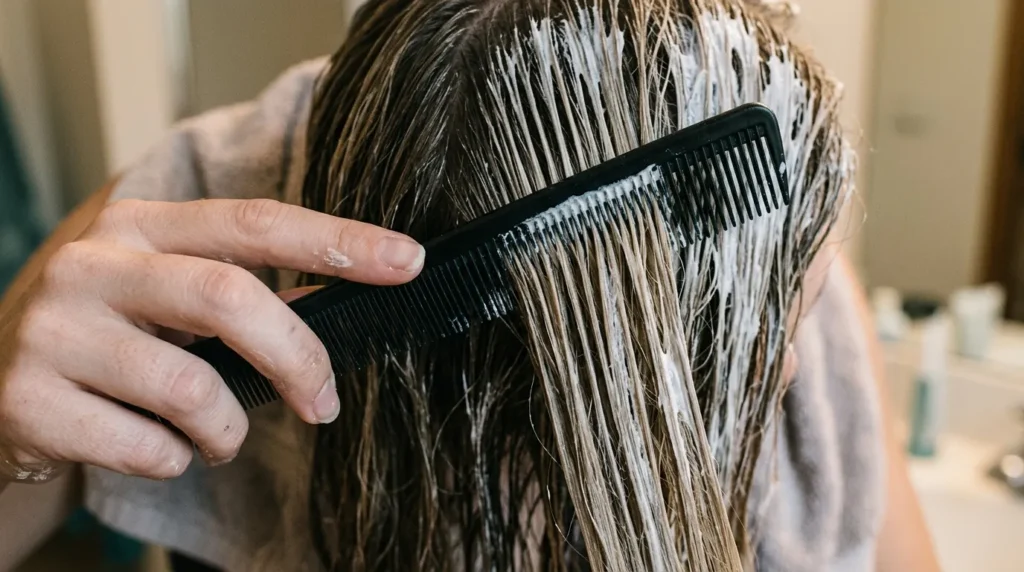
The comb-through method is the easiest of all bleach-based techniques. It creates very subtle, streaky highlights — almost like sun damage in the best way possible.
Best for: Fine or thin hair, subtle results, first-time DIYers
- Divide hair into sections using clips.
- Mix bleach as per instructions.
- Dip a fine-tooth comb into the bleach mixture.
- Lightly drag the comb through 1-inch sections of hair, focusing on mid-lengths to ends. Don’t fully saturate — just lightly coast the teeth through.
- Let it develop for 15–25 minutes (less time than balayage since coverage is lighter).
- Rinse and condition well.
Pro Tip: This technique works beautifully on already-lightened or naturally light hair. On very dark hair, results may be subtle — do a strand test first.
Method 4: Face-Framing / Money Piece Highlights
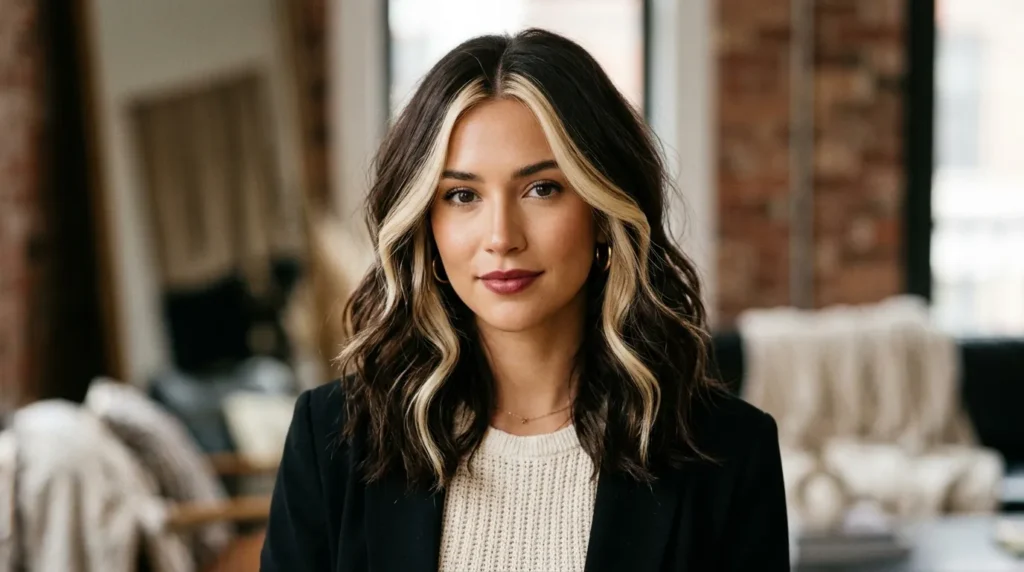
The “money piece” is one of the hottest hair trends right now — two bright, lightened sections that frame your face. It’s actually one of the easiest foil-free highlights to DIY at home because you’re only working with a small, visible area.
Best for: All hair types and lengths, dramatic but controlled result, beginners
- Part your hair down the middle and pull everything back except the two front sections (about 1–2 inches wide on each side).
- Apply bleach to just these front sections, starting about 1 inch from the root.
- Sweep to the ends with your brush, coating fully.
- Leave loose — no foil needed! Check every 10 minutes.
- Process for 20–40 minutes depending on how light you want to go.
- Rinse and tone with a blonde or ash toner if needed.
Pro Tip: For an ultra-trendy look, go 4–5 shades lighter on these pieces than your base color. The contrast is what makes this style pop!
Method 5: Lemon Juice Highlights (100% Natural)
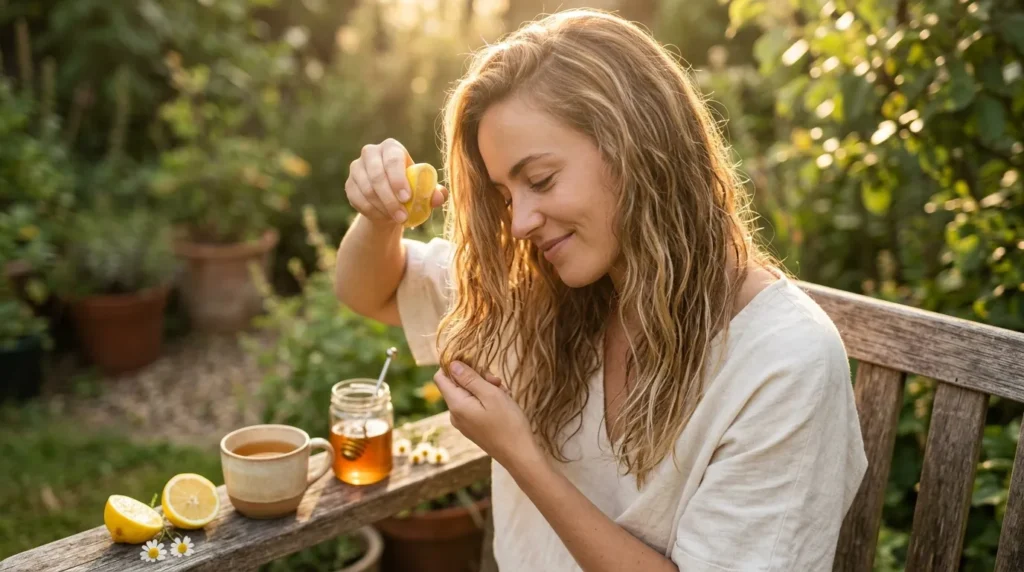
No bleach? No problem. Lemon juice is a natural hair lightener that has been used for centuries. It works by reacting with UV light from the sun to gently lift your hair color.
Best for: Light to medium brown hair, natural/gradual highlights, chemical-free lifestyle
- Squeeze 3–4 lemons into a spray bottle and add equal parts water.
- Spray generously onto the sections you want lightened.
- Go outside and sit in direct sunlight for 1–3 hours.
- Rinse and condition well — lemon juice can be drying.
- Repeat weekly for gradual lightening over 2–4 weeks.
Results: Soft, warm golden tones. Works best on naturally light to medium brown hair.
⚠️ Important: Lemon juice can be drying and may cause breakage with overuse. Always follow with a deep conditioning treatment. Not recommended for dark hair — results will be minimal.
Method 6: Chamomile Tea or Honey Rinse (Gentlest Option)
Still in the natural methods camp, chamomile tea and honey are two of the gentlest ways to subtly brighten hair over time — with zero damage.
Chamomile Tea Method:
- Brew 5–6 chamomile tea bags in 2 cups of hot water.
- Let it cool completely.
- Pour over your hair as a final rinse after shampooing.
- Sit in sunlight for 30–60 minutes before rinsing off — or leave it in.
- Repeat 2–3 times per week for gradual brightening.
Honey + Olive Oil Method:
- Mix 4 tablespoons of raw honey + 2 tablespoons olive oil + a few tablespoons of distilled water.
- Apply to damp hair, focusing on sections you want lightened.
- Cover with a shower cap and leave for 2–4 hours (or overnight).
- Rinse and condition.
Results: Very subtle, natural brightening over 3–6 weeks. Best on already light or blonde hair.
Method 7: Hair Chalk (Temporary Color Play)
Want to try highlights before committing? Hair chalk is your best friend. It washes out after 1–2 shampoos and works on any hair color — even dark hair.
How to use:
- Dampen the section of hair you want to highlight.
- Rub the hair chalk directly along the strand from root to tip.
- Set with hairspray to help it last longer and reduce transfer.
- Style as usual and enjoy your highlights for the day!
Best for: Dark hair (shows color vibrancy), temporary looks, teens, special events
Note: Hair chalk works best on light to medium hair without any setting spray. On dark hair, use damp technique and richer colored chalks.
How Long Do Foil-Free Highlights Last?
| Method | Duration | Fades To |
|---|---|---|
| Balayage (bleach) | 3–4 months | Natural roots grow in softly |
| Cap Highlights (bleach) | 6–8 weeks | May need root touch-up |
| Comb-Through (bleach) | 4–6 weeks | Fades gradually, looks natural |
| Face-Framing / Money Piece | 6–10 weeks | Grow-out looks intentional |
| Lemon Juice | 2–4 weeks | Fades fully back to natural |
| Chamomile / Honey | 2–3 weeks | Fades completely |
| Hair Chalk | 1–2 washes | Comes out fully |
Aftercare for Highlighted Hair (Complete Guide)
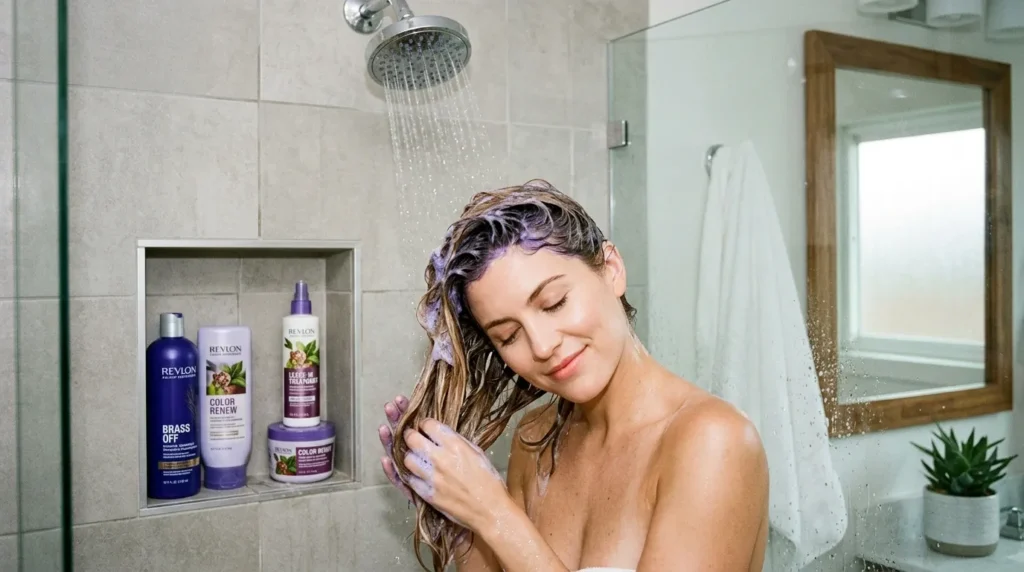
Highlighted hair — especially bleached hair — needs extra love. Here’s a complete aftercare plan:
Toning (The Step Most People Skip!)
After bleaching, your hair may look yellow or orange — this is called “brassiness.” Toning corrects this.
- Purple shampoo: Use 1–2 times per week if your highlights are blonde or golden. It neutralizes yellow tones.
- Blue shampoo: Use if your highlights have orange tones (common in brunettes going lighter).
- Toner: For a more intense color correction, apply a professional toner (like Wella T18 or T14) immediately after bleaching.
Moisture Routine:
- Shampoo: Switch to a sulfate-free, color-safe shampoo immediately.
- Deep conditioner: Use a hair mask once a week (coconut oil, Olaplex No. 3, or any bond-repairing mask).
- Leave-in conditioner: Apply to damp hair every wash day.
- Protein treatment: Do a light protein treatment once a month to strengthen bleach-weakened strands.
Heat Styling:
- Always use a heat protectant spray before any heat tool.
- Reduce blow dryer heat to medium; flat iron to 350°F or below.
- Air dry when possible — your highlights will thank you.
Common DIY Highlighting Mistakes to Avoid
- ❌ Using 40 volume developer — Too strong for home use. Stick to 20 or 30 vol only.
- ❌ Leaving bleach on too long — Check your hair every 10 minutes. Over-processing causes breakage.
- ❌ Skipping the strand test — Always test 48 hours before the full application.
- ❌ Applying to dirty hair — Slightly dirty is fine, but avoid heavy product buildup.
- ❌ Going too light in one session — Multiple gradual sessions are healthier.
- ❌ Skipping aftercare — Not toning or deep conditioning damages color and hair health.
- ❌ Overlapping bleach on old highlights — Apply only to new growth to prevent breakage.
Salon vs. DIY Highlights — Cost Comparison
| Salon | DIY at Home | |
|---|---|---|
| Balayage | $150 – $350 | $15 – $40 |
| Full Highlights | $100 – $250 | $10 – $25 |
| Face-Framing | $80 – $150 | $10 – $20 |
| Toning / Gloss | $60 – $120 | $5 – $15 |
| Annual Cost (4 visits) | $600 – $1,400 | $50 – $150 |
💡 You can save up to $1,200+ per year doing highlights at home!
Best Products for DIY Highlights at Home
Bleach & Developer:
- Schwarzkopf BlondMe Bond Enforcing Premium Lightener — Gentle yet effective
- Wella Blondor Multi Blonde Powder — Professional-grade bleach
- L’Oréal Quick Blue Powder Bleach — Affordable and beginner-friendly
Toning:
- Wella T18 Toner — Best for removing yellow tones
- Shimmer Lights Purple Shampoo — Cult favorite for blonde highlights
- Fanola No Yellow Shampoo — Highly pigmented, works fast
Aftercare:
- Olaplex No. 3 Hair Perfector — Bond repairer, use before and after bleaching
- Briogeo Don’t Despair, Repair! Deep Conditioning Mask — Rich moisture for bleached hair
- TRESemmé Thermal Creations Heat Tamer Spray — Affordable heat protection
FAQ — Your Top Questions Answered
Can I highlight my hair at home without bleach?
Yes! Lemon juice, chamomile tea, and honey are all natural methods that lighten hair gradually without bleach. Results are subtle and work best on light to medium brown hair.
How long do home highlights last without foil?
It depends on the method: bleach-based highlights last 6–10 weeks, while natural methods like lemon juice fade within 2–4 weeks. Balayage lasts the longest (3–4 months) because it blends naturally with grow-out.
Is balayage safe for dark hair at home?
Yes, but you’ll likely need 30 volume developer and may need more than one session to reach your desired shade. Always do a strand test first and avoid going more than 3 shades lighter in one session.
What volume developer should I use for home highlights?
Use 20 volume for fine or already-lightened hair, and 30 volume for medium to dark, healthy hair. Never use 40 volume at home — it causes unnecessary damage.
Do I need to tone after DIY highlights?
If you use bleach, yes — toning is strongly recommended. Bleach lifts natural pigment and often leaves orange or yellow tones. A purple shampoo or a professional toner fixes this quickly.
Can I highlight color-treated or box-dyed hair?
Yes, but with caution. Box dye can react unpredictably with bleach. Do a strand test first. If your hair has been repeatedly box-dyed, consult a professional before attempting bleach highlights.
Will lemon juice damage my hair?
Lemon juice is mildly acidic and can cause dryness with excessive use. Always follow up with a moisturizing conditioner. Used in moderation, it’s safe for most hair types.
Final Thoughts
Highlighting your hair at home without foil is completely achievable — and with the right method, you can get results that rival a $300 salon visit at a fraction of the cost. From freehand balayage and cap highlighting to natural lemon juice rinses and trendy money piece highlights, there’s an option for every hair type, budget, and commitment level.
Start with a strand test, choose your method, follow the steps carefully, and don’t skip the aftercare. Your most beautiful hair is waiting — and it can happen right in your own bathroom.
Did this guide help you? Share your results in the comments below — we’d love to see your highlights!
Also Visit : Pro Tips for Faster Hair Growth Naturally at Home