Hair Growth Serum at Home: A Simple Recipe That Works
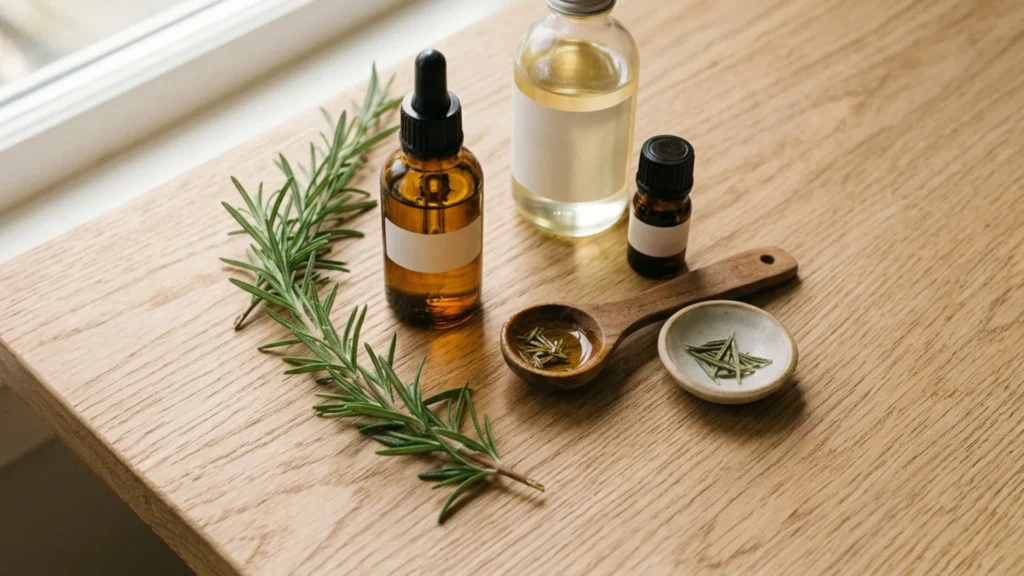
Most homemade hair growth serum recipes fail before they’re even mixed, because people treat “serum” as a fancy word for “whatever oils I have in the cabinet.” That’s the mistake. A serum that actually does something is a small, deliberate blend, not a dump-and-hope situation.
Quick answer: a good homemade hair growth serum combines a lightweight carrier oil, a small amount of castor oil for scalp coverage, and a few drops of rosemary essential oil, which is the one natural ingredient with real clinical backing. Mixed correctly and used consistently for at least 8 to 12 weeks, it won’t work miracles, but it can genuinely support a healthier scalp environment.
The Mistake Most DIY Hair Growth Serums Make
Scroll through enough hair growth advice and you’ll notice a pattern: people mix castor oil, coconut oil, and three or four essential oils into one bottle and call it a “growth serum,” without asking whether any of it is doing anything. Castor oil in particular gets treated like a miracle ingredient. It isn’t. Cleveland Clinic’s own review of castor oil found documented skin and stomach reactions in some users, and there’s no strong evidence it grows hair on its own. It’s thick, it coats the hair shaft, and it can make hair look shinier. That’s a real benefit. It’s just not the same as growth.
The second mistake is skipping ratios entirely. Essential oils are potent. A serum with too much rosemary or peppermint oil doesn’t work “extra hard.” It just irritates your scalp, and irritation is the opposite of a healthy growth environment.
What Actually Goes Into a Homemade Hair Growth Serum
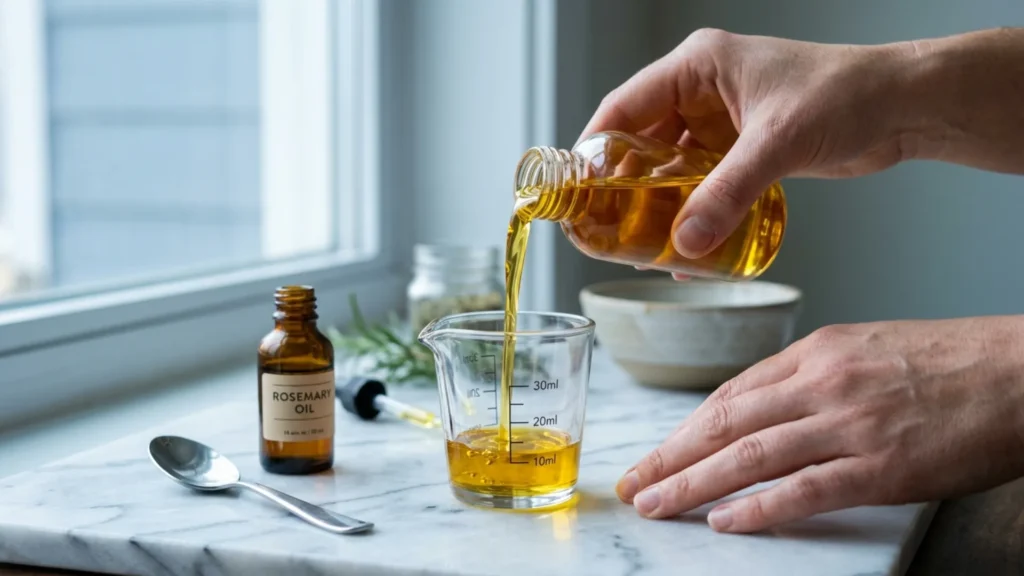
A serum that’s worth your time has three jobs: carry the active ingredients evenly across the scalp, support circulation and scalp health, and avoid causing irritation. Each ingredient below earns its place for one of those reasons, not because it sounds exotic.
| Ingredient | Amount | Why it’s in there |
|---|---|---|
| Jojoba oil | 2 tbsp | Closely mimics natural scalp sebum, so it absorbs without feeling heavy or greasy the next day |
| Castor oil | 1 tbsp | Thick and coating; helps distribute the essential oils evenly and adds shine, even without proven growth effects on its own |
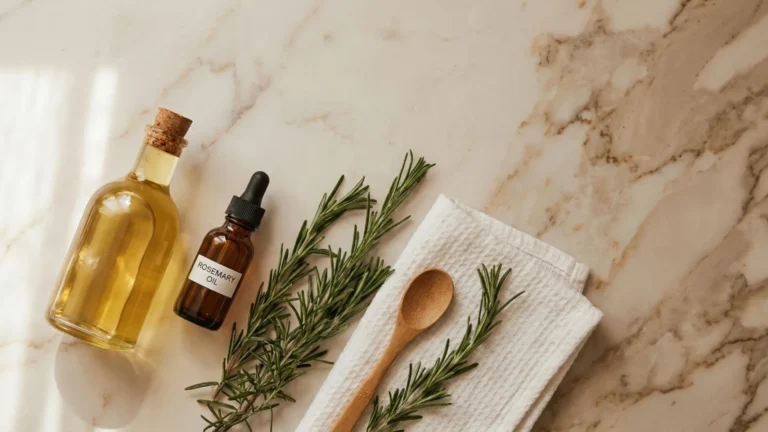
| Rosemary essential oil | 6 drops | The ingredient with actual clinical comparison data behind it, discussed below |
| Peppermint essential oil | 3 drops (optional) | Creates a cooling, tingling sensation some people associate with better circulation; skip it if you have sensitive skin |
| Vitamin E oil | 1/2 tsp | An antioxidant that helps slow oxidation, meaning your serum stays fresher longer |
Rosemary oil is the one ingredient here you shouldn’t skip if you want the recipe to actually mean something. A randomized trial comparing rosemary oil to minoxidil found that after six months of twice-daily use, both groups saw a meaningful increase in hair count, with rosemary users reporting less scalp itching than the minoxidil group. That’s one study, on 100 people, not a guarantee. But it’s the closest thing “natural hair growth” has to real evidence, which is exactly why it anchors this recipe instead of playing a supporting role.
Also Visit : Do Hair Masks for Hair Growth Really Work?
The Base Recipe, Step by Step
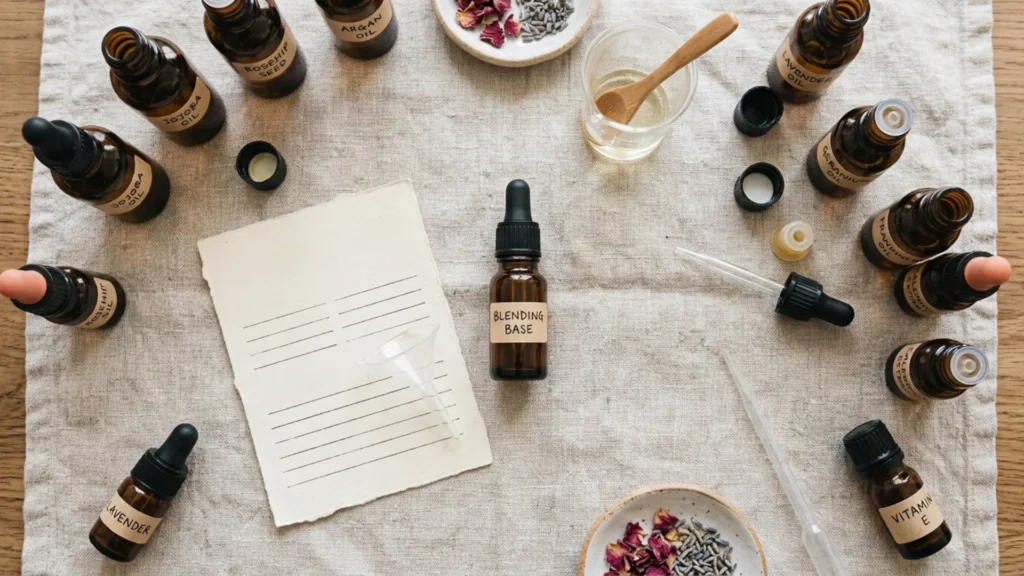
You’ll need a small dark glass dropper bottle (about 60ml), a funnel, and a measuring spoon. Dark glass matters more than it sounds like it should — clear bottles let in light that breaks down the oils faster.
- Wash your dropper bottle and let it dry completely. Any leftover water invites bacteria into your oil blend.
- Pour the jojoba oil into the bottle first, using the funnel to avoid spills.
- Add the castor oil on top of it.
- Add the rosemary essential oil, drop by drop, counting as you go.
- Add the peppermint oil if you’re using it, again counting drops.
- Add the vitamin E oil.
- Cap the bottle and shake gently for about 15 seconds until the mixture looks uniform rather than layered.
- Label the bottle with the date you made it. You’ll need this later.
That’s the whole recipe. No blender, no heating step, no waiting overnight for anything to infuse. If a DIY serum recipe asks you to simmer oils on the stove for hours, it’s solving a problem this version doesn’t have.
How to Use It Without Irritating Your Scalp
Before you use this on your whole scalp, patch test it. Put a small amount on the inside of your wrist or behind your ear, wait 24 hours, and check for redness, itching, or bumps. Essential oils are common allergens, and the NIH’s overview of aromatherapy safety is clear that “natural” doesn’t mean risk-free, especially at full strength.
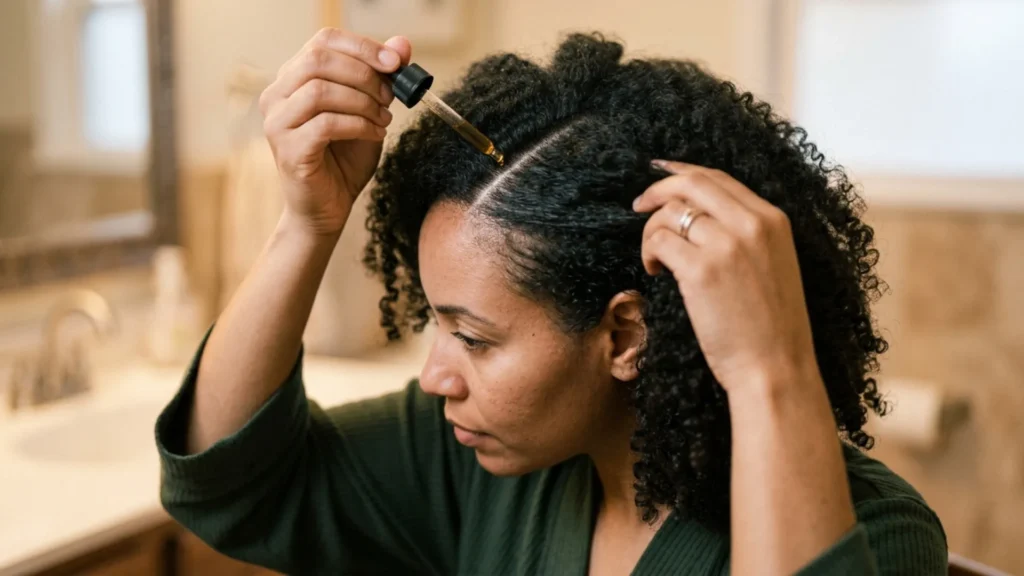
Once you’ve patch tested, part your hair into sections and apply a few drops directly to your scalp with the dropper, not your whole head of hair. Massage it in gently with your fingertips for two to three minutes. Leave it on for at least 30 minutes, or overnight if your scalp tolerates it well, then wash it out with your regular shampoo. Two or three applications a week is enough. Every day is not better here; it just increases your odds of irritation and buildup.
Skip this recipe entirely if you’re pregnant or breastfeeding. Rosemary oil in particular is one that’s commonly advised against in higher concentrations during pregnancy, and it’s not worth the guesswork.
Storage, Shelf Life, and When to Toss It
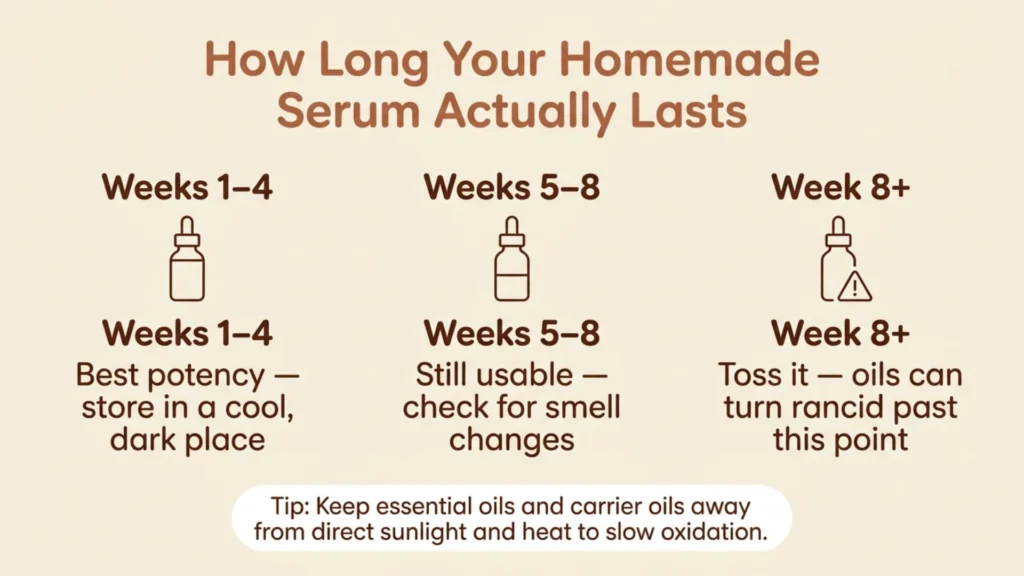
Homemade serums don’t have preservatives, so they don’t last as long as anything you’d buy in a store. Keep the bottle somewhere cool and dark, like a bathroom cabinet rather than a windowsill, and it should stay good for roughly eight weeks. After that, the oils start to oxidize. You’ll notice it before you can measure it: the smell turns slightly sour or “off,” even if the oil still looks fine.
If you notice any change in smell, color, or texture before the eight-week mark, don’t use it. Rancid oil on your scalp isn’t dangerous in most cases, but it defeats the entire purpose of a serum meant to support scalp health.
Also Visit : Hair Growth Before and After: What’s Actually Realistic
Swaps and Variations by Hair Goal
This base recipe works for most hair types, but a few small swaps make it fit your situation better.
If your scalp runs oily, swap the jojoba oil for a lighter grapeseed oil and drop the castor oil down to half a tablespoon. If your hair is very dry or coarse, you can go the other way and add an extra half tablespoon of castor oil. For sensitive or reactive skin, skip the peppermint oil entirely and cut the rosemary oil down to four drops rather than six, at least for your first few weeks of use. If you’re dealing with visible thinning rather than just wanting faster general growth, this same recipe still applies, but pair it with a conversation with a dermatologist rather than relying on the serum alone.
What Results Actually Look Like
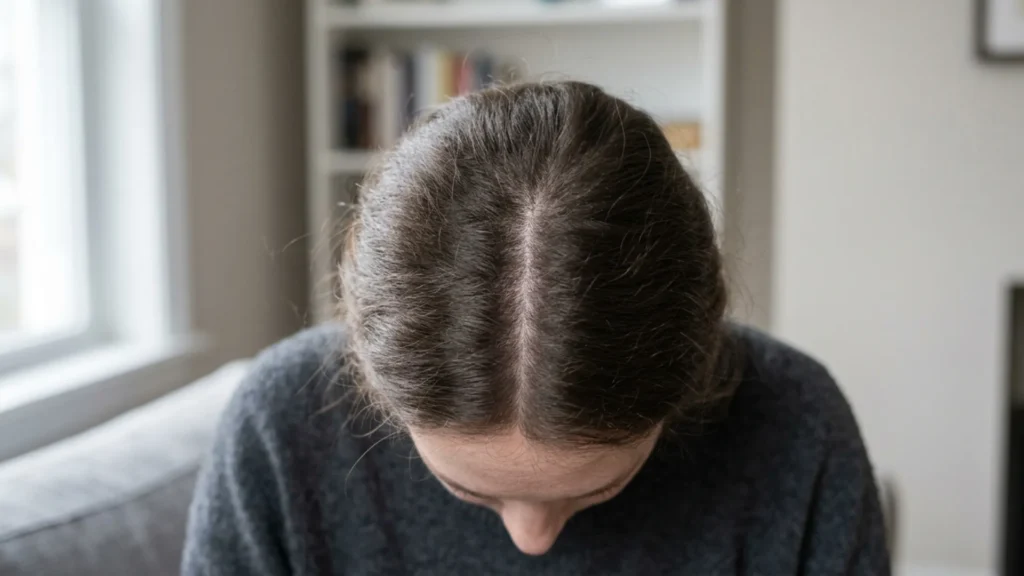
Here’s the honest timeline, based on how hair growth actually works and on the closest available research. Hair grows in cycles, and any real change takes at least one full growth phase to show up, which is why nothing legitimate promises results in two weeks. In the rosemary study mentioned earlier, no meaningful difference showed up at the three-month mark. The real change appeared at six months.
Translate that to your own bathroom mirror: expect nothing dramatic for the first month. Around week 6 to 8, some people notice less shedding in the shower drain, which is a good early sign even if length hasn’t visibly changed yet. By month three to four, with consistent use two to three times a week, you may start to see shorter, finer “baby hairs” along your part line. That’s new growth, not a coincidence. Full visible length takes longer, because hair only grows about half an inch a month regardless of what you put on it.
Also Visit : Is Homemade Hair Growth Oil Worth Making Yourself?
Key Takeaways
- Rosemary essential oil is the one ingredient in this recipe with real clinical comparison data behind it — don’t leave it out.
- Ratios matter more than variety. A focused three-to-five ingredient recipe outperforms a cabinet dump.
- Patch test before your first full application, and skip the recipe if you’re pregnant or breastfeeding.
- Two to three applications a week is the sweet spot; daily use raises irritation risk without speeding results.
- Give it a full 8 to 12 weeks before judging whether it’s working. Hair growth cycles don’t move faster because you want them to.
Frequently Asked Questions
How long does homemade hair growth serum take to work?
Expect at least 8 to 12 weeks before noticing any real change, and closer to 6 months for results comparable to the rosemary research discussed above. Anything promising faster results is overselling.
Can I use this serum every day?
You can, but you don’t need to. Two to three times a week gives your scalp time to absorb the oils without building up residue or increasing irritation risk.
Do I need to wash this serum out, or can I leave it in?
Either works. Leaving it in overnight can improve absorption, but if your scalp feels oily or irritated the next day, wash it out after 30 to 60 minutes instead.
Is castor oil necessary for hair growth?
Not for growth specifically. It’s included here for texture, shine, and helping distribute the other ingredients evenly, not because it’s proven to grow hair on its own.
Can I make this serum without essential oils?
You can use just the carrier oils and vitamin E, but you’ll lose the ingredient with the strongest evidence behind it. If you’re avoiding essential oils for sensitivity reasons, that’s a reasonable trade-off.
This article is for general information only and isn’t medical advice. For persistent hair loss, scalp pain, or sudden shedding, see a dermatologist or trichologist.
Written by Anna Anderson for Trend Cottage.