Is Homemade Hair Growth Oil Worth Making Yourself?
Quick answer: a homemade hair growth oil can genuinely improve scalp condition, shine, and breakage, and a few ingredients (rosemary, in particular) have real research behind them. What it won’t do is outgrow your genetics or fix a medical hair-loss condition. If your goal is healthier-feeling hair and a low-cost routine you control, making your own is worth it. If you’re dealing with sudden or patchy shedding, it’s not a substitute for seeing a dermatologist.
People usually land on this question for one of two reasons. Either the store-bought bottles feel expensive for what’s basically oil and a nice label, or they’ve read enough ingredient lists to wonder why they can’t just mix it themselves. Both instincts are reasonable. The honest answer sits somewhere between “yes, obviously” and “don’t bother.” It really depends on what you’re actually trying to fix.
What’s Actually in a Good Homemade Hair Growth Oil
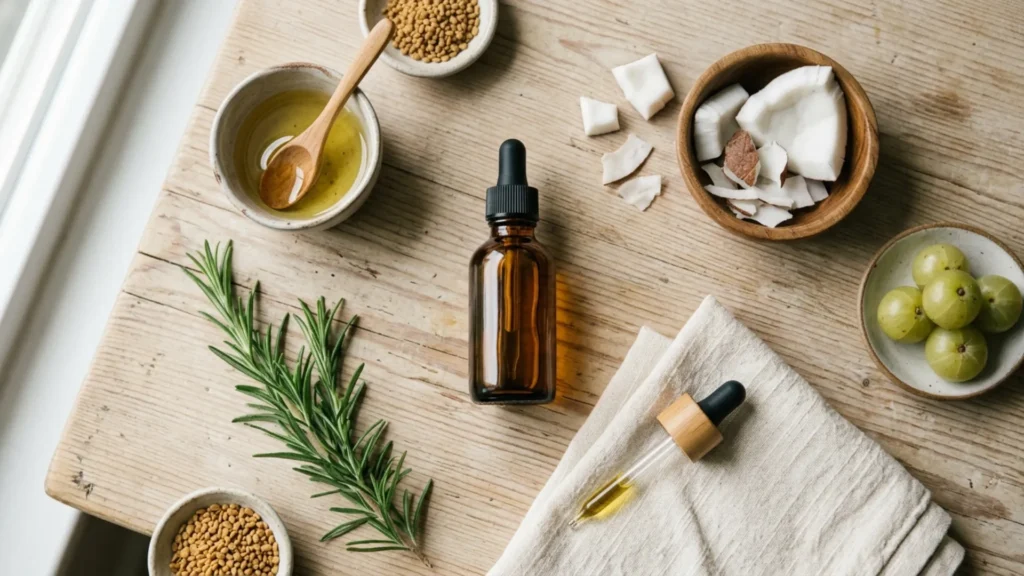
A homemade hair growth oil is really two ingredients doing two different jobs. There’s a carrier oil, which makes up most of the bottle and does the heavy lifting of moisturizing the hair shaft and softening the scalp. Then there’s a smaller amount of active oil, usually an essential oil, chosen for a specific effect like circulation or antimicrobial action.
Carrier oils aren’t interchangeable. Castor oil is thick and sticky, which makes it good for sealing moisture in but heavy if you use too much. Coconut oil penetrates the hair shaft itself rather than just sitting on top, which is useful for reducing protein loss from washing. Jojoba oil is chemically close to human sebum, so it tends to feel lighter and absorb faster, which matters if your scalp gets oily quickly.
Of the essential oils people reach for, rosemary has the most credible backing. A randomized trial comparing rosemary oil with 2% minoxidil found similar increases in hair count after six months, with less scalp itching in the rosemary group. That’s one small study, not a guarantee, but it’s a real data point, and that’s more than most oils used in homemade blends can claim.
Peppermint oil shows up a lot too, mostly for the tingling sensation it creates. That tingle isn’t nothing. It signals increased blood flow to the area, but it’s not the same as proven regrowth. Treat it as a nice-to-have, not the reason you’re making the oil.
Also Visit : Which Hair Growth Methods Are Worth Your Time?
Store-Bought vs. Homemade: What You’re Really Comparing
This is where most of the “is it worth it” question actually lives. A bottle of commercial hair growth oil and a homemade version aren’t really competing on ingredients. They’re competing on control, cost, and convenience.
Store-bought oils are formulated once and sold to everyone. That means the ratios are fixed, the essential oil concentration is usually diluted for safety and shelf stability, and you’re paying for packaging, marketing, and shipping on top of the raw materials. A homemade hair growth oil costs closer to the price of the ingredients themselves, and you can adjust it if your scalp reacts a certain way.
What you give up is consistency and testing. A commercial product has usually been checked for preservation and stability. Your kitchen-made batch hasn’t, which is why storage and shelf life matter more than people expect. There’s more on that further down.
| Factor | Homemade Oil | Store-Bought Oil |
|---|---|---|
| Cost per use | Lower, once you own the base oils | Higher, includes packaging and markup |
| Ingredient control | Full: you choose ratios and swap oils | Fixed formula, no adjustment |
| Shelf life | Weeks to a few months, needs monitoring | Usually 12–24 months with preservatives |
| Consistency | Varies batch to batch | Same every time |
| Time investment | 10–15 minutes to mix, plus sourcing oils | None beyond buying it |
Neither column is objectively better. If you like tinkering and want the lowest possible cost, homemade wins. If you want to buy once and forget about it, a well-reviewed commercial oil is the less fussy option. The American Academy of Dermatology’s guidance on hair care makes a similar point in a different context: the routine you’ll actually stick with matters more than the product itself.
A Simple, Well-Balanced Recipe to Start With
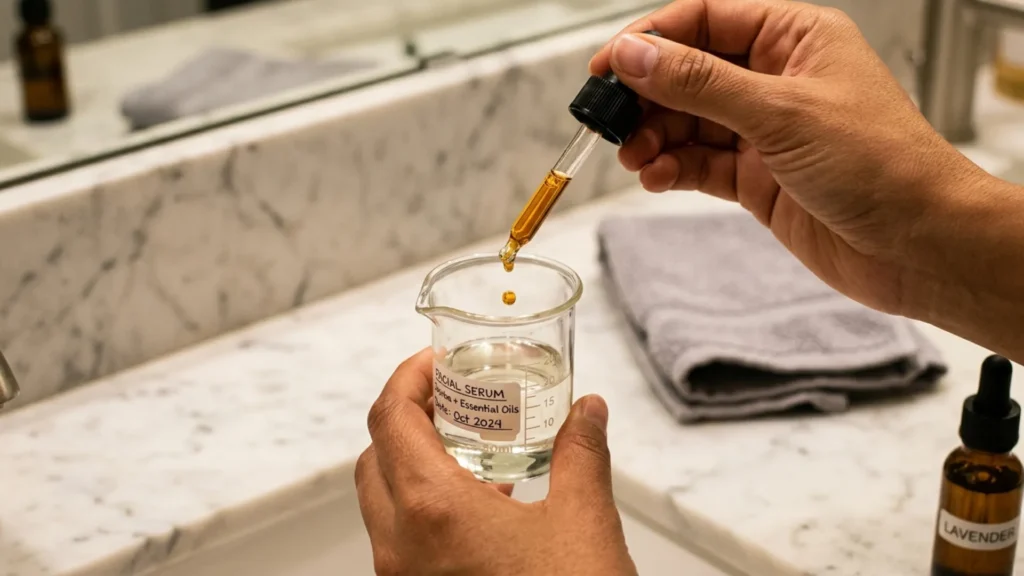
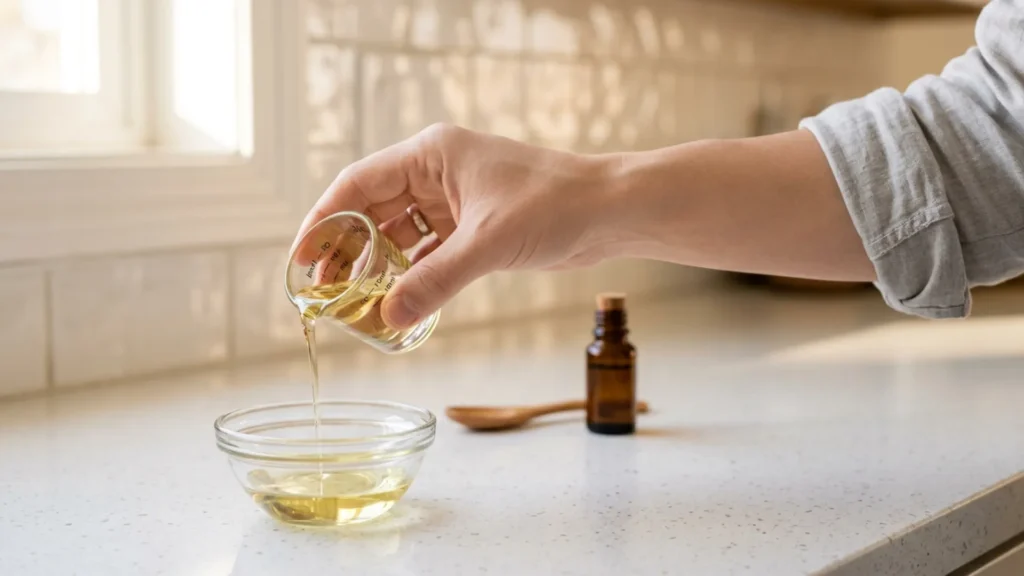
Here’s a formula that’s forgiving for a first attempt. It uses a 2% essential oil dilution, which is the commonly recommended upper range for leave-on scalp products, so it’s strong enough to notice without being harsh.
For a 100ml (about half a cup) bottle:
- 80ml jojoba oil (the base; swap for coconut or sweet almond oil if you prefer)
- 20ml castor oil (adds thickness and a slight sealing effect)
- 20 drops rosemary essential oil
- 10 drops peppermint essential oil (optional, for the tingling sensation)
Combine everything in a dark glass bottle, since clear glass lets light degrade the oils faster. Shake gently before every use, since the castor oil and lighter carrier oil can separate slightly over time. Do a patch test on your inner arm first and wait 24 hours before applying it to your scalp; rosemary and peppermint are both on the milder end of essential oils, but reactions are individual.
Apply it to a dry or slightly damp scalp, section by section, and massage in with your fingertips for two or three minutes. You’re not trying to soak the hair itself, just cover the scalp evenly. Leave it on for at least 30 minutes, or overnight if your scalp tolerates it well, then shampoo as usual. One shampoo is often not enough to fully remove castor oil, so don’t be surprised if a second wash is needed.
Store the finished oil somewhere cool and dark, and plan to use it within six to eight weeks. Without a preservative, homemade oils are more prone to going rancid than the timelines on commercial bottles suggest, especially if any water gets into the bottle from wet fingers or a damp cap.
Also Visit : 4c Hair Growth: Why It’s Really About Retention
How Often to Use It and What to Expect
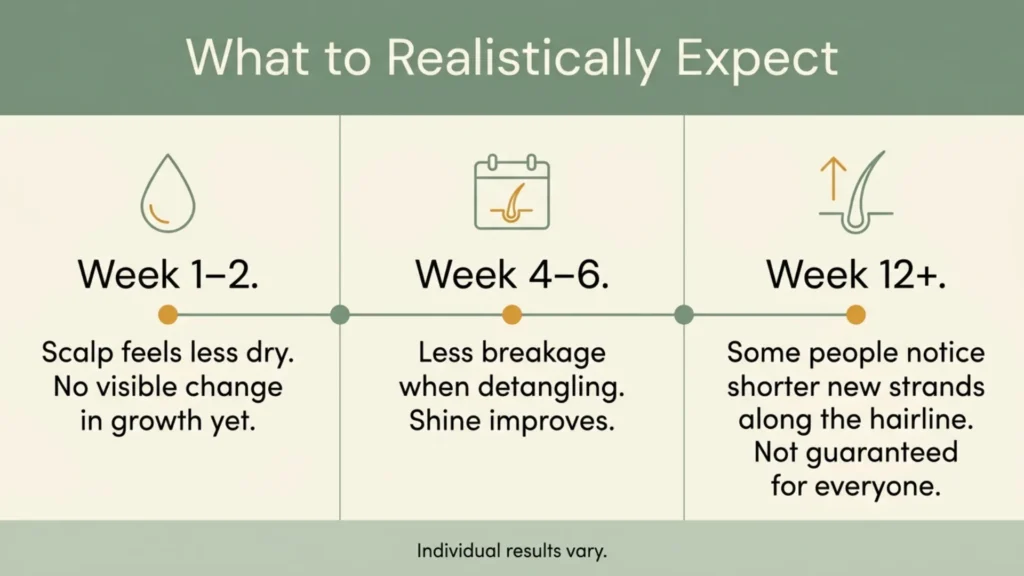
Two to three times a week is a reasonable starting frequency. Daily use doesn’t speed things up. Hair grows on its own biological timeline regardless of how often you oil it, and daily use does increase the chance of a clogged, irritated scalp, especially with heavier oils like castor.
The honest timeline is longer than most product pages admit. Hair grows in cycles, and a strand that falls out today was likely shed for reasons that started weeks or months ago. In the first couple of weeks, expect changes in how your scalp feels rather than how your hair looks: less tightness, less flaking, more manageable texture. Somewhere around the one-month mark, some people notice less breakage during detangling, which reads as “growth” even though it’s really retention. Real visible change, if it happens at all, tends to show up closer to the twelve-week mark, and even then it’s usually modest.
If you’re using this specifically because of noticeable shedding, a receding hairline, or a widening part, an oil, homemade or otherwise, isn’t a strong enough intervention on its own. That’s a conversation for a dermatologist, not a bottle of jojoba and rosemary.
Who This Is Actually Worth It For

A homemade hair growth oil earns its keep for people dealing with a dry, tight, or flaky scalp, hair that breaks easily from over-styling or chemical treatments, or anyone who simply wants a low-cost pre-wash treatment they can customize. It’s also a reasonable option if you’re curious about rosemary oil specifically but don’t want to commit to a full-priced commercial version before knowing if you like the routine.
It’s a weaker fit if you’re chasing a specific, urgent outcome: a wedding in six weeks, postpartum shedding that’s alarming you, or thinning that’s clearly progressing. In those cases, an oil can be part of a routine, but it shouldn’t be the whole plan. Worth noting, even popular supplement ingredients aimed at hair, like biotin, have thin evidence behind them for people who aren’t actually deficient. The NIH’s own consumer fact sheet on biotin says as much. Oils and supplements both get marketed with more confidence than the research supports.
Common Mistakes That Waste the Effort
The biggest one is using too much castor oil relative to lighter carriers. It feels productive because it’s thick and coats the hair visibly, but excess castor oil is genuinely hard to wash out and can leave hair looking greasy for days, which then discourages people from continuing.
Skipping the patch test is another. Essential oils, even mild ones, can cause contact irritation, and scalp skin reacts differently than the inner arm you’d normally test on.
People also tend to judge results too early, sometimes stopping at the two-week mark because nothing visible happened, which is exactly when nothing visible is supposed to happen yet. And a smaller but common one: leaving the bottle in a hot bathroom or on a sunny windowsill, which speeds up oxidation and shortens how long the oil stays usable.
Also Visit : Hair Growth Recipes That Actually Match Your Hair Problem
Common Questions About Homemade Hair Growth Oil
Can homemade hair oil actually make hair grow faster?
Not faster in the sense of speeding up the biological growth rate. What it can do is reduce breakage and improve scalp condition, which makes existing growth more visible over time because less of it is snapping off.
How long does homemade hair growth oil last before it goes bad?
Without a preservative, plan on six to eight weeks stored in a cool, dark place. Cloudiness, a sour smell, or a change in color are signs it’s time to make a fresh batch.
Is castor oil or coconut oil better as the base?
Neither is universally better. Coconut oil suits finer hair that gets weighed down easily; castor oil suits thicker or coarser hair that can handle more sealing without looking flat.
Can I use homemade hair growth oil every day?
You can, but two to three times a week is usually enough to get the benefit without over-oiling the scalp or trapping product buildup.
Does homemade hair growth oil work for hair loss caused by hormones or genetics?
Not on its own. Genetic and hormonal hair loss usually needs a targeted treatment, and an oil is better understood as scalp maintenance alongside that care, not a replacement for it.
Are essential oils safe to use directly on the scalp?
Only when diluted in a carrier oil first. Undiluted essential oils are concentrated enough to irritate skin, which is why the recipe above keeps them at a small percentage of the total mix.
Do I need to wash homemade oil out, or can I leave it in overnight?
Both work, depending on your scalp. Oily scalps tend to do better with a 30-to-60-minute treatment before washing; drier scalps often tolerate an overnight application without issue.
This article is for general information only and isn’t medical advice. For persistent hair loss, scalp pain, or sudden shedding, see a dermatologist or trichologist.
Key Takeaways
- A homemade hair growth oil is genuinely useful for scalp condition, breakage, and shine, not for outpacing genetics or hormonal hair loss.
- Rosemary oil has the most credible research behind it among the essential oils commonly used in DIY blends.
- A basic 2% dilution (roughly 20–30 drops of essential oil per 100ml of carrier oil) is a safe, effective starting ratio.
- Homemade oil has no preservative, so plan to use it within six to eight weeks and store it away from heat and light.
- Two to three applications a week is enough; daily use adds irritation risk without speeding up results.
Written by Anna Anderson for Trend Cottage.