Master Your Look: The Ultimate “How to Do Hairstyles” Step-by-Step Guide
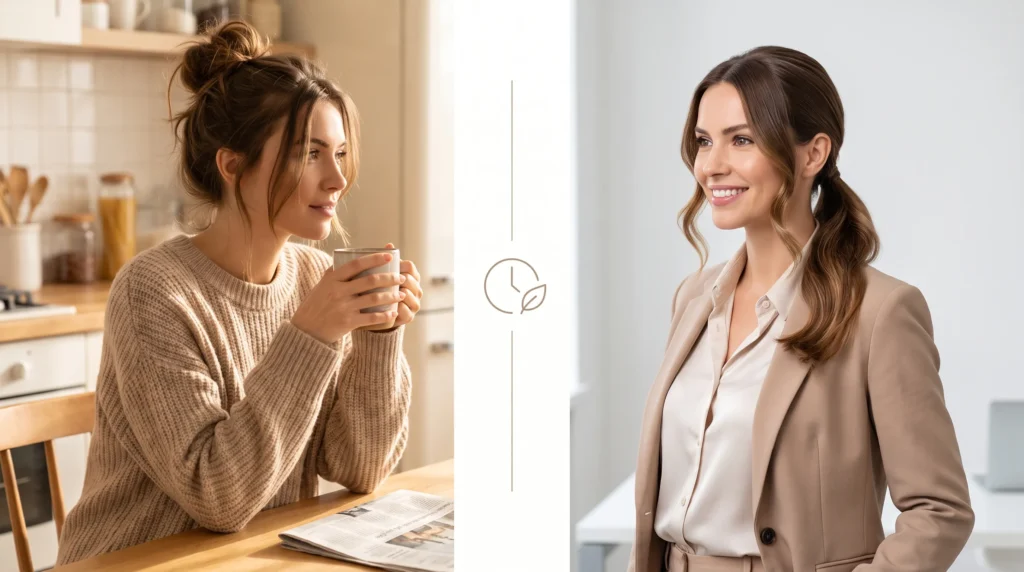
We have all been there: staring in the mirror on a chaotic morning, wishing you could recreate that effortless, salon-fresh look without burning your fingers or wasting an hour. Instead, feeling the pressure of time, you grab an old elastic and settle for the same tired, slightly bumpy ponytail you have worn every day this week.
If this sounds familiar, you are not alone. The problem with most online beauty content is that those 15-second, hyper-speed videos completely gloss over the reality of hair styling. They move too fast, assume you already possess professional-level dexterity, and almost always skip the crucial prep steps that actually make a style hold.
It is time to change that narrative. Whether you are a complete beginner, a busy professional balancing a hectic schedule, or simply someone looking to level up your beauty routine, this article is the ultimate how to do hairstyles step by step guide. We are stripping away the intimidating salon jargon and breaking everything down into actionable steps.
From stocking your vanity with the right essential tools and mastering the art of hair prep, to breaking down 5-minute everyday looks and elegant updos, this guide will empower you to take control of your hair. Let’s dive into the step-by-step hair tutorials that will finally transform your morning routine.
1. The Foundation: Essential Hair Styling Tools & Products
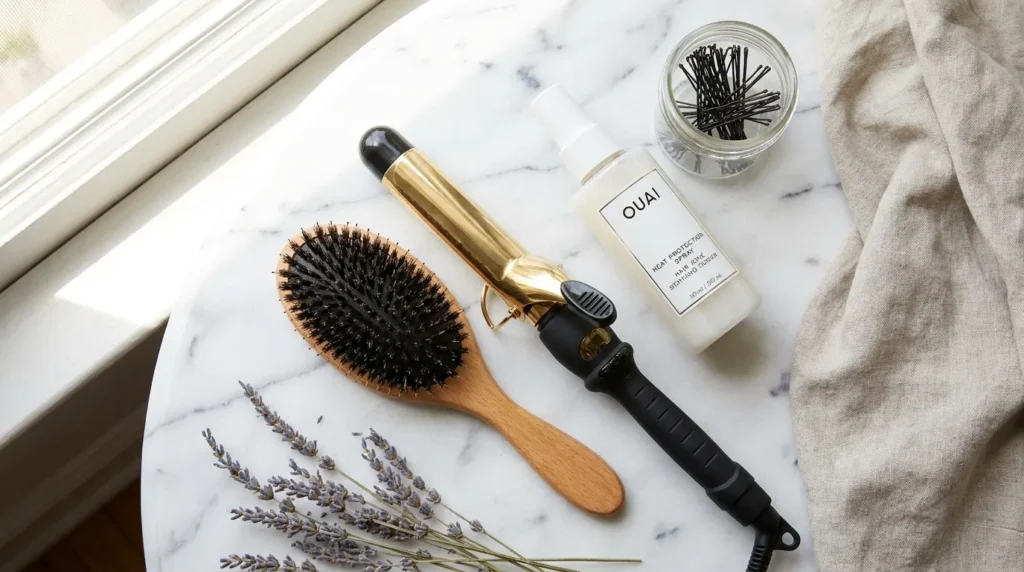
You cannot build a sturdy house without a solid foundation, and the exact same principle applies to your hair. Attempting a complex braid or a bouncy blowout with the wrong tools is a recipe for frustration. To execute easy hairstyles for beginners and advanced updos alike, you need an arsenal of reliable hair styling tools and products.
Must-Have Brushes & Combs
Not all brushes are created equal. Using the right tool for the specific stage of styling will drastically reduce breakage and frizz.
- Boar Bristle Brush: Your best friend for smoothing the hair cuticle and distributing natural scalp oils down the hair shaft. It is non-negotiable for sleek ponytails and shiny finishes.
- Wide-Tooth Comb: Never use a standard brush on wet hair. A wide-tooth comb is essential for safely detangling damp strands without snapping them.
- Rat-Tail Comb: The secret to perfectly sharp center parts and clean sections. The pointed tail allows for precision your fingers simply cannot achieve.
Essential Hot Tools
Investing in high-quality hot tools saves your hair from unnecessary heat damage while cutting down your styling time.
- The Reliable Blow Dryer: Look for one with ionic technology to reduce frizz and drying time.
- A 1-Inch Curling Iron: If you only buy one curling iron, make it a 1-inch barrel. It is the most universal size, perfect for tight ringlets, loose waves, and everything in between.
- A Quality Flat Iron: Beyond straightening, a good flat iron with rounded edges can also be used to create beautiful, modern waves.
Non-Negotiable Products
Products are the invisible scaffolding that holds your hairstyles together.
- Heat Protectant: This is the single most important product in your bathroom.
Expert Insight: According to studies published in the [External Link Suggestion: Journal of Cosmetic Science], applying a quality heat protectant can reduce cuticle damage and hair breakage by up to 50%. Always apply it before heat touches your hair.
- Texturizing Spray: Clean hair is slippery. Texturizing spray adds the crucial “grip” needed to keep braids from unraveling and pins from sliding out.
- Dry Shampoo: Not just for dirty hair! Spraying dry shampoo at the roots of clean hair adds immediate volume and texture.
- Flexible-Hold Hairspray: Look for a formula that offers hold without turning your hair into an immovable, crunchy helmet.
The Right Accessories
- Snag-Free Elastics: Throw away rubber bands with metal clasps that rip your hair out. Opt for clear, snag-free polybands for braids and soft scrunchies for buns.
- Bobby Pins (The Right Way): Here is a secret: the wavy side of the bobby pin goes down against your scalp. The waves grip the hair, while the flat side stays on top to keep the style smooth.
- Claw Clips: A versatile tool for sectioning hair while styling, or for a quick, chic updo on the go.
2. Setting the Stage: Hair Prep for Styling
One of the biggest haircare misconceptions is that you need freshly washed, squeaky-clean hair to create a beautiful style. In reality, “second-day hair” is a stylist’s best friend. Freshly washed hair has too much “slip,” meaning it lacks the natural grit required to hold an elastic or a bobby pin securely.
To guarantee your style lasts all day, follow this ultimate hair prep routine:
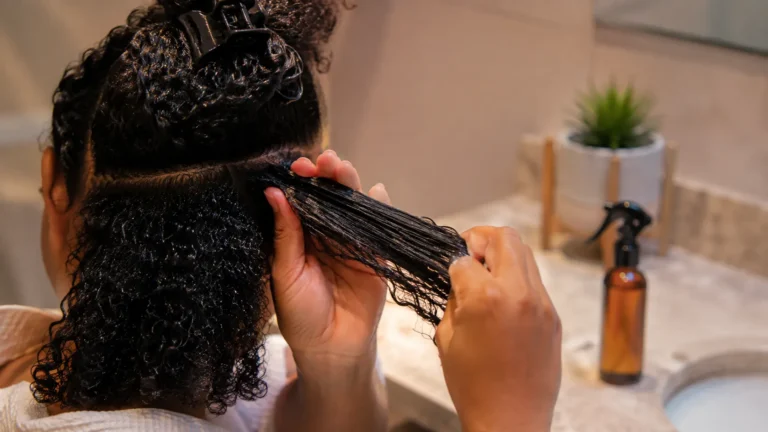
- Strategic Detangling: Never rip a brush straight down from your roots; this causes massive tension and breakage. Instead, hold your hair gently in the middle and begin detangling from the very ends, slowly working your way up to the roots.
- Product Application: Applying product to soaking wet hair dilutes the formula, while applying it to dry hair can cause clumping. The sweet spot is damp, towel-dried hair.
- For volume: Apply a golf-ball-sized amount of volumizing mousse directly to your roots.
- For a sleek look: Work a dime-sized amount of smoothing serum through your mid-lengths and ends, avoiding the roots.
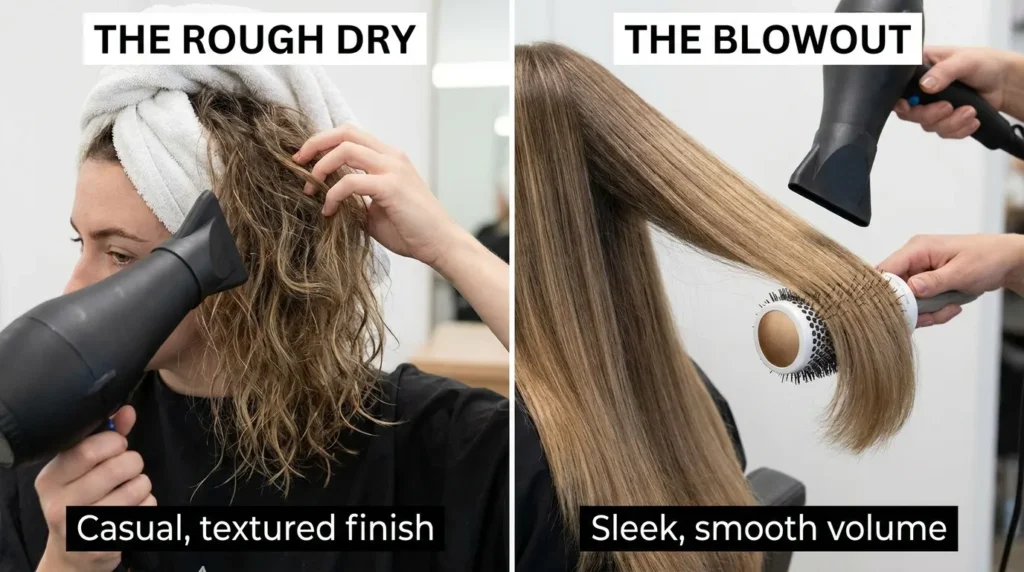
- The Rough Dry vs. The Blowout:
- The Rough Dry: If you plan to use a curling iron, flat iron, or create an updo, you do not need a perfect blowout. Simply blast your hair with the dryer, using your fingers to lift the roots until 100% dry.
- The Blowout: For a bouncy, finished style straight from the dryer, section your hair and use a round brush, pulling the hair taut and pointing the dryer’s nozzle down the hair shaft to smooth the cuticle.
3. Easy Everyday Hairstyles: Step-by-Step Tutorials
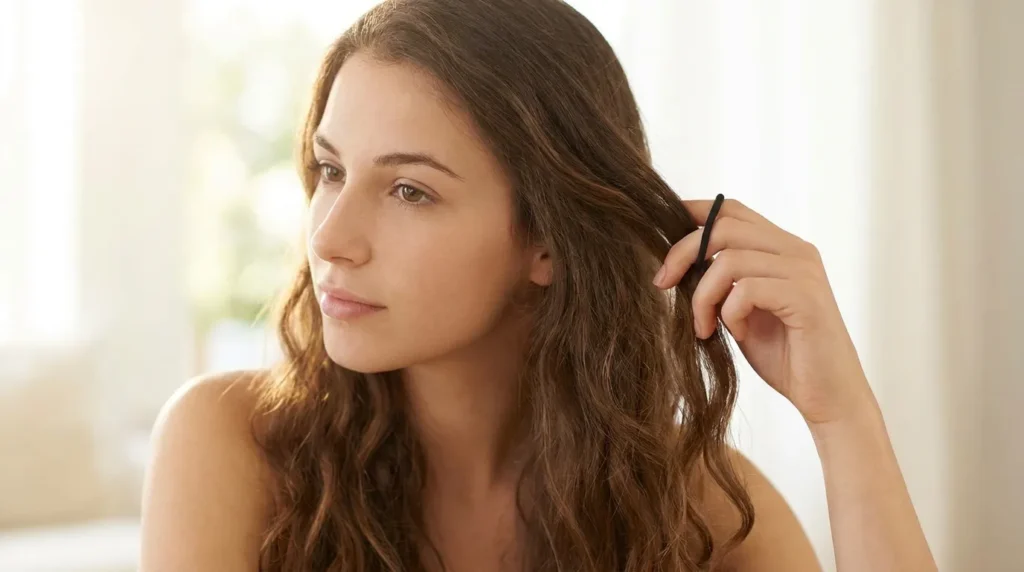
When you are rushing to get to the office or drop the kids off, you need everyday hairstyles that look incredibly chic but take less than five minutes. Here are three foolproof tutorials.
Tutorial 1: The Effortless Messy Bun
The messy bun is famously difficult to get “just right.” Here is how to nail the intentional, effortless look without looking disheveled.
- Step 1: Flip your head upside down and gather your hair into a high ponytail at the crown of your head. Use your fingers instead of a brush to create a natural, beautiful texture. Secure with a snag-free elastic.
- Step 2: Take the ponytail, twist it loosely, and wrap it around the base of the elastic to form a bun. Do not pull it tight; keep it voluminous and relaxed.
- Step 3: Secure the bun by pinning the edges to your head with bobby pins (wavy side down) or wrap a soft scrunchie around it. Gently tug at the bun to expand it, and pull out a few face-framing pieces around your temples.
Tutorial 2: The Polished Low Ponytail
This is the ultimate power hairstyle—perfect for a morning Zoom meeting or an elegant dinner date.
- Step 1: Using the tail end of your rat-tail comb, create a sharp, precise middle part or a dramatic deep side part.
- Step 2: Apply a dab of styling cream to your boar bristle brush. Gently brush your hair straight back, smoothing it down flat against your head, and gather it tightly at the nape of your neck.
- Step 3: Secure the ponytail with an elastic. To elevate the look, take a small, half-inch strand of hair from the underside of the ponytail. Wrap this strand tightly around the elastic to hide it, and secure the end underneath the ponytail with a single bobby pin.
Tutorial 3: The Classic French Braid (Demystified)
French braiding looks complex, but it is simply a standard three-strand braid with one extra step.
- Step 1: Section off a small triangle of hair at the crown of your head and divide it into three equal pieces.
- Step 2: Begin a traditional braid: cross the right section over the middle, then cross the left section over the new middle.
- Step 3: Before you cross the right section over the middle again, use your index finger to scoop up a small sliver of hair from the right side of your head and add it to the right section. Cross that thickened section over the middle.
- Step 4: Repeat on the left side. Keep your hands close to your scalp to maintain tension. Continue this pattern down to the nape of your neck, finishing with a standard three-strand braid to the ends.
4. Elevating Your Look: Step-by-Step Updos for Special Occasions
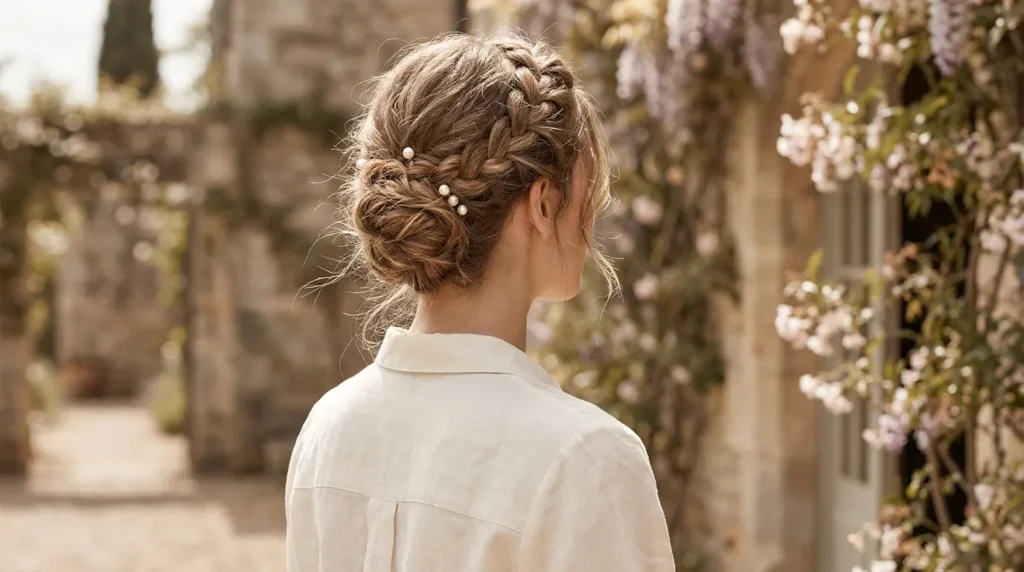
When a wedding or gala approaches, there is no need to spend hundreds of dollars at a salon. Mastering step-by-step updos at home is easier than you think. In fact, [External Link Suggestion: Pinterest trend reports] show massive year-over-year growth in searches for “DIY wedding hair” and “easy elegant updos.”
Tutorial 1: The Modern French Twist
The modern version of this classic style is softer and highly textured, maintaining sweeping elegance without looking stiff.
- Step 1: Prep your hair with texturizing spray. Sweep all your hair over to the left side of your head, holding it taut.
- Step 2: With your free hand, place a vertical row of bobby pins up the center back of your head (cross the pins in an “X” shape for extra security). This is the “spine” of your twist.
- Step 3: Take the hair you are holding on the left, smooth it slightly, and pull it back across the center of your head, covering the row of pins.
- Step 4: Roll the ends of the hair inward, tucking them under to form a vertical roll against the back of your head.
- Step 5: Secure the roll by sliding bobby pins horizontally into the twist, catching the “spine” of pins you created in Step 2. Gently tug at the crown for added volume.
Tutorial 2: The Romantic Braided Crown
This ethereal, bohemian style looks like it took hours, but works beautifully and easily on medium to long hair.
- Step 1: Part your hair straight down the middle to the nape of your neck, creating two equal sections.
- Step 2: Braid each section into a standard pigtail braid and secure with clear elastics. Gently pull at the edges of the braids to make them look thicker (a technique called “pancaking”).
- Step 3: Lift the right braid and wrap it across the top of your head like a headband. Pin it securely just behind your left ear.
- Step 4: Lift the left braid and wrap it across the top of your head, right behind the first braid. Tuck the tail underneath the right braid to hide the elastic, and pin securely.
5. Heat Styling 101: Perfecting Curls and Waves
Mastering heat styling basics is crucial to achieving modern styles without compromising your hair’s integrity. Today’s most requested look is the loose, lived-in, beachy wave. Here is how to achieve it safely.
Ideal Heat Settings
Frying your hair on the maximum setting will not make the curl last longer; it will only cause irreversible damage. Use this quick reference guide based on professional styling standards:
| Hair Type | Recommended Temperature Range |
| Fine, Thin, or Chemically Treated | 250°F – 300°F |
| Medium, Normal Hair | 300°F – 350°F |
| Thick, Coarse, or Curly Hair | 350°F – 400°F |
The Step-by-Step Modern Wave
- Section Your Hair: Use claw clips to divide your hair into three tiers (bottom, middle, top). Start curling from the bottom up.
- Wrap Away From the Face: Take a 1-inch section. Hold your curling wand vertically, pointing toward the floor. Clamp near the root and wrap the hair away from your face to open up your features.
- Leave the Ends Out: For a modern, edgy finish, leave the last inch or two of your hair completely uncurled.
- Let it Cool: Release the curl into your palm for a moment, then drop it. Do not touch or brush your hair yet. Let the entire head cool completely to set the shape.
6. Pro Tips to Make Your Hairstyle Last All Day
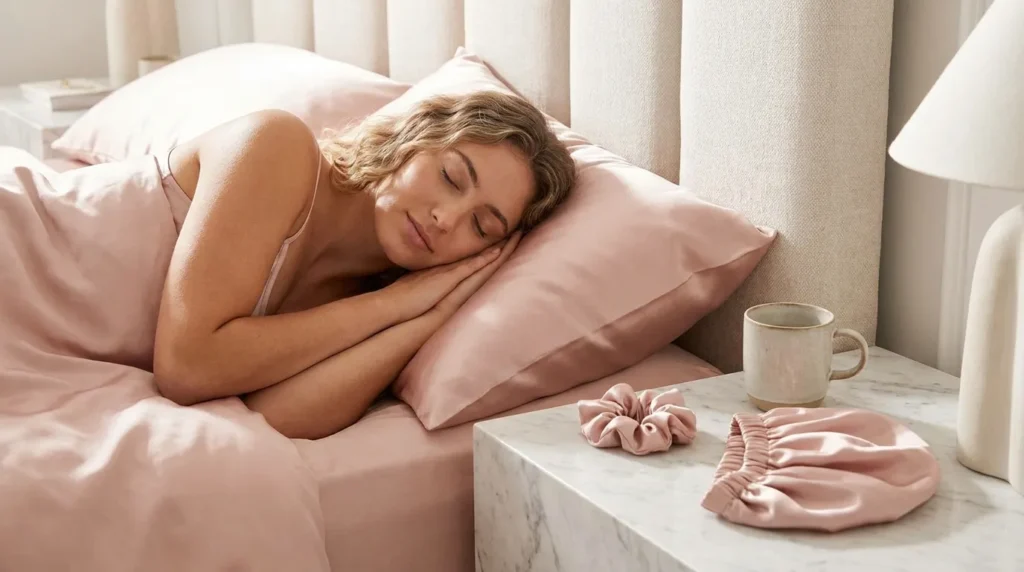
You spent time prepping and styling—do not let the dreaded midday drop ruin your hard work. Here is how to lock your look in place, fighting gravity and humidity.
- Utilize the “Cool Shot” Button: Hair is malleable when hot because its hydrogen bonds are broken. Rapidly cooling the hair (using a blow dryer’s cool shot or simply letting curls cool before brushing) sets those bonds in their new shape, locking the style in place.
- Lock with Hairspray (The Right Way): Never spray directly onto a section from an inch away; this creates crunchy, wet spots. Instead, hold the can 10 to 12 inches away and spray in a continuous, sweeping motion for a fine, even mist.
- Nighttime Preservation: Swap your standard cotton pillowcase for silk or satin. Cotton creates friction, leading to frizz. [Internal Link Suggestion: Shop our recommended silk pillowcases here] to allow your hair to glide smoothly, preserving your style for day two and beyond.
Conclusion
Mastering your hair is not about possessing innate artistic talent; it is about practice, patience, and utilizing the right techniques. By building a solid foundation with the correct tools, taking time to properly prep your strands, and following this guide, you can unlock an endless variety of looks right from your own bathroom.
Do not get discouraged if a French braid falls apart on your first attempt or your French twist leans more messy than modern. Muscle memory takes time to build. Keep your arms relaxed, take breaks, and keep experimenting.
We want to hear about your styling journey! Comment below with the hairstyle you are most excited to try this week, and don’t forget to share this guide with a friend who is always hunting for the best beauty hacks.
Also Visit : How to DIY Hair Highlights at Home Without Foil (7 Methods That Actually Work)