
Avoid Natural Hair Protective Styling Mistakes That Cause Breakage

Protective styling is supposed to be the secret weapon for length retention in natural hair — tuck the ends away, reduce daily manipulation, and let your hair grow undisturbed. But for thousands of women, protective styles deliver the opposite result: more breakage, thinning edges, and hair that is shorter after the style than before it. The reason is almost always one of the same avoidable mistakes. This guide covers every critical natural hair protective styling mistake you need to avoid, why each one damages your hair biologically, and exactly what to do instead.
What Actually Makes a Style Protective?
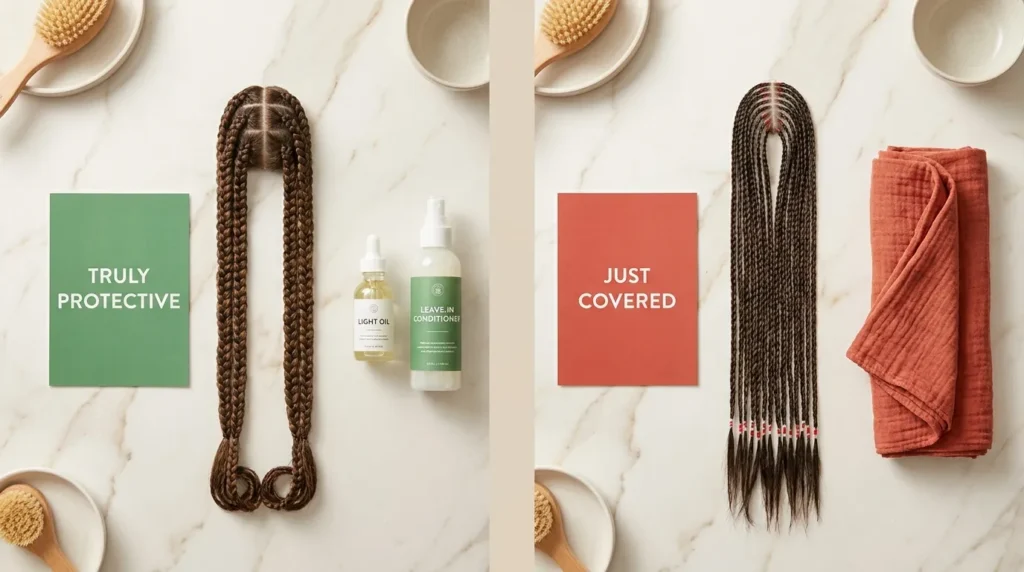
Before covering the mistakes, it helps to understand what protective styling actually means — because simply having your hair braided or twisted does not make it protective. A style is truly protective when it meets three specific criteria:
- Ends are tucked away or shielded from constant contact with clothing, air, and manipulation. The ends of the hair are the oldest and most fragile part of each strand — they need protection from friction more than any other section.
- Daily manipulation is genuinely reduced — meaning you are not constantly touching, re-styling, or pulling the hair while it is in the style. A protective style you fidget with constantly provides very little actual protection.
- Scalp and hair underneath receive active moisture care during the time the style is in. A style that locks your natural hair away without any moisture access for weeks does not protect your hair — it dehydrates it into a brittle, breakage-prone state that becomes obvious the moment you take the style down.
With that foundation clear, here are the ten most common natural hair protective styling mistakes that undermine all three of these criteria.
Avoid Natural Hair Protective Styling Mistakes (Top 10)
Mistake 1 — Installing a Protective Style on Unwashed, Unprepared Hair
Walking into a salon with dirty, dry hair and expecting a protective style to improve your hair’s health is one of the most common and most costly mistakes. Product buildup, sebum accumulation, and dry hair fibers are all sealed into the style when you install without washing and deep conditioning first. They stay in contact with your scalp and strands for the entire duration — weeks or months — creating the perfect environment for scalp irritation, follicle blockage, and bacterial buildup.
What to do instead: Always wash, deep condition, and moisturize your hair at least one to two days before installation. Do not install immediately on freshly washed hair that is still damp — damp hair sealed into braids for weeks is a direct pathway to mildew, breakage, and scalp odor. Let hair fully dry before installation, and go in with your hair in the healthiest, most moisturized state possible.
Mistake 2 — Neglecting Your Real Hair While Focusing on the Style
It is common to spend money on products to keep the braids or twists looking polished while doing absolutely nothing for the natural hair underneath. The logic is understandable — the style looks fine from the outside, so the hair must be fine too. It is not. The hair growing out of your scalp is living tissue that continues to need water, moisture, and oil regardless of what surrounds it. Neglecting it for weeks causes the dryness and brittleness that leads to the breakage many women blame on the style itself.
What to do instead: Maintain a simple in-style care routine throughout the protective style period. At minimum: lightly mist the scalp and any exposed hair sections with a water-based spray two to three times per week, apply a lightweight scalp oil once or twice per week, and wash your scalp (not necessarily the style itself) every two to three weeks with a diluted shampoo in a squirt bottle.
Mistake 3 — Braids That Are Installed Too Tight
This is the single most damaging mistake on this list — and the one with permanent consequences. When braids are installed with excessive tension at the root, the hair follicle is under continuous physical stress. Prolonged tension on the follicle causes a condition called traction alopecia — a progressive, often permanent form of hair loss where the follicle is literally pulled out of its anchoring position in the scalp. The first warning sign is pain and scalp tightness after installation. The long-term result is the receding hairline and thin edges that many women struggle to regrow.
The rule: If your scalp hurts after installation, if you cannot sleep comfortably, or if your scalp skin is visibly raised and pulled at the hairline — the braids are too tight and need to be redone or loosened immediately. No hairstyle is worth permanent follicle damage. A skilled stylist should never need to create pain to achieve a neat result.
What to do instead: Communicate clearly with your stylist before and during installation. If tension increases at any point, say so. Stretch your hair with African threading or a blow-out before installation so it is in its most elongated state — this reduces the amount of tension a stylist needs to apply to achieve neat, smooth braids.
Mistake 4 — Extensions That Are Too Heavy
Packs of synthetic or human hair extensions add significant weight to every attachment point on your scalp. Your follicles were not designed to support the weight of long, heavy extension hair for weeks at a time. Over the duration of the style, this downward weight creates a slow, steady pulling force on the follicle — contributing to the same traction mechanism as tight braids, just more slowly. Heavy braids are especially damaging when parted into very small sections, which concentrates more weight on fewer follicles.
What to do instead: Use fewer packs of hair than you think you need. Part hair in larger sections so the weight is distributed across more attachment points. Choose lightweight extension options — Marley hair, light kinky extensions, and featherweight synthetic braiding hair all create a full-looking style without excessive weight. If your neck aches after installation, the style is too heavy.
Mistake 5 — Sections That Are Too Small (Micro Braids)
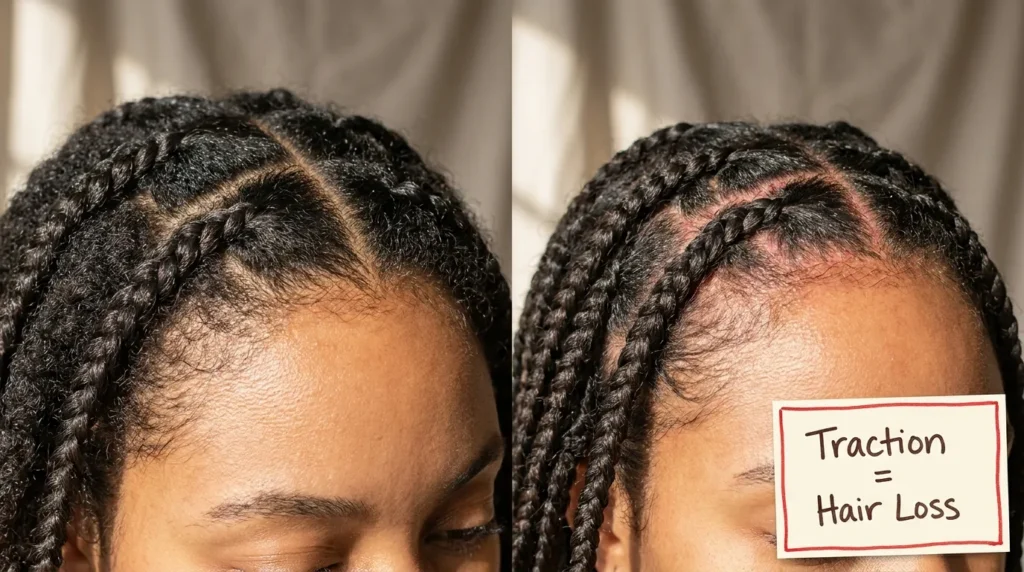
Very small parting sections combined with heavy extensions create the worst possible tension scenario: maximum weight concentrated on minimum follicle area. Small sections also mean that when it is time to take the style down, the natural hair is densely packed and tangled around itself in a way that makes removal extremely difficult and breakage-prone. What started as a style installed to retain length ends up removing it during take-down.
What to do instead: If you love the micro-braid aesthetic, wear micro-braid wigs instead — they give the same visual effect without the follicle damage. For installed styles, use medium to large section sizes that distribute weight evenly, allow adequate moisture access to the scalp, and make take-down manageable without mechanical damage.
Mistake 6 — Keeping the Style In for Too Long
Protective styles have a healthy duration window — beyond it, the benefits reverse and the damage begins. As weeks pass, shed hairs accumulate inside the braids. These shed hairs — which fall naturally at the normal rate of 50 to 100 per day — cannot shed freely when they are trapped inside braids or twists. They coil around the installed hair and the neighboring natural strands, forming tangled mats. When you finally take the style down, these matted shed hairs rip out attached healthy strands alongside them, causing the kind of massive shedding and breakage that people incorrectly blame on the style type rather than the duration.
Beyond shed hair accumulation, product buildup, dryness, and scalp health deterioration all worsen progressively the longer a style stays in past its healthy window.
Recommended duration by style type:
| Protective Style | Recommended Duration | Maximum Safe Duration | Risk of Going Longer |
|---|---|---|---|
| Box Braids | 4–6 weeks | 8 weeks with active care | Severe shed hair matting, scalp buildup, follicle stress |
| Cornrows | 3–4 weeks | 6 weeks with washing | New growth matting, tension increase as hair grows, edge damage |
| Flat Twists | 2–4 weeks | 5 weeks | Product buildup, new growth matting, shed hair accumulation |
| Senegalese Twists | 4–6 weeks | 8 weeks with care | Shed hair tangling, scalp dryness, follicle stress at root |
| Faux Locs | 4–6 weeks | 8 weeks | Weight accumulation, scalp odor, severe matting on removal |
| Weave / Sew-In | 4–6 weeks | 8 weeks with washing | Scalp hygiene breakdown, follicle damage, significant natural hair loss |
| Crochet Styles | 3–4 weeks | 6 weeks | Shed hair matting around cornrow base, scalp dryness |
Mistake 7 — Letting Your Stylist Trim the Flyaways
When small hairs stick out of braids or twists, some stylists offer to trim them for a cleaner, more polished finish. This is one of the most damaging things that can happen in a salon chair. Those hairs sticking out are your natural hair — some are shorter new growth hairs, some are the ends of strands that simply did not get wrapped neatly into the braid. When a stylist trims them, she is cutting your actual hair — giving you a scattered, invisible haircut that you will not notice until the style comes down and you see that your hair is shorter and more uneven than before.
What to do instead: Tell your stylist before she begins that trimming flyaways is not acceptable. Instead, ask her to apply a light holding mousse, foam, or edge control to smooth the stray hairs into the braid. If the sticking-out hairs are consistent, the actual solution is trimming split ends before installation — not trimming during it.
Mistake 8 — No Scalp Care During the Style
A dry, itchy scalp is not just uncomfortable — it is a sign that your follicles are not in an optimal environment for growth. Scalp dryness during protective styles is extremely common because the natural pathway for scalp sebum to travel down the hair strand is blocked by the braid or twist structure. The scalp’s own oil cannot moisturize it effectively when hair is braided. Without topical oil application, the scalp becomes progressively drier, more irritated, and more prone to flaking and inflammation — all of which are unfriendly to healthy hair growth at the follicle level.
What to do instead: Use a scalp applicator bottle (a small bottle with a pointed nozzle tip) to apply a lightweight oil blend directly to the scalp between braids every three to five days. Lightweight oils — jojoba, grapeseed, or a mix with rosemary essential oil — absorb without creating the heavy buildup that clogs the scalp over weeks.
Mistake 9 — Never Washing Your Hair During the Style
The idea that hair in a protective style should never be washed is one of the most persistent and most damaging myths in natural hair care. Weeks of scalp oil, product residue, sweat, and environmental debris accumulating on the scalp without being cleansed creates a buildup layer that blocks the follicle opening — the precise opening through which every hair strand grows. A blocked follicle in an inflamed scalp environment is not going to produce healthy hair growth. It will produce weak, slow growth and potentially hair loss.
What to do instead: Wash your scalp every two to three weeks while in a protective style. Use a diluted sulfate-free shampoo in a squirt bottle, applied directly to the scalp between braids or twists. Massage gently with fingertip pads (not nails), then rinse thoroughly. Allow the style to air dry completely — or sit under a hooded dryer — before covering with a bonnet. Never sleep with damp braids covered in a tight bonnet, which creates the mildew conditions described earlier.
Mistake 10 — Rushing the Take-Down Process
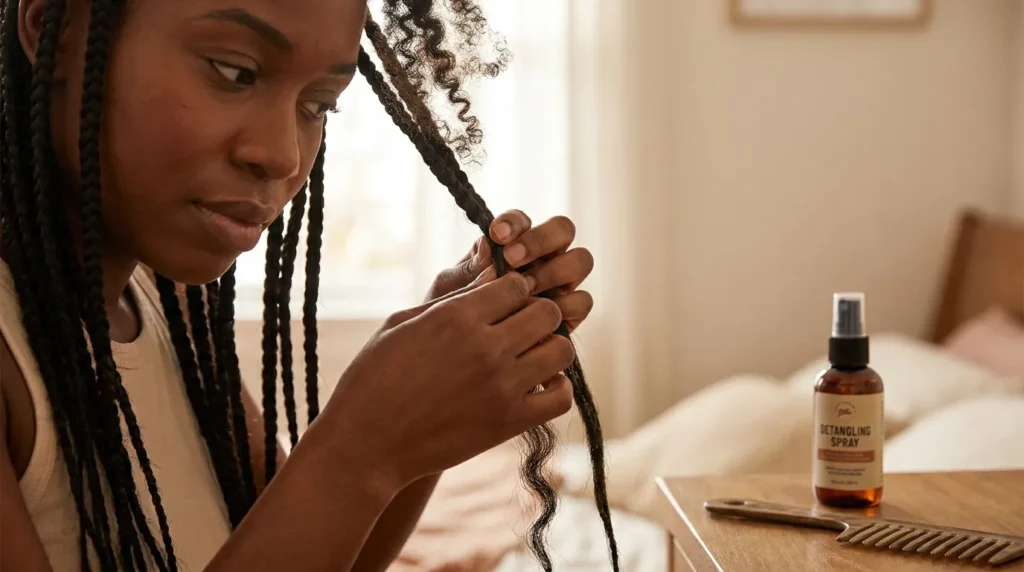
Six to eight weeks of careful protective styling can be completely undone in one impatient afternoon. Rushing the take-down — pulling extensions off roughly, cutting too close to the natural hair to speed up the process, or dry-detangling matted shed hairs without product — causes more mechanical breakage in a few hours than weeks of normal styling. This is why many women feel their hair does not retain length from protective styles: the length was grown, but removed carelessly at take-down.
Correct take-down method:
- Saturate hair generously with a detangling spray or conditioner and water mixture before beginning removal — wet hair is more pliable and sheds fewer strands during detangling.
- Work in small sections. Hold the extension firmly just below the point where it attaches to your natural hair, and unravel the extension downward — never pull upward or rip.
- If cutting extensions to speed up the process, leave at least 3 to 4 inches of extension below where your real hair ends to avoid accidentally cutting your natural hair.
- Once extensions are removed from each section, finger-detangle the natural hair gently before using any tool. Work from ends to roots slowly.
- After all extensions are removed, do a full wash, deep condition, and protein treatment session before restyling. This replenishes everything the protective period depleted.
How Long Is Too Long — Protective Style Duration Guide
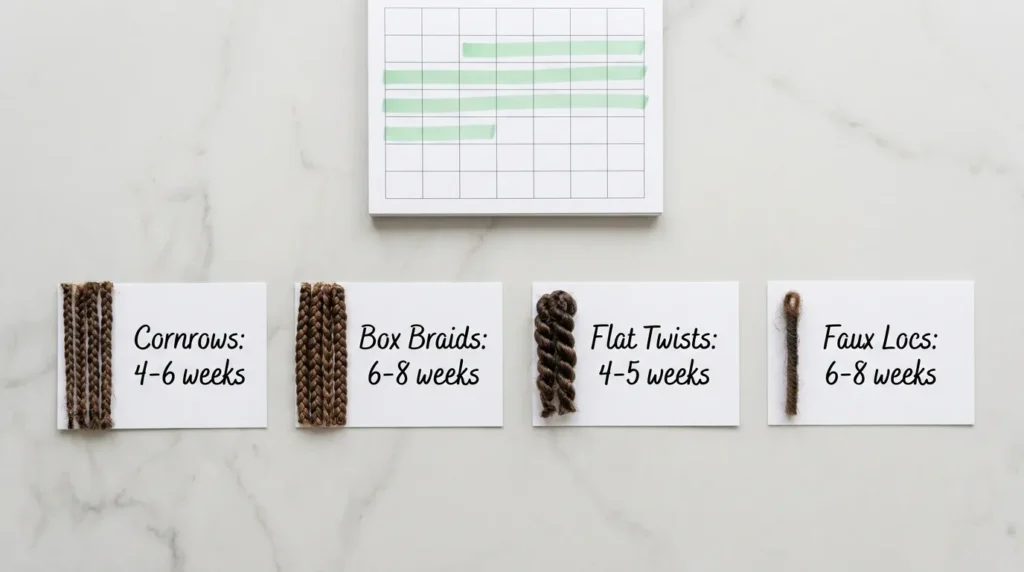
The table in Mistake 6 gives specific durations, but the universal rule is simpler: take your style down the moment you notice any of the following — significant new growth matting at the base, persistent scalp itchiness that does not clear with oiling, visible product buildup on the scalp, or any pain or tightness that was not present at installation. Your hair gives you clear signals. Most people ignore them in favor of keeping the style longer. Listen to the signals.
Also important: give your hair a break between protective styles. Installing a new protective style immediately after removing one does not allow for proper wash, deep conditioning, and assessment of your hair’s current health. A one to two week break between styles — where hair is worn loose and given intensive moisture care — is one of the most effective things you can do for long-term length retention.
Right vs Wrong — The Key Protective Styling Comparisons
| Area | ❌ What Most People Do | ✅ What You Should Do Instead |
|---|---|---|
| Hair Preparation | Install on dirty or dry hair | Wash, deep condition, and fully dry hair 1–2 days before |
| Tension Level | Accept pain as normal / part of braiding | Insist on no-pain installation — ask for style to be redone if tight |
| Extension Weight | More packs = fuller look, buy extra | Use fewer packs, choose lightweight extension types |
| Scalp Care | Nothing until removal day | Lightweight oil every 3–5 days, wash scalp every 2–3 weeks |
| Duration | Keep in as long as possible to grow more hair | Follow the style-specific window; take down on first warning sign |
| Take-Down | Rush, pull, or cut close to natural hair | Saturate, work in sections, unravel carefully, then detangle |
| Between Styles | Immediately install a new style | 1–2 week break with wash, deep condition, and moisture reset |
Signs Your Protective Style Is Actually Damaging Your Hair
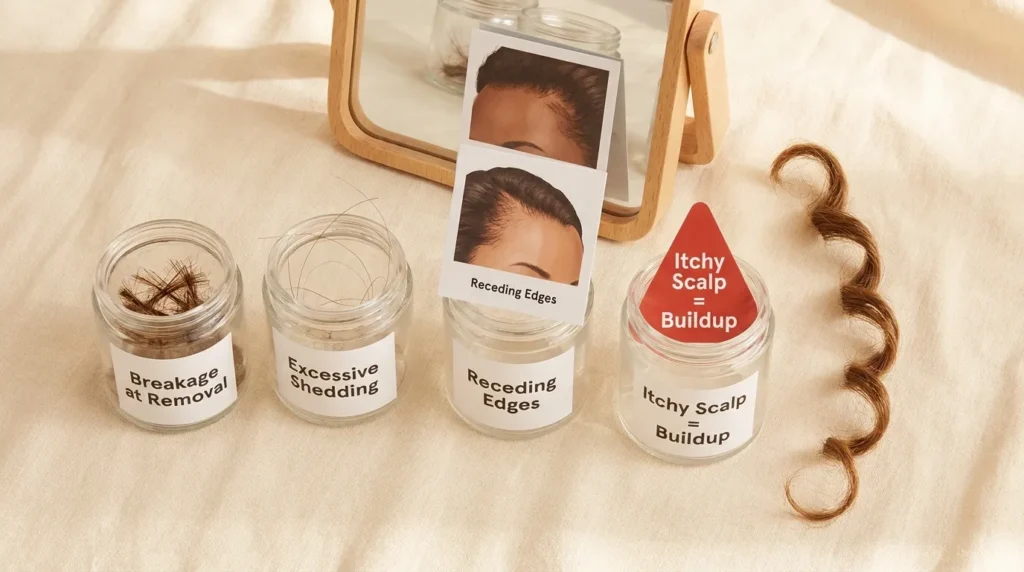
These are the warning signs that your current protective style is causing more harm than benefit. If you notice any of these during the style, act immediately rather than waiting for removal day:
- Scalp pain that does not ease within 48 hours of installation: Normal mild tenderness from a new style resolves within a day or two. Pain that persists or worsens beyond 48 hours means the tension is causing follicle stress — not a normal adaptation period.
- Visible scalp bumps, pimples, or soreness along the parts: Sign of folliculitis (inflamed hair follicles) from buildup, tension, or poor scalp hygiene. Left untreated, folliculitis can cause permanent follicle scarring and hair loss.
- Noticeably receding hairline or thinning temples: The edges and temples are always the first areas affected by traction — if your hairline looks further back than before the style was installed, the style is causing traction alopecia and must come out immediately.
- Persistent itchiness that does not respond to oiling: Usually means scalp buildup has progressed to a level that requires washing — the style has been in too long or scalp care has been insufficient.
- Heavy breakage on removal: Some shedding on take-down is normal. Heavy breakage — long pieces of hair snapping in multiple places, not just root-to-tip natural shedding — means the hair inside the style was too dry throughout its duration and became brittle.
Frequently Asked Questions
How often should I wash my hair in a protective style?
Every two to three weeks is the recommended minimum for most protective styles. The scalp continues to produce sebum and accumulate dead skin cells, sweat, and environmental debris regardless of what style it is under. Using a diluted sulfate-free shampoo in a squirt bottle applied directly to the scalp — not to the style itself — allows effective cleansing without disturbing the installation. After washing, rinse thoroughly and dry the style completely before covering. Never sleep on wet braids under a tight bonnet.
Why does my hair break after every protective style?
Post-protective-style breakage almost always has one of four causes: the style was kept in too long and shed hairs matted around healthy strands; the hair was too dry during the style period from insufficient moisture care; the take-down was rushed and mechanical breakage occurred; or the braids were installed too tight, causing follicle stress that weakened the hair at the root. Identifying which of these applies to your situation is the first step. In most cases, the solution is not stopping protective styling — it is improving in-style care and being more disciplined about duration and take-down technique.
Can protective styles cause permanent hair loss?
Yes — but only in specific circumstances. Traction alopecia from chronically tight braids, cornrows, or ponytails can permanently damage follicles if the tension is applied repeatedly over months or years. The follicle does not scar immediately — early-stage traction alopecia is reversible if the cause is removed quickly. However, repeated cycles of traction without recovery time progressively reduce the follicle’s ability to regrow hair, eventually leading to permanent thinning. The edges and temple areas are most vulnerable because the follicles there are naturally finer and closer to the skin surface.
How long should I give my hair a break between protective styles?
A minimum of one week between protective styles is strongly recommended — two weeks is better, especially after a long-term style. This break period is not wasted time; it is when you wash the scalp thoroughly, do a deep conditioning treatment, assess the current state of your hair’s moisture and protein balance, and allow the scalp and follicles to recover from weeks of the installed style’s weight and tension. Women who install style after style after style without breaks consistently report slower perceived length retention than those who take regular recovery weeks.
Protective Styling Done Right Is a Genuine Growth Tool
Every one of the natural hair protective styling mistakes in this guide has a straightforward fix. The common thread across all of them is the same: protective styling requires active care during the style, not just passive waiting. Hair that is installed correctly, moisturized consistently throughout, washed regularly at the scalp, taken down carefully, and given a break before the next style is installed will genuinely retain more length over six to twelve months than hair that is worn loose with high daily manipulation. The strategy works — as long as you avoid the mistakes that turn a growth tool into a breakage trap.
Also Visit : Tips to Repair Damaged Hair Fast Without Cutting It All Off