How to Build a Hair Growth Oil Recipe for Your Hair Type
Copy the same castor-and-rosemary blend as your friend with straight, fine hair, and you might end up with a greasy scalp and nothing extra to show for it. That’s the biggest flaw in most DIY hair advice: it treats every scalp and every strand as identical.
A hair growth oil recipe that actually works has three adjustable parts: a carrier oil, an active ingredient, and, in some cases, a diluted essential oil, mixed in a ratio that fits your hair type, your scalp, and how much time you’re willing to give it. Get those three parts right for your hair specifically, and the same basic formula that irritates one scalp can genuinely help another.
This guide walks through how to build that recipe from scratch instead of copying someone else’s bottle. You’ll pick a base oil that suits your texture, choose an active ingredient with a real reason behind it, work out a safe ratio, and figure out how long a batch actually lasts before it goes off.
The Three Parts Every Hair Growth Oil Recipe Needs
Every effective recipe breaks down into three roles, even when the bottle only lists one or two ingredients.
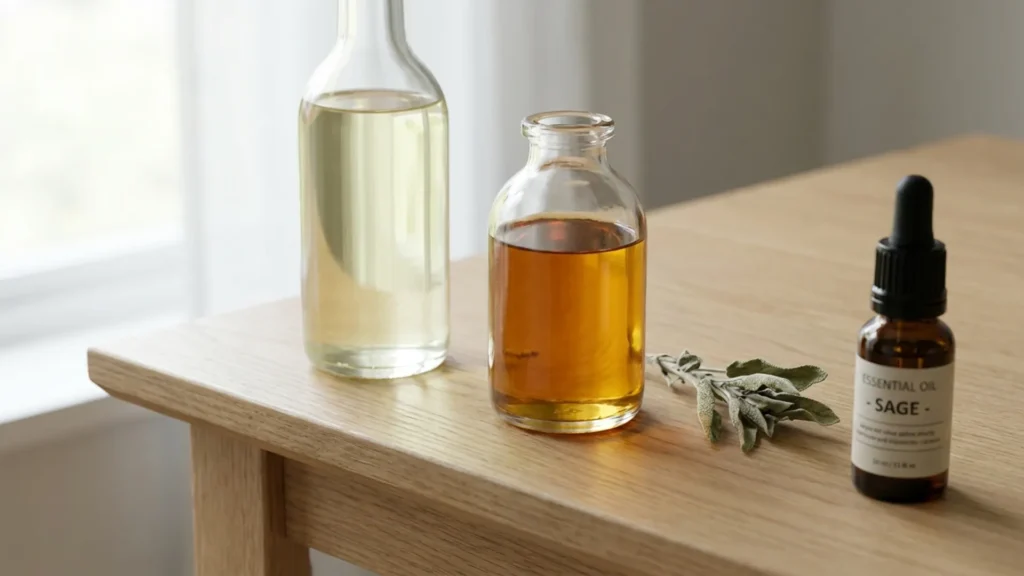
The carrier oil is the base. It makes up most of the bottle, and its job is to spread the other ingredients evenly across your scalp and hair without stripping moisture. Coconut, castor, jojoba, and grapeseed all work as carriers, but they behave very differently once they’re on your head.
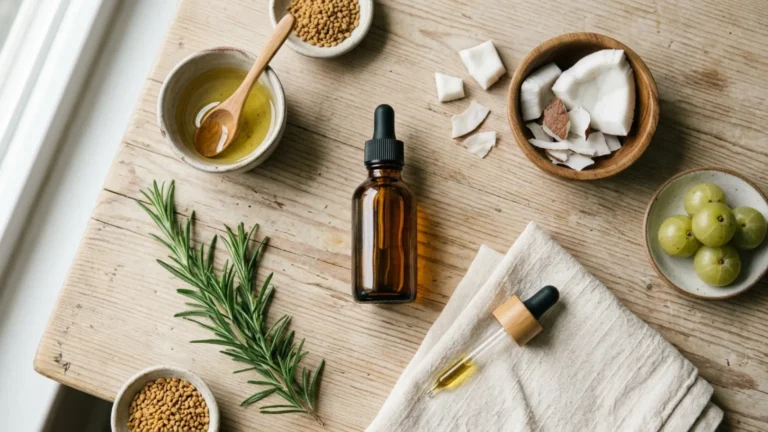
The active ingredient is what’s doing the actual work: an oil chosen for a specific effect, like improving circulation or calming an itchy scalp. This is the part most people copy from a friend without asking whether it fits their own hair.
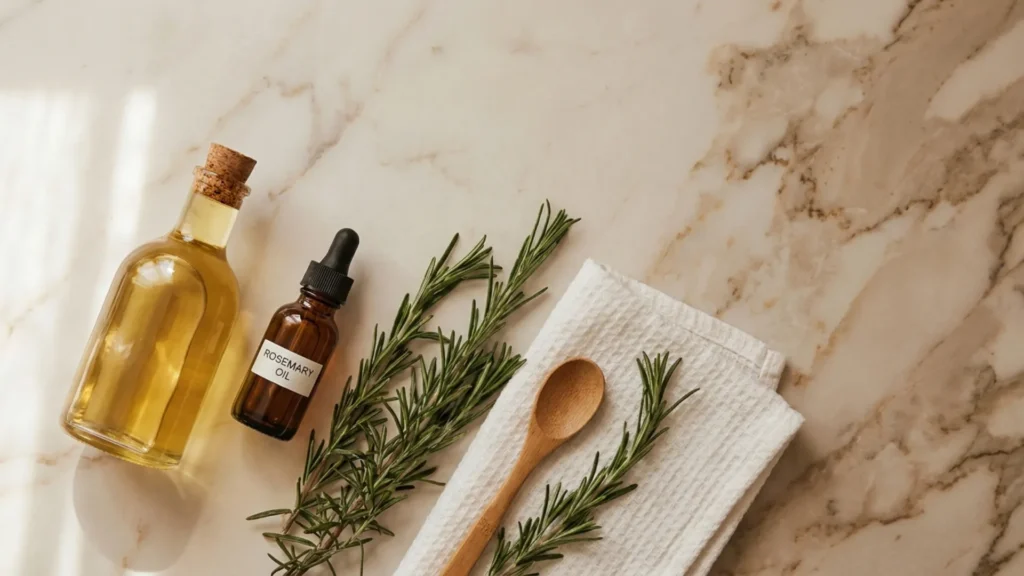
The essential oil is optional and should never make up more than a small fraction of the mix. Rosemary, peppermint, and tea tree are common choices, but they’re potent enough to irritate skin if you add them straight from the bottle. Porosity, how easily your hair absorbs and holds moisture, decides how heavy or light your carrier oil should feel, and it’s worth knowing your hair’s porosity before you pick one.
Pick Your Carrier Oil by Hair Type
This is the step most recipes skip, and it’s the one that decides whether the oil feels like a treatment or a burden. A heavy oil on fine hair sits on top of each strand and drags it down. A light oil on coarse or coily hair barely makes a dent in dryness.
| Hair Type or Concern | Best Carrier Oil | Why It Fits |
|---|---|---|
| Fine or naturally oily | Grapeseed oil | Light texture, absorbs fast, won’t weigh strands down |
| Thick, coarse, or coily | Castor or avocado oil | Heavier texture coats thick strands and seals in moisture |
| Fine, dry, low-porosity | Jojoba oil | Closely resembles natural sebum, so it absorbs instead of sitting on top |
| Color-treated or chemically processed | Sweet almond oil | Lightweight cushion for the cuticle without extra buildup |
| Dandruff-prone or flaky scalp | Grapeseed or jojoba | Won’t add extra grease to a scalp that’s already compromised |
If you’re not sure which category fits, run a strand test first. Rub a few drops between your fingers and press it onto a couple of inches of hair. If it feels sticky or heavy after ten minutes, size down to something lighter.
Also Visit : Natural Hair Growth Tips That Actually Move the Needle
Choose an Active Ingredient for Your Goal
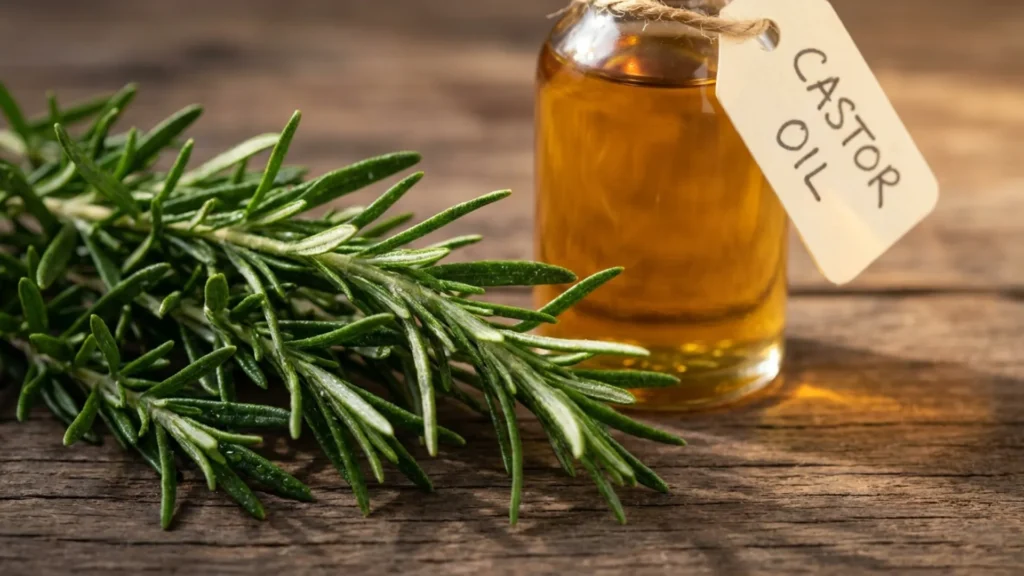
Once you’ve settled on a base, the active ingredient is where the recipe starts doing something specific. Rosemary oil has the most research behind it for pattern hair loss. A randomized trial comparing rosemary oil to minoxidil found that both groups saw a meaningful rise in hair count after six months, with rosemary causing less scalp itching along the way. That doesn’t mean rosemary replaces a proven treatment, but it’s a reasonable starting point if minoxidil’s side effects have put you off.
Castor oil works through a different mechanism. Its main fatty acid, ricinoleic acid, has shown antimicrobial activity in lab research on its effect against common skin bacteria, which is part of why it’s often reached for on itchy or flaky scalps rather than for growth alone. It’s also thick, so it usually needs cutting with a lighter carrier oil rather than used on its own.
Peppermint oil brings a cooling, tingling sensation that some people associate with better circulation, though the evidence here is thinner than for rosemary. Treat it as a nice-to-have, not the reason you’re building the recipe.
Pick one active ingredient to start. Combining three or four “just in case” makes it impossible to tell what’s actually helping, and it raises your odds of an unwanted reaction.
Also Visit : What Should a Hair Growth Routine Actually Include?
Get the Ratio Right in Your Hair Growth Oil Recipe
This is where most homemade blends go wrong. People eyeball a “few drops” of everything into a bottle without ever checking what a safe concentration actually looks like.
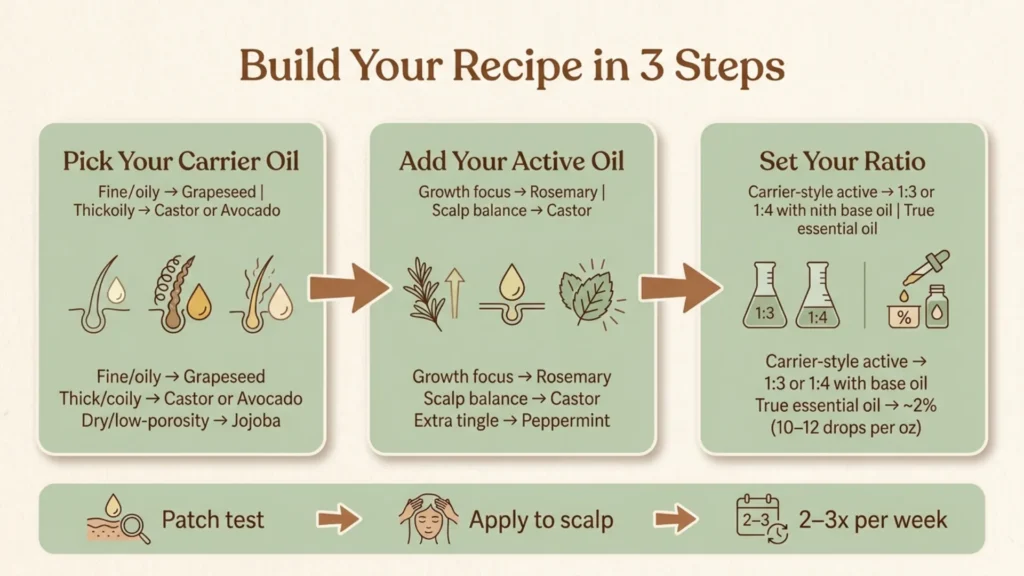
Start with your carrier oil as the base: a standard batch is about 2 tablespoons (30 ml). If your active ingredient is itself a carrier-style oil, like castor or coconut, add it in a 1-to-3 or 1-to-4 ratio with your main carrier. If you’re adding a true essential oil like rosemary or peppermint on top, the recognized dermal safety guidelines for essential oils put a general adult topical maximum around 2%, which works out to roughly 10 to 12 drops per ounce of carrier oil for a leave-on scalp treatment.
Go lower, closer to 1%, if you have sensitive skin, a compromised scalp barrier, or you’re applying the oil to a large area rather than spot-treating. There’s no benefit to going stronger than the guideline suggests; extra concentration raises irritation risk without adding extra growth.
Mix in a small glass bottle, cap it, and shake gently rather than stirring, which introduces less air.
How to Use It Without Wasting Product or Irritating Your Scalp
Before your first full application, run a patch test. The dermatology guidance on testing new skin care products recommends applying a small amount to an easily hidden patch of skin and watching it for a day or two before using it more broadly. Do this with any new blend, even one built from oils you’ve used separately before, since combinations can react differently than single ingredients.
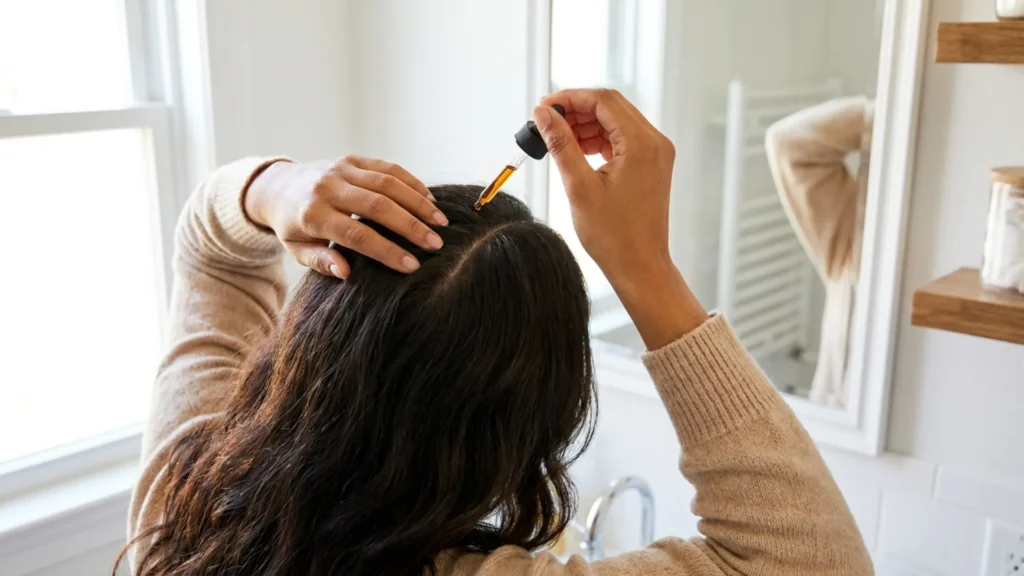
Once you’ve cleared the patch test, part your hair in sections and apply the oil directly to the scalp rather than dragging it down the lengths, where it can build up fast. Use your fingertips, not your nails, and work in small circles for two or three minutes. Leave it on for at least 30 minutes, or overnight under a shower cap if your scalp tolerates it well.
Twice a week is a sensible starting frequency for most hair types. Daily use rarely speeds things up and more often just leaves you needing an extra wash.
Also Visit : How to Pick a Hair Mask for Growth That Works
Storage, Shelf Life, and When to Toss It
A homemade oil doesn’t last forever, and this is the part almost nobody mentions. Carrier oils oxidize over time, and once an essential oil is blended in, the clock starts the moment you combine them, not when you first opened the bottles.
Jojoba oil is the most stable and can last a year or more in the right conditions. Grapeseed and sweet almond oil are more delicate and are best used within three to six months. Castor oil sits in the middle, usually good for six months to a year.
Keep your blend in a dark glass bottle, away from direct sunlight and heat. A bathroom shelf next to a hot shower is one of the worst spots in the house for it. If the oil smells sharp, sour, or noticeably different from when you mixed it, that’s rancidity, and it’s time to toss it rather than keep using it on your scalp.
Common Questions About Hair Growth Oil Recipes
Can I use a hair growth oil recipe if I have color-treated hair?
Yes, but favor lighter carriers like sweet almond or jojoba oil, and skip strong essential oils on freshly colored hair, since some can affect how color holds in the first couple of weeks.
How long before a homemade hair oil shows results?
Hair grows in cycles that run for months, not days. Give any consistent routine at least three months before judging whether it’s making a difference, and track progress with photos rather than memory alone.
Can I mix multiple active ingredients in one recipe?
You can, but start with one. Adding several at once makes it hard to tell what’s helping and raises the chance of an unexpected reaction, especially with essential oils layered together.
Is it safe to leave hair growth oil on overnight?
For most carrier-oil-based recipes, yes, as long as you’ve patch tested first. Essential oil blends above roughly 2% concentration are better limited to shorter application windows.
If your hair loss came on suddenly, or you’re noticing scalp pain along with the shedding, a homemade oil isn’t the place to start. This article is for general information only and isn’t medical advice. For persistent hair loss, scalp pain, or sudden shedding, see a dermatologist or trichologist.
Key takeaways
- A hair growth oil recipe works best when the carrier oil, active ingredient, and any essential oil are chosen for your specific hair type, not copied from someone else’s bottle.
- Fine or oily hair generally does better with lighter oils like grapeseed; thick or coily hair can handle heavier ones like castor or avocado.
- Keep essential oils around a 2% dilution (about 10 to 12 drops per ounce of carrier) unless you have a specific reason to go lower.
- Patch test any new blend, apply to the scalp rather than the lengths, and use it two to three times a week rather than daily.
- Homemade oils have a shelf life. Store in dark glass away from heat and discard if the smell turns sharp or sour.
Written by Anna Anderson for Trend Cottage.